
Setting AWS SES Bounce Notification
Amazon Simple Email Service (SES) is an email platform which provides a cost-effective way to send and receive emails using your own email addresses and domains. It is used for sending a large number of emails. However, it is equally important to handle email bounce and complaints as your account may get blocked if the percentage of bounce notification is way too high.
This blog illustrates how we can setup SES bounce notification to handle email bounce and complaints. Follow the following steps to configure the same:
Step 1: Setup a configuration set
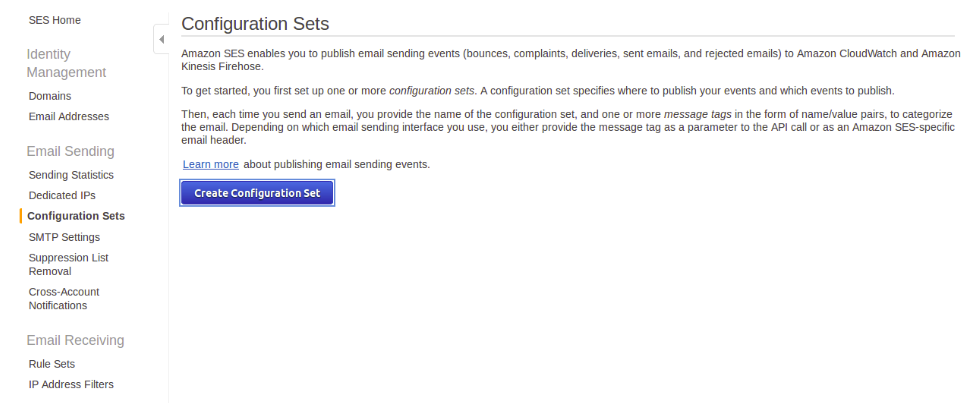
- Open AWS SES console
- Choose Configuration Sets from the left navigation pane, and select create configuration set.
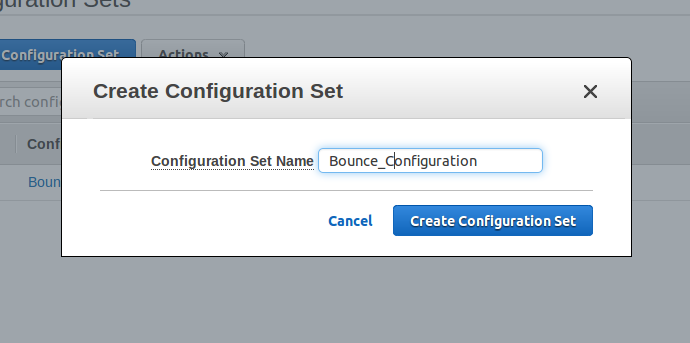
- Give the configuration set name and click on Create Configuration Set.
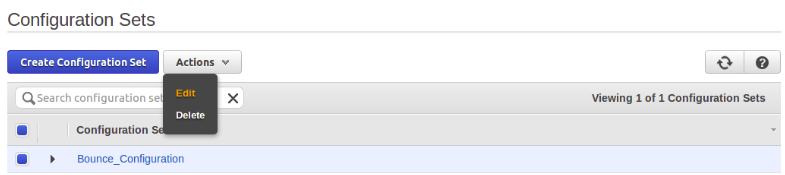
- Now, on the configuration sets page, select the configuration set that you created in the previous step.
- Go to Actions, and select edit.
- For Add Destination, choose to Select a destination type and then select Cloudwatch.
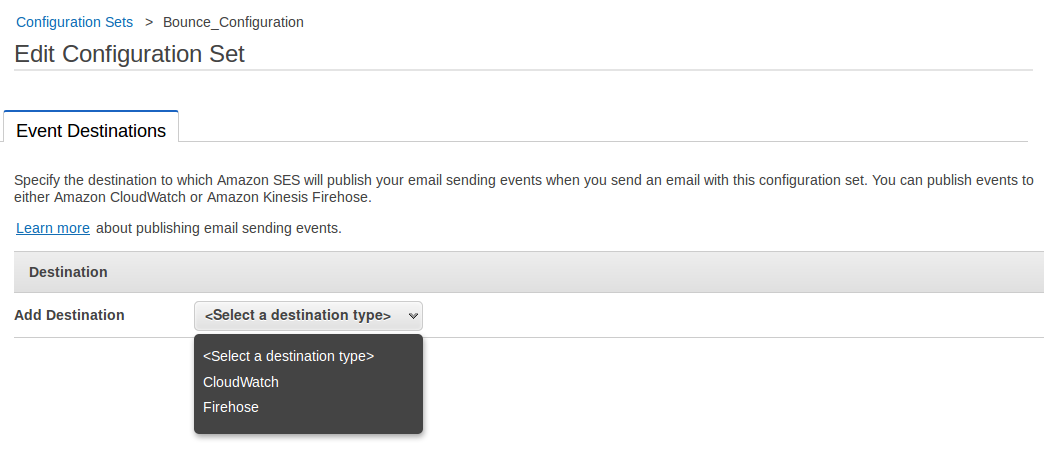
- Give a name for the event destination. Select Bounce and Complaints about Event Types and select Enabled
- For value source, select Message-Tag and give Dimension Name accordingly. For example, we can set a dimension name “env” to differentiate between emails coming from production or staging and select save.

Step2: Configure SES email address
- In AWS SES console navigation console, select Email Addresses under Identity Management.
- Select your AWS SES verified email address and select view details.
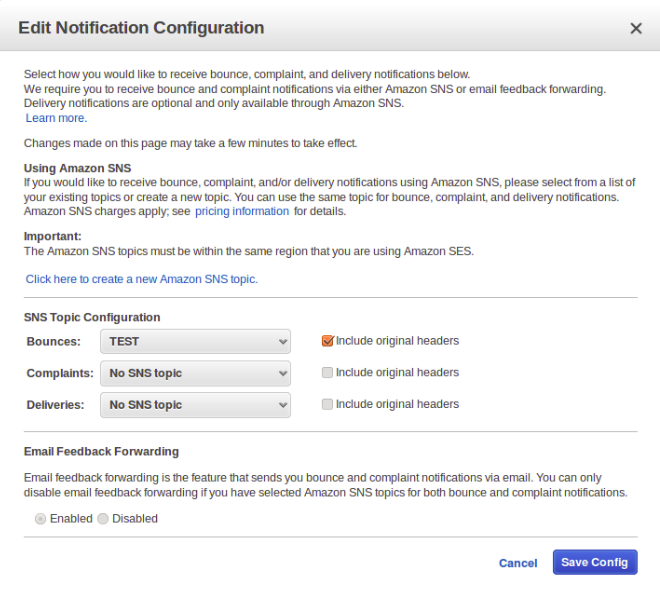
- Under Notifications, choose Edit Configuration
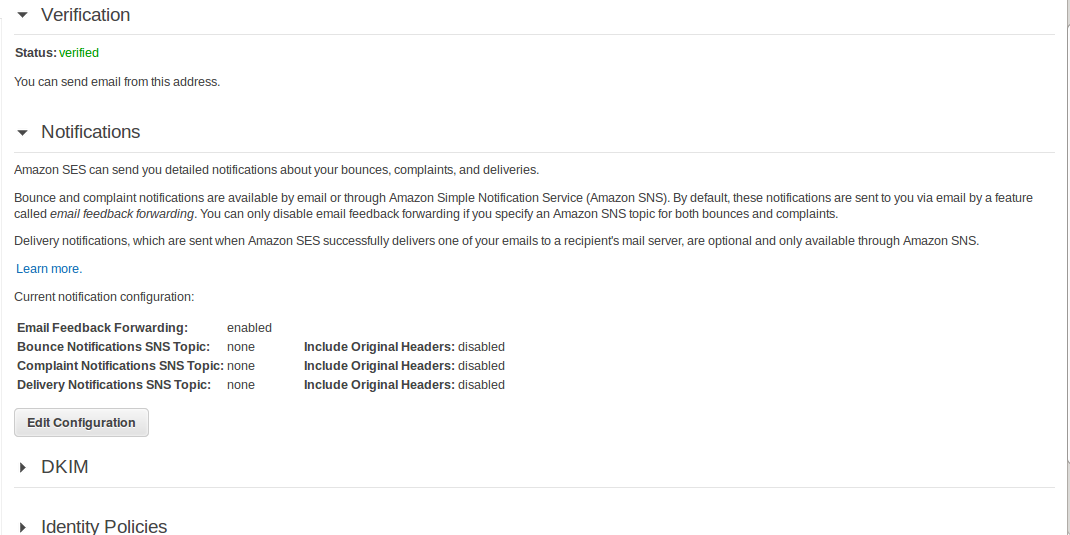
- Under SNS Topic Configuration, select the SNS topic that you want to get triggered in case of email bounce.Click on Save config
Step 3: Send Email
The setup is now ready. You can test the same by sending a test email from the console which should include the configuration set name as well the tag defined in the configuration set. For doing so, follow the following steps:
- In the Send Test Email dialogue box, for Email Format, choose Raw.
- For the To address, type an address from the Amazon SES mailbox simulator, such as complaint@simulator.amazonses.com or bounce@simulator.amazonses.com and use the following template in the message text box replacing the name of the configuration set name and From address.
[code]
X-SES-MESSAGE-TAGS: env=dev
X-SES-CONFIGURATION-SET: CONFIGURATION-SET-NAME
Subject: Amazon SES Event Publishing Test
From: Amazon SES User <FROM-ADDRESS
MIME-Version: 1.0
Content-Type: text/plain
This is a test message.
[/code]
If the email gets bounced, you will receive an SNS notification on the topic that you had configured in the previous steps. You will receive a JSON with the following details:
[code]
{
"notificationType": "Bounce",
"bounce": {
"bounceType": "Permanent",
"bounceSubType": "General",
"bouncedRecipients": [
{
"emailAddress": "bounce@simulator.amazonses.com",
"action": "failed",
"status": "5.1.1",
"diagnosticCode": "smtp; 550 5.1.1 user unknown"
}
],
"timestamp": "2017-03-28T09:08:33.821Z",
"feedbackId": "0100015b142c8554-f5e1dbb9-03f0-499d-bae4-2c127024cc14-000000",
"remoteMtaIp": "207.171.163.188",
"reportingMTA": "dsn; a10-51.smtp-out.amazonses.com"
},
"mail": {
"timestamp": "2017-03-28T09:08:33.000Z",
"source": "XXX@XXXX.COM",
"sourceArn": "arn:aws:ses:us-east-1:xxxxxxxxxxx:identity/xxxx@xxxxx.com",
"sourceIp": "XXX.XXX.XX.X",
"sendingAccountId": "XXXXXXXXXX",
"messageId": "0100015b142c828e-157b22a2-7d68-43a2-96f5-2831b999a69c-000000",
"destination": [
"bounce@simulator.amazonses.com"
],
"headersTruncated": false,
"headers": [
{
"name": "X-SES-MESSAGE-TAGS",
"value": "env=dev"
},
{
"name": "X-SES-CONFIGURATION-SET",
"value": "configuration_set_name"
},
{
"name": "Subject",
"value": "Amazon SES Event Publishing Test"
},
{
"name": "From",
"value": "XXX@XXXX.COM"
},
{
"name": "MIME-Version",
"value": "1.0"
},
{
"name": "Content-Type",
"value": "text/plain"
}
],
"commonHeaders": {
"from": [
"XXX@XXXXX.COM"
],
"subject": "Amazon SES Event Publishing Test"
}
}
}
[/code]
For further handling, you can also trigger a lambda function by extracting the value from JSON and process the same according to your use case.


