


In the first part of the blog, we explored the fundamentals of face tracking with ARKit and learned how facial information can be captured using a physical iOS device.
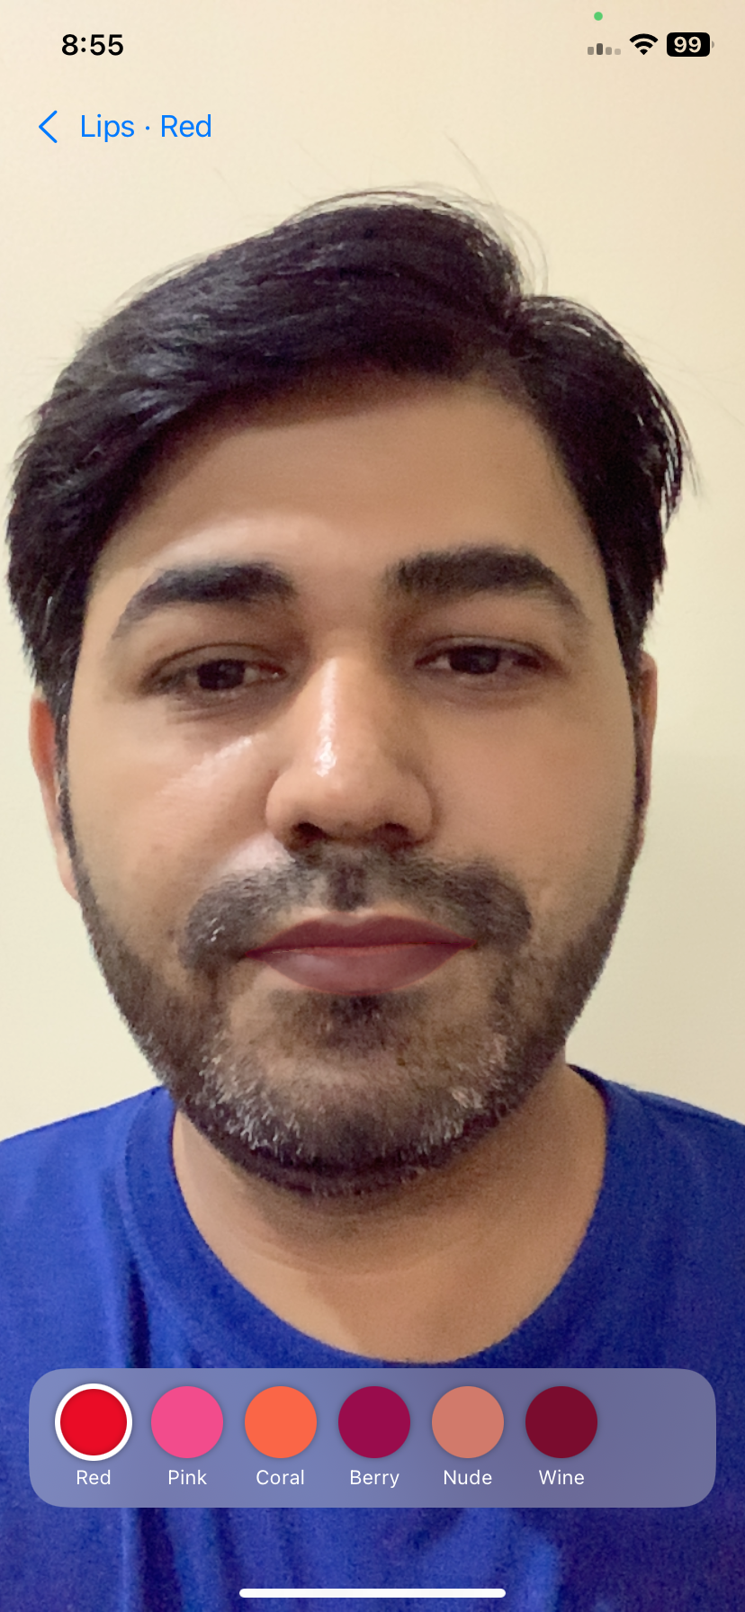
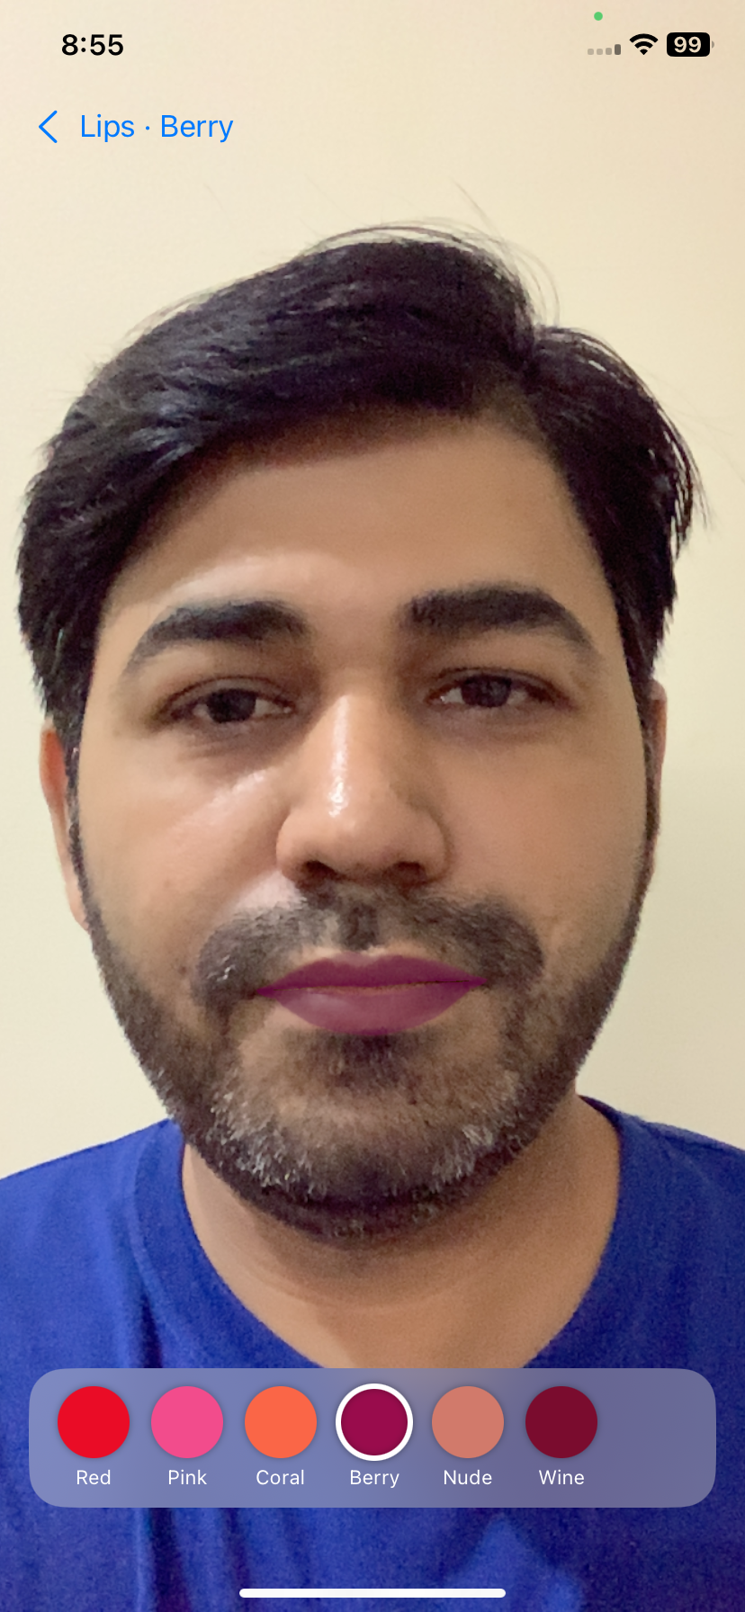
In this part, we’ll take that implementation further by using ARKit’s face-tracking capabilities to create a virtual lipstick effect that follows the user’s lips in real time.
The core implementation focuses on ARKit and SceneKit. SwiftUI is used only for the application flow and navigation, while ARKit handles face detection, facial geometry, tracking, and expressions.
Understanding ARKit Face Tracking
Apple’s TrueDepth camera provides the depth information required for detailed face tracking. ARKit processes this information to detect the user’s face and continuously track its position, shape, and expressions.
ARKit can provide information such as:
- Face position and orientation
- Facial geometry
- Eyes, nose, lips, and other facial regions
- Facial expressions
- Eye movement
This information can be used to create virtual makeup, face filters, avatars, and other augmented-reality experiences.
Organizing the Sample Project
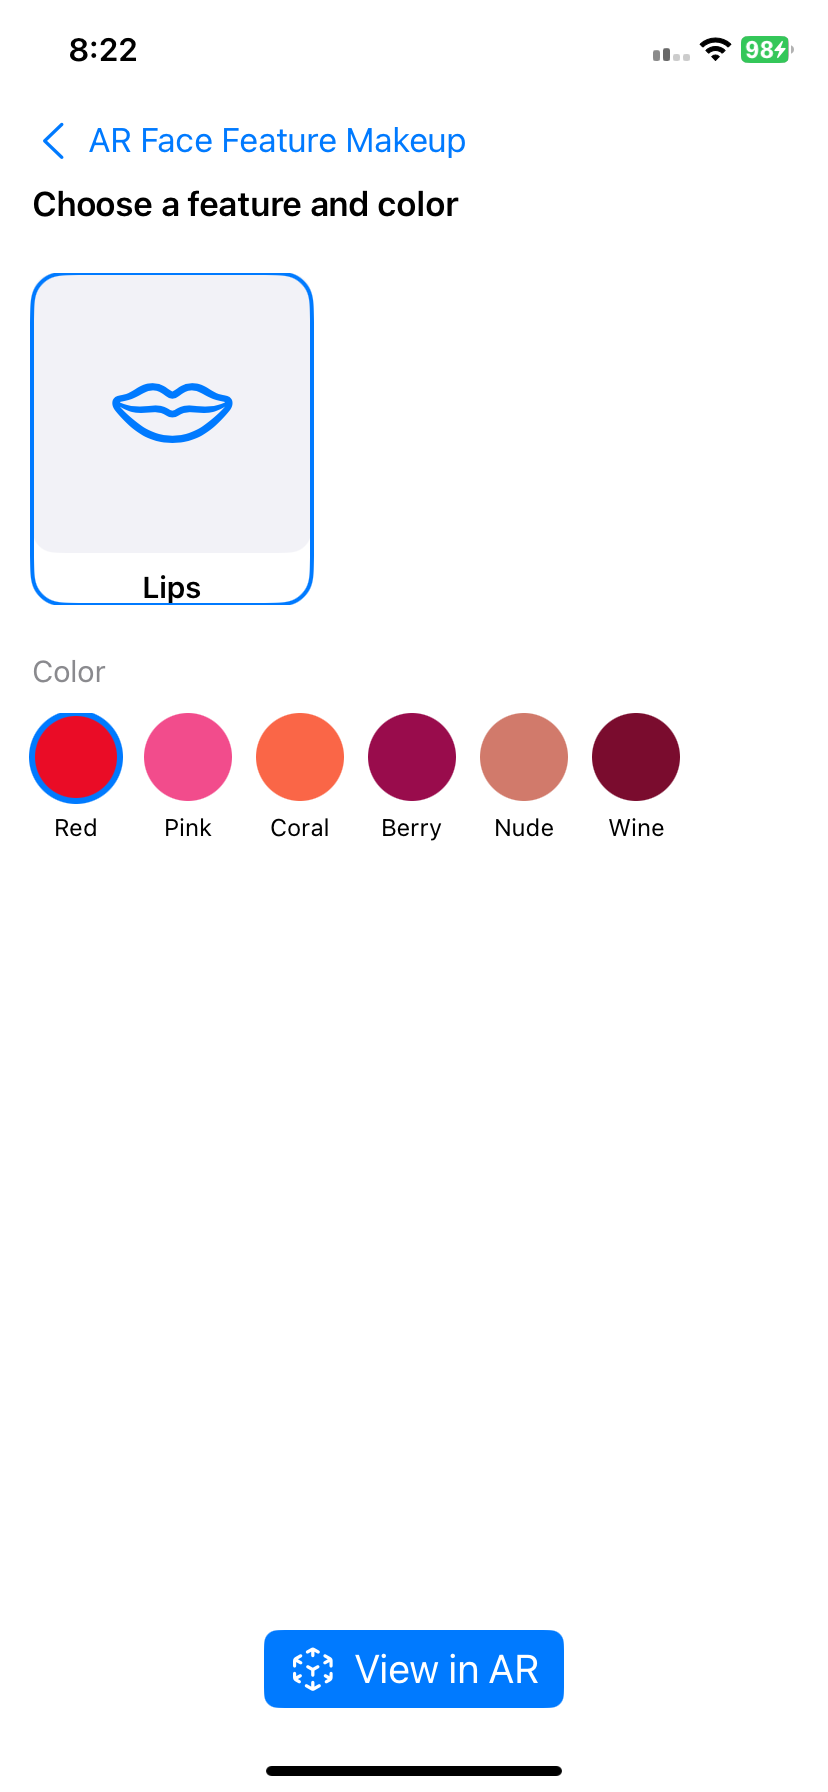
Before implementing lip tracking, we’ll organize the sample application so that multiple ARKit examples can be accessed from a single interface.
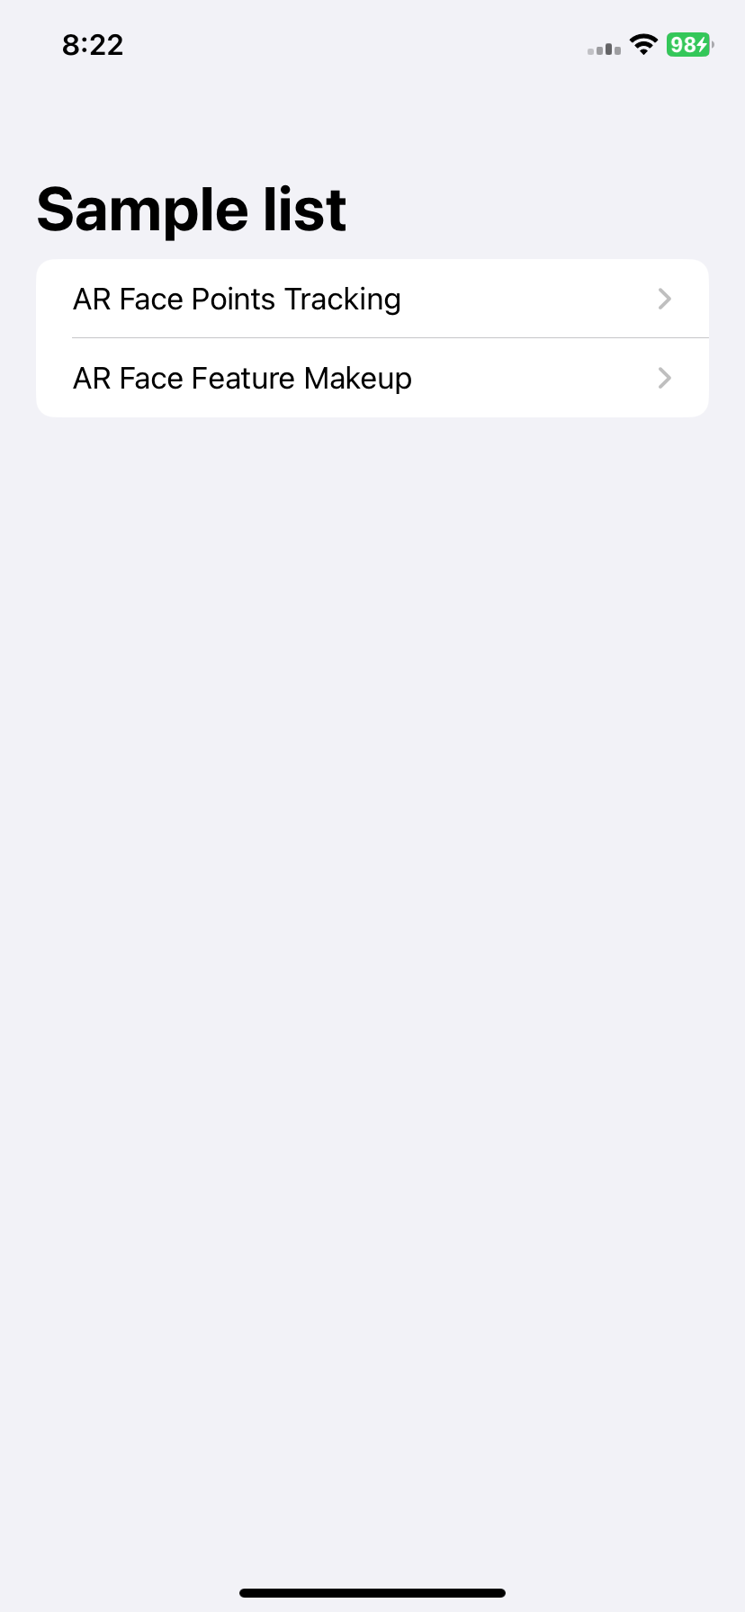
The application contains a root controller responsible for navigation and a home screen that lists the available samples.
For example:
- Face Tracking
- Lip Tracking
- Other facial-feature experiments
Selecting an item opens its corresponding implementation.
This structure keeps individual ARKit experiments separate and makes it easier to extend the project with additional features.
Starting an ARKit Face-Tracking Session
The face-tracking process starts with ARFaceTrackingConfiguration.
First, we should verify that face tracking is supported on the current device:
guard ARFaceTrackingConfiguration.isSupported else {
    return
}
let configuration = ARFaceTrackingConfiguration()
sceneView.session.run(configuration)
The configuration is passed to an ARSession, which processes the camera feed and tracks the user’s face.
Once a face is detected, ARKit continuously provides updated tracking information as the user moves or changes facial expressions.
Understanding ARFaceAnchor
When ARKit detects a face, it creates an ARFaceAnchor.
ARFaceAnchor provides important information about the tracked face, including:
- transform — the position and orientation of the face.
- geometry — the 3D geometry of the face.
- blendShapes — information about facial expressions.
- Eye-related properties — information about eye position and movement.
For our makeup implementation, geometry and blendShapes are particularly useful.
The geometry represents the facial surface, while blend shapes describe changes in facial expressions.
Understanding ARFaceGeometry
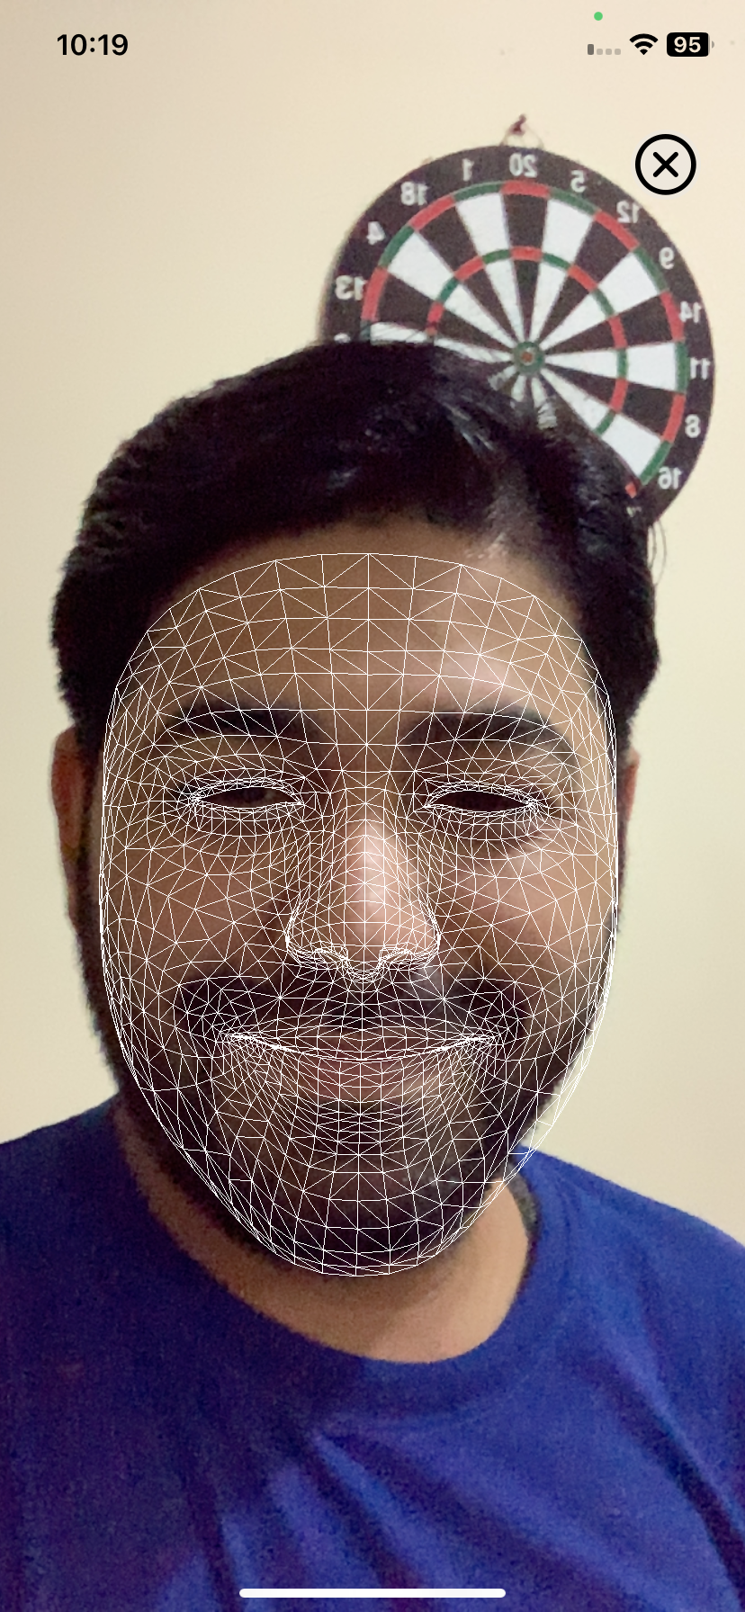
ARKit represents the tracked face using ARFaceGeometry, a 3D mesh containing:
- Vertices — points defining the facial surface.
- Triangle indices — connections between vertices that form the mesh.
- Texture coordinates — define how a 2D texture maps onto the 3D surface.
As the user moves or changes expressions, ARKit updates the geometry so that the mesh continues to match the user’s face.
This dynamic mesh is what allows virtual content to remain attached to the face.
Rendering the Face with ARSCNFaceGeometry
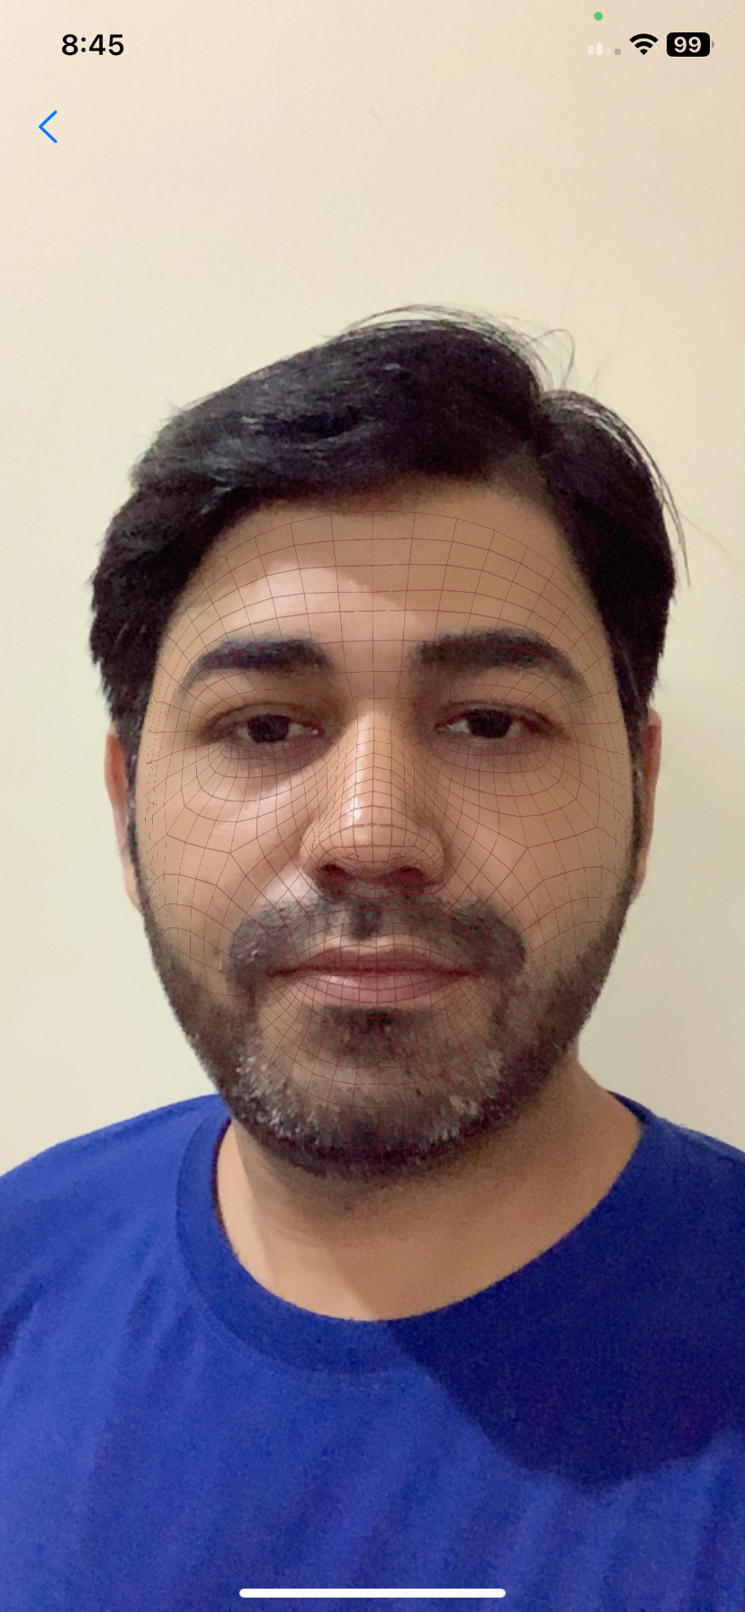
For SceneKit-based implementations, ARKit provides ARSCNFaceGeometry.
We can create the face geometry using the Metal device associated with the AR view:
let faceGeometry = ARSCNFaceGeometry(
    device: sceneView.device!
)
The geometry can then be attached to an SCNNode and rendered in the AR scene.
Whenever ARKit provides updated face information, the geometry can be refreshed:
faceGeometry.update(from: faceAnchor.geometry)
This keeps the rendered mesh synchronized with the user’s facial movement.
Understanding UV Mapping
Now that we have a 3D face mesh, we need a way to place a 2D makeup image onto it.
This is where UV mapping is used.
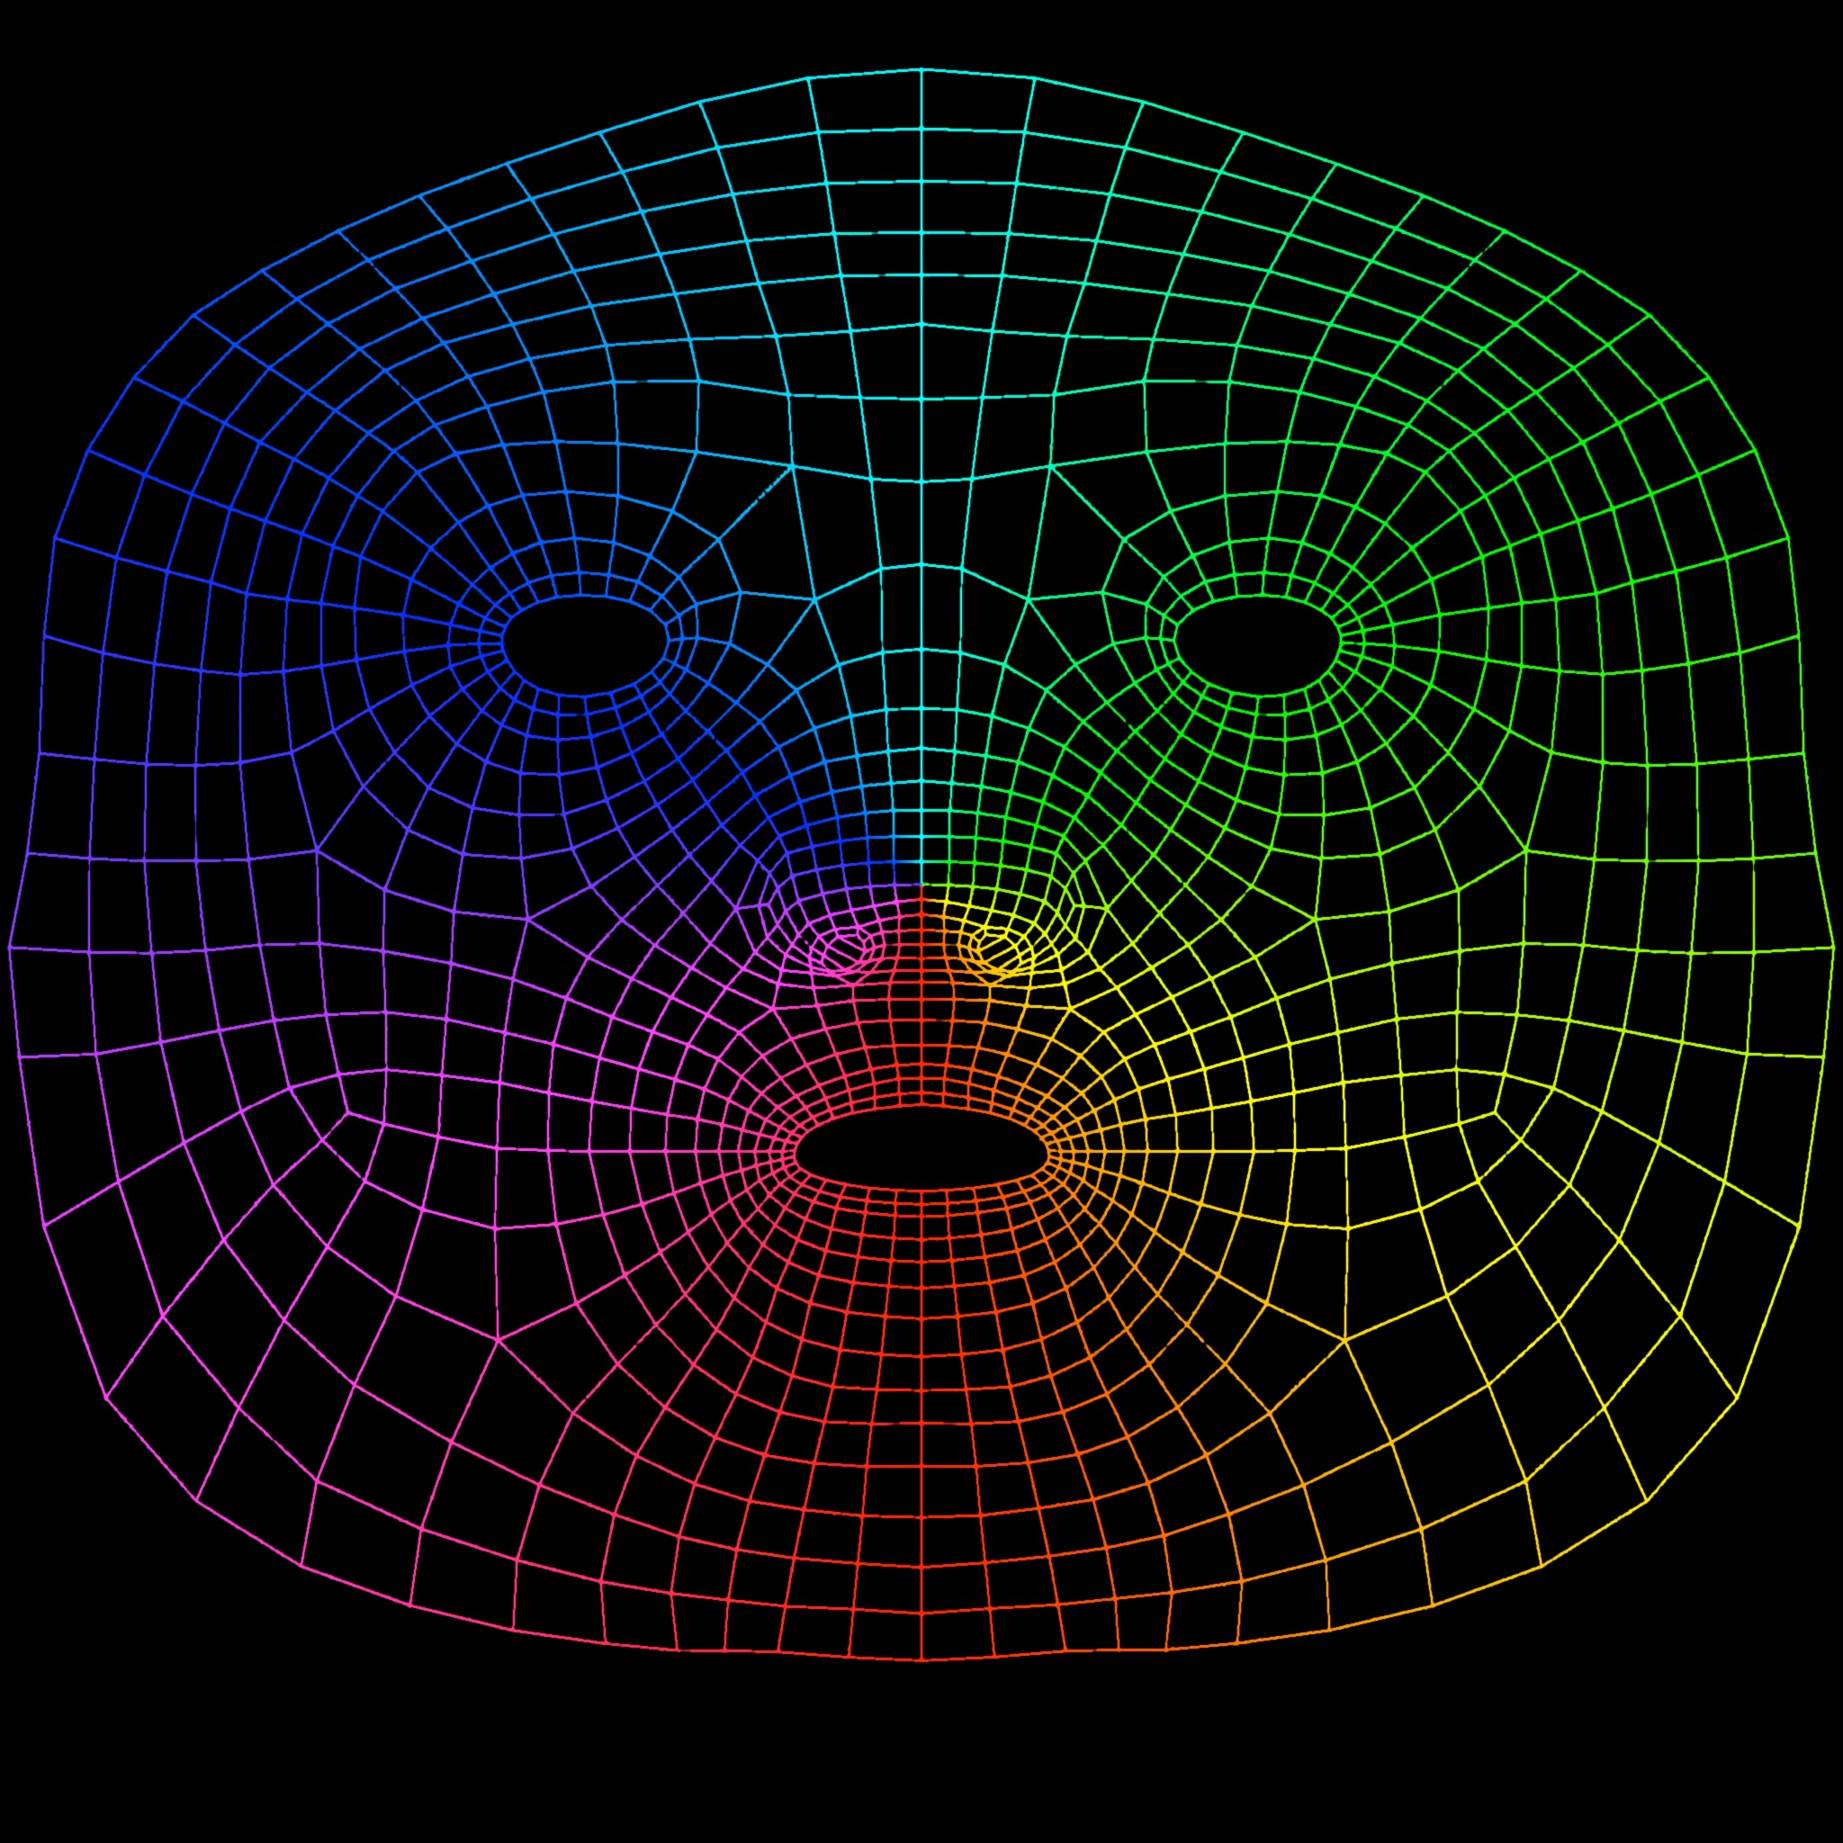
UV mapping establishes a relationship between the 3D surface and a 2D texture. ARKit provides texture coordinates as part of ARFaceGeometry, allowing a texture to be mapped to the appropriate facial regions.
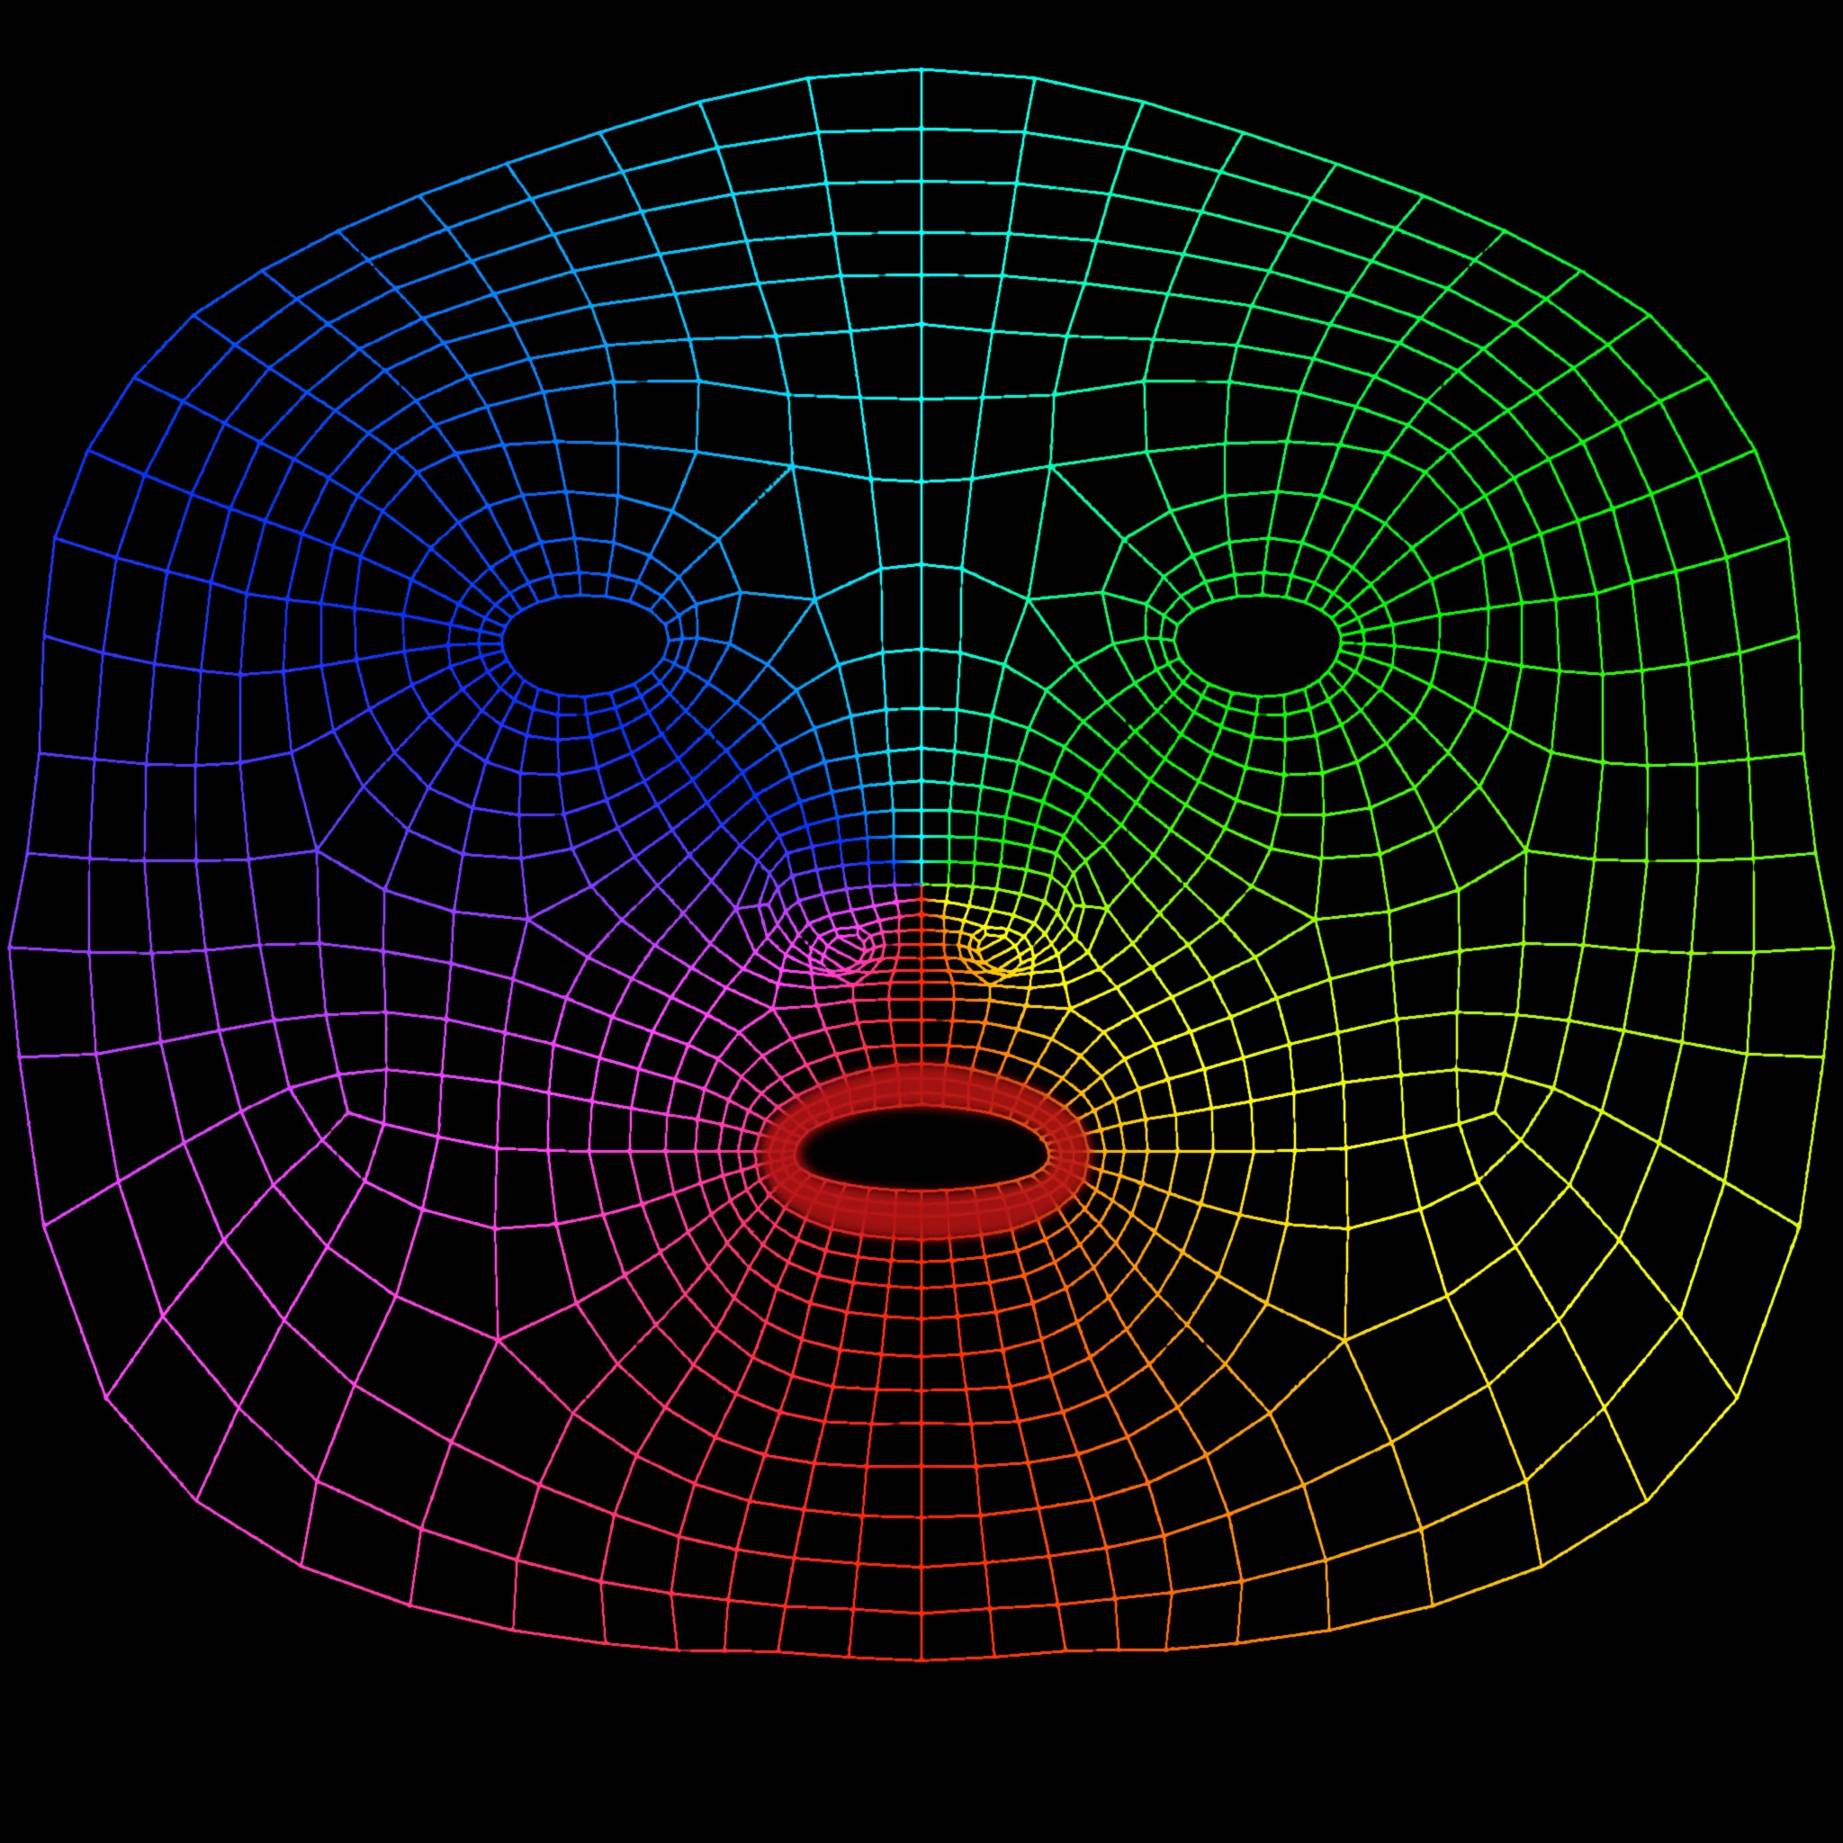
For our lipstick example, the texture is designed so that its lip area corresponds to the lip region of the face mesh.
Creating the Lipstick Texture
We can create a lipstick texture using Photoshop or another image-editing tool.
The texture should follow the UV layout of the face mesh. The desired lipstick color is placed over the corresponding lip region, while the remaining areas can remain transparent.
Once created, this texture can be applied to the material of the face geometry.
The important part is that the texture is attached to the 3D face mesh, rather than being placed at a fixed position on the camera screen.

Applying the Lipstick Effect
When the lipstick texture is applied to the tracked face mesh, ARKit continuously updates the mesh as the user moves.
If the user turns their head, opens their mouth, or changes expressions, the mesh changes accordingly. Since the lipstick texture is mapped to that mesh, the effect follows the lips naturally.
This creates a real-time virtual makeup experience without manually calculating the lipstick position for every frame.
Tracking Facial Expressions
Face movement is not limited to head position. Users can also smile, open their mouth, or make other expressions.
ARKit exposes these changes through the blendShapes property of ARFaceAnchor.
For example:
if let jawOpen = faceAnchor.blendShapes[.jawOpen] as? Float {
    print("Jaw movement: (jawOpen)")
}
ARBlendShapeLocation provides predefined identifiers for different facial movements and expressions.
These values can be used to trigger animations, modify visual effects, or respond to specific facial movements.
For our lipstick example, the face mesh handles the surface alignment, while blend-shape information can be used for additional expression-based behavior.
Why Does It Work on Different Faces?
Every person has a different facial structure, so how can the same lipstick texture work for multiple users?
ARKit solves this by continuously adapting the face mesh to the detected user’s facial shape and expressions.
The mesh topology and texture-coordinate layout remain consistent, while the mesh vertices are adjusted according to the user’s face.
Therefore, we can create the lipstick texture once and reuse it across different users.
This makes the technique suitable for reusable virtual makeup assets rather than creating a separate texture for every facial structure.
Extending the Technique
Once the basic texture-mapping approach is implemented, the same concept can be used for many other effects:
- Lipstick
- Blush
- Eyeliner
- Eyeshadow
- Face paint
- Facial tattoos
- Other face filters
 .
. 
The overall process remains similar:
Create the texture → Map it using the face UV layout → Apply it to the tracked face mesh → Let ARKit update the mesh in real time.
Putting the Implementation Together
In our sample application, the main components are separated according to their responsibilities.
The navigation layer manages the available samples, while the ARKit implementation is responsible for tracking and rendering the face.
The important ARKit components involved are:
| Component | Purpose |
| ARFaceTrackingConfiguration | Configures the AR session for face tracking |
| ARSession | Runs the AR tracking session |
| ARFaceAnchor | Provides information about the detected face |
| ARFaceGeometry | Represents the tracked 3D face mesh |
| ARSCNFaceGeometry | Provides a SceneKit representation of the face mesh |
| ARBlendShapeLocation | Identifies individual facial expressions and movements |
SwiftUI can be used around these components to provide the application’s navigation and supporting UI, but the actual facial tracking and rendering are handled by ARKit and SceneKit.
Source Code
The complete source code for this implementation is available in the Git repository below:
GitLab Repository: Sample Code
You can clone the repository to explore the complete ARKit face-tracking implementation, including the lip-tracking and virtual makeup examples.
Conclusion
In this part of the series, we moved beyond basic face-point detection and created a real-time virtual lipstick effect using ARKit.
We explored how ARFaceTrackingConfiguration starts a face-tracking session, how ARFaceAnchor provides information about the detected face, and how ARFaceGeometry represents the face as a dynamic 3D mesh.
We also used ARSCNFaceGeometry to render the mesh and explored how UV mapping connects a 2D makeup texture to the 3D facial surface.
The major advantage is that the same texture can be reused across different users because ARKit continuously adapts the face geometry to match the detected face.
SwiftUI provides the supporting application flow, while ARKit and SceneKit handle the core face tracking and rendering.
In the next part, we’ll build on this foundation and explore additional facial features and ARKit-based effects.