You may find many blogs on internet providing step-by-step guidelines to install Oracle 11g on RHEL/Centos 6.x but what’s different here is, I would be discussing the installation of Oracle 11g on AWS EC2 instance through CLI in cases where you do not have access to physical system. I believe the best example to showcase this environment would be that of AWS Cloud.
Without wasting any time lets jump down to the point & discuss further steps.
We use “oracle-rdbms-server-11gR2-preinstall” package offered by “Oracle Public Yum” repository.
[shell]# cd /etc/yum.repos.d
# wgethttps://public-yum.oracle.com/public-yum-ol6.repo[/shell]
Install GPG key for your OS release
[shell]# wget https://public-yum.oracle.com/RPM-GPG-KEY-oracle-ol6 -O /etc/pki/rpm-gpg/RPM-GPG-KEY-oracle[/shell]
Now install the package
[shell]
# yum install oracle-rdbms-server-11gR2-preinstall
[/shell]
Setup your hostname
[shell]
# vi /etc/sysconfig/network
HOSTNAME=oracle.intelligrape.com
[/shell]
Make an entry for fully qualified hostname in /etc/hosts file
[shell]# vi /etc/hosts
54.xxx.xxx.xxx oracle.intelligrape.com oracle[/shell]
where, 54.xxx.xxx.xxx is the Elastic IP of your Oracle Instance
Restart your network for the changes to take effect.
[shell]# /etc/init.d/network restart[/shell]
Create a User oracle & specify a password for it.
[shell]# useradd oracle
# passwd oracle[/shell]
Make the following entries in /etc/security/limits.d/90-nproc.conf
Comment out
[shell]* softnproc 1024[/shell]
Add below entry
[shell]* – nproc 16384[/shell]
Disable SELinux on your instance
[shell]# vi /etc/selinux/config
SELINUX=disabled[/shell]
Reboot for changes to take effect
[shell]# reboot[/shell]
Now login as oracle user & make below entry in your .bash_profile
[shell]# su – oracle
$ vi .bash_profile
# Oracle Settings
TMP=/tmp; export TMP
TMPDIR=$TMP; export TMPDIR
ORACLE_HOSTNAME=oracle.intelligrape.com; export ORACLE_HOSTNAME
ORACLE_UNQNAME=DB11G; export ORACLE_UNQNAME
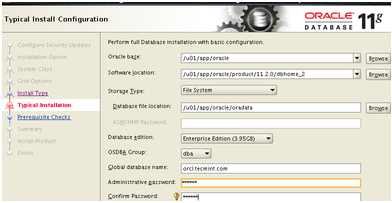
ORACLE_BASE=/u01/app/oracle; export ORACLE_BASE
ORACLE_HOME=$ORACLE_BASE/product/11.2.0/dbhome_1; export ORACLE_HOME
ORACLE_SID=DB11G; export ORACLE_SID
PATH=/usr/sbin:$PATH; export PATH
PATH=$ORACLE_HOME/bin:$PATH; export PATH
LD_LIBRARY_PATH=$ORACLE_HOME/lib:/lib:/usr/lib; export LD_LIBRARY_PATH
CLASSPATH=$ORACLE_HOME/jlib:$ORACLE_HOME/rdbms/jlib; export CLASSPATH export PATH[/shell]
Create the directories and set the appropriate permissions in which the Oracle software will be installed.
[shell]# mkdir -p /u01/app/oracle/product/11.2.0/dbhome_2
# chown -R oracle:oinstall /u01
# chmod -R 775 /u01[/shell]
Download Oracle Software
For Linux x86-64 Systems
[shell]# wgethttp://download.oracle.com/otn/linux/oracle11g/R2/linux.x64_11gR2_database_1of2.zip
# wgethttp://download.oracle.com/otn/linux/oracle11g/R2/linux.x64_11gR2_database_2of2.zip
# su – oracle
$ unzip linux_11gR2_database_1of2.zip
$ unzip linux_11gR2_database_2of2.zip[/shell]
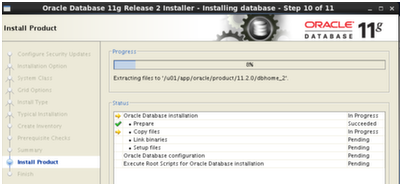
On unzipping the files a database directory will get created. Run the runInstaller script placed under database directory.
[shell]$ cd database
$ ./runInstaller[/shell]
On running the script you will receive errors for swap space & most importantly errors responding to setting up of DISPLAY Parameter as indicated below.
[shell]
Starting Oracle Universal Installer…
Checking Temp space: must be greater than 120 MB. Actual 7113 MB Passed
Checking swap space: must be greater than 150 MB. Actual 1011 MB Passed
Checking monitor: must be configured to display at least 256 colors
>>> Could not execute auto check for display colors using command /usr/bin/xdpyinfo. Check if the DISPLAY variable is set. Failed <<<<
Some requirement checks failed. You must fulfill these requirements before continuing with the installation,
Continue? (y/n) [n]
[/shell]
Note : As per the above error logs swap space check is passed as I have already created one using mkswapcommand on one of the unused partition or spare volume. By default when we setup a new server instance in cloud the swap space is not present, you can check the same via free –k command.
Since Oracle requires a GUI environment for installation we need to provide the same externally.
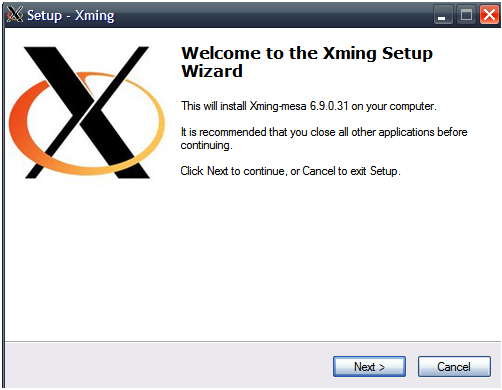
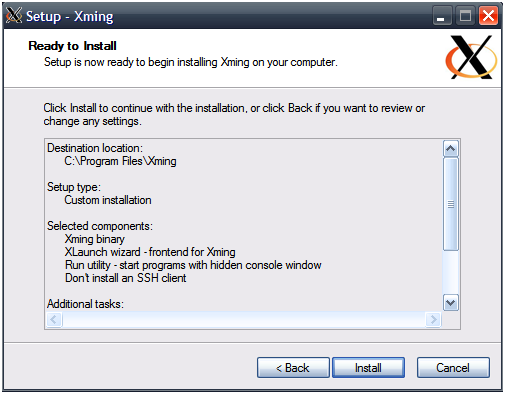
You need to install “Xming”or any of the X environment display tools on your local Windows PC, the installation process might be pretty slow in this case might be slow as your cloud server & your local PC are in different networks. In order to speed up the installation process you can install Xming on the Windows server instance which is in the same network as your Linux server, what I mean by this is that both the Linux & Windows server should be present in the Cloud within the same VPC.
Download Xming from http://sourceforge.net/projects/xming/files/Xming-mesa/6.9.0.31/Xming-mesa-6-9-0-31-setup.exe/download
Installation steps & enabling X11 forwarding

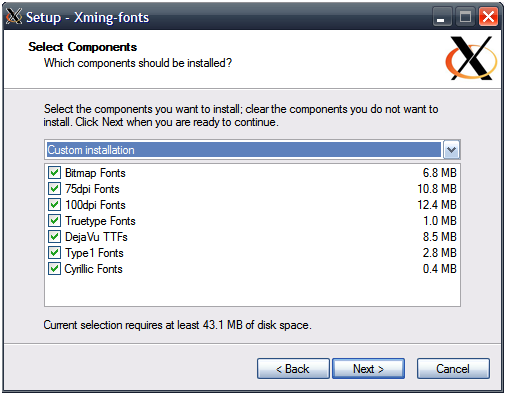
Download Additional fonts for Xming from download link :http://sourceforge.net/projects/xming/files/
After downloading walk down through the following steps for installation
Now start the Xming server by clicking on the Desktop icon.
“Enable X11Forwarding yes” in /etc/ssh/sshd_config & restart the ssh service.
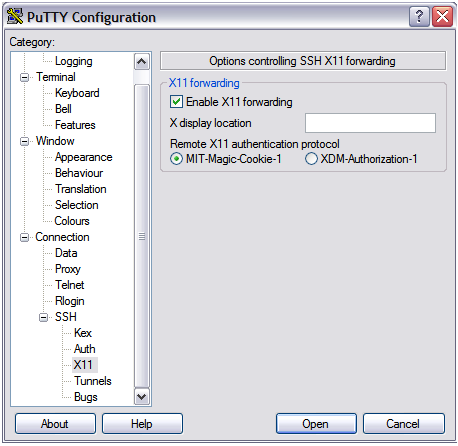
Configure X11 Forwarding in SSH Clients
PuTTY SSH
In the PuTTY configuration window, select “Connection->SSH->X11” and make sure the “Enable X11″ forwarding box is checked, then return to the Session category and click [Open] when you are ready to connect to the specified machine:
Once you login with your pem file as ubuntu or ec2-user type below command.
[shell]$ xauth list
$ oracle.intelligrape.com/unix:10 MIT-MAGIC-COOKIE-1 8ea792a81074c62518d53789faf9558d[/shell]
Now login as oracle user.
[shell]$ su – oracle
$ xauth add oracle.intelligrape.com/unix:10 MIT-MAGIC-COOKIE-1 8ea792a81074c62518d53789faf9558d[/shell]
Now go to the unzipped database directory & run runInstallerscript.
[shell]$ cd database
$ ./runInstaller[/shell]
Note :Now the runInstaller script will make use of your local Windows PC for the DISPLAY_PARAMETER error faced earlier for enabling the 256 colors required for launching the oracle GUI for installation.
Press “Continue” for resuming the Oracle installation
Click Yes to continue installation
Click Yes to continue installation.

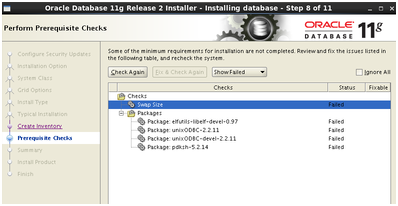
The pdksh package is not available in Oracle repository due to which you need to download and install it manually.
[shell]# wget ftp://rpmfind.net/linux/redhat-archive/6.2/en/os/i386/RedHat/RPMS/pdksh-5.2.14-2.i386.rpm[/shell]
During pdksh package installation you may encounter conflict error of ksh package. Remove ksh package forcefully and install the pdksh package with given below command:-
[shell]# rpm -e ksh-20100621-19.el6_4.4.i686 –nodeps
# rpm -ivh pdksh-5.2.14-2.i386.rpm[/shell]
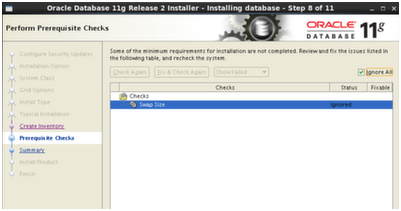
In case you face any more errors you can Check“Ignore All” checkbox& install the mentioned packages externally if required.
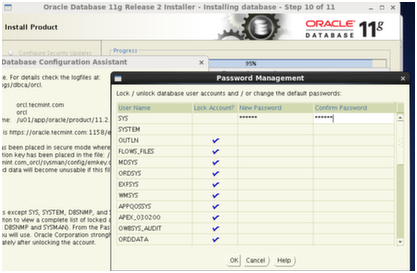
Click on Password Management
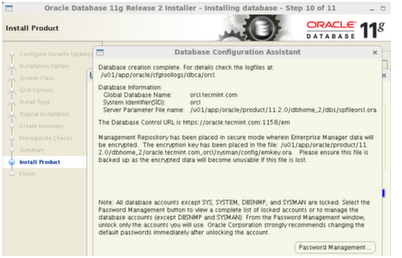
Set password for user “SYS”& click “OK” to continue.
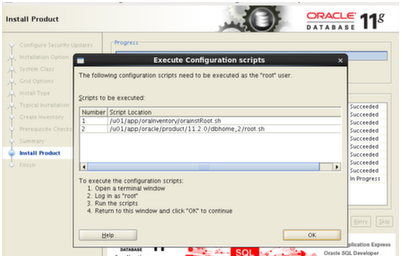
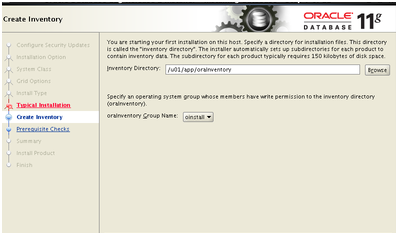
Run the following configuration scripts
[shell]
# cd /u01/app/oraInventory
# ./orainstRoot.sh[/shell]
Changing permissions of /u01/app/oraInventory.
Adding read,write permissions for group.
Removing read,write,execute permissions for world.
Changing groupname of /u01/app/oraInventory to oinstall.
The execution of the script is complete.
[shell]# cd /u01/app/oracle/product/11.2.0/dbhome_2/
# ./root.sh[/shell]
Running Oracle 11g root.sh script…
The following environment variables are set as:
[shell]
ORACLE_OWNER= oracle
ORACLE_HOME= /u01/app/oracle/product/11.2.0/dbhome_2
[/shell]
Enter the full pathname of the local bin directory:
[shell]
[/usr/local/bin]:
Copying dbhome to /usr/local/bin …
Copying oraenv to /usr/local/bin …
Copying coraenv to /usr/local/bin …
Creating /etc/oratab file…
[/shell]
Entries will be added to the /etc/oratab file as needed by Database Configuration Assistant when a database is created.
Finished running generic part of root.sh script.
Now product-specific root actions will be performed.
Finished product-specific root actions.
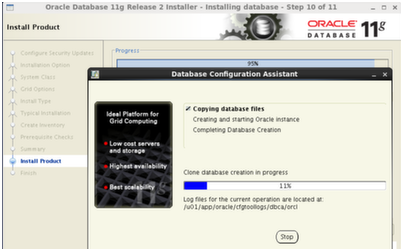
Installation of Oracle database is Successful;
<a href=”/blog/wp-ttn-blog/uploads/2013/12/15.png”><img class=”alignnone size-full wp-image-11293″ title=”15″ src=”/blog/wp-ttn-blog/uploads/2013/12/15.png” alt=”” width=”402″ height=”251″ /></a>
In order to check whether oracle is installed login as oracle user.
[shell]$ export ORACLE_SID=orcl
$ sqlplus / as sysdba
SQL*Plus: Release 11.2.0.1.0 Production on Tue Dec 24 01:37:49 2013
Copyright (c) 1982, 2009, Oracle. All rights reserved.
Connected to:
Oracle Database 11g Enterprise Edition Release 11.2.0.1.0 – 64bit Production
With the Partitioning, OLAP, Data Mining and Real Application Testing options
SQL>[/shell]
This completes the installation. Enjoy!!!!!
Hopefully the above mechanism will work on other Cloud environments as well.
Work Hard…..Party Harder…………!!!!!!!
https://youtu.be/jOrarHqj7X8
This helped in Ubuntu Linux
Great info. Thanks a ton.
Thanks for the good tutorial, now how do we connect from sqldeveloper? I am trying to connect but it throws ” Network adaptor could not establish
I am not able to download unzip files, giving me an error “unzip: cannot find zipfile directory in one of linux.x64_11gR2_database_1of2.zip or linux.x64_11gR2_database_1of2.zip.zip, and cannot find linux.x64_11gR2_database_1of2.zip.ZIP, period.”
Could you please help me with that.