App Automation lets you ensure that you can run your test-suite repetitively, with minimal effort & check the results whether its meeting your functional requirements or not. After each build-release, you need to follow the same procedure. But the challenge is to cover variety of phones & tablets and it is really impossible to test all mobile devices.
The solution is here, AWS introduce its Device Farm which offers you 250+ devices on iOS, Android & Fire OS platform.
How to use Device Farm to test an Android app?
The answer is in three simple steps:
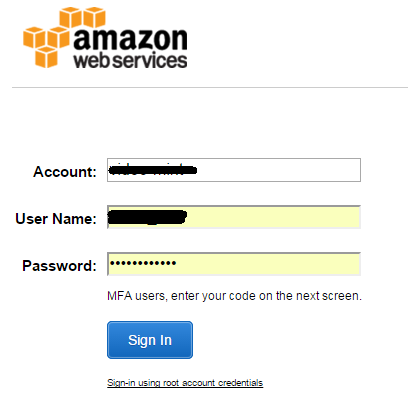
Step 1) Sign in to the Console
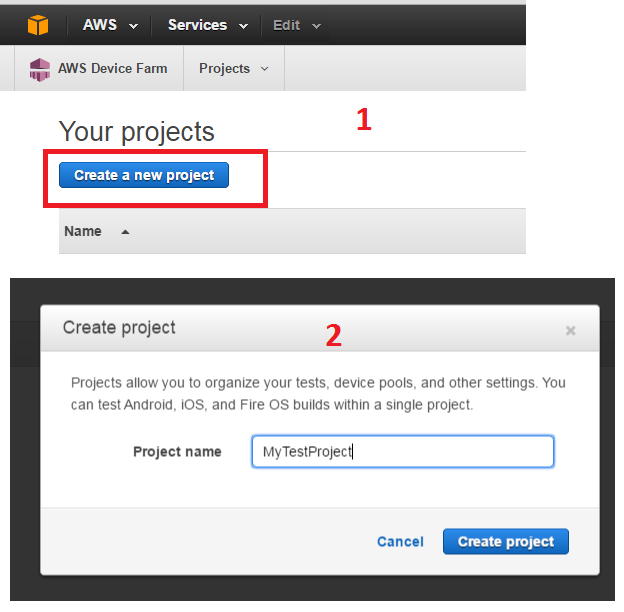
Step 2) Create a Project
Click this button, type your Project name & choose Create Project.
Step 3) Upload the build and Start a Run
After creating a project, go for Create a new run. Here you can run your set of tests, just you need to give an .apk file & your test scripts.
i) On Choose application page, under native application option, Upload an .apk file. After success upload, you can edit the Run name.
Go for Next step
ii) On the Configure test page, choose Appium Java TestNG as test suite and Upload your dependency-zip file. (to know: how to create dependency file, refer this blog How to provide your TestsScripts & Dependencies to AWS Device Farm)
Go for Next step
iii) On Select Device page, choose Top Devices to select the device pool, and then choose Next step. You can choose Curated pools option as well, if you have already selected the devices from the device collection.
iv) On the Specify device state page, you can do any of the following:
– To provide additional data while running your tests
– To install an additional app(another .apk file) which you’ll require as supporting app for one of your test,
– To specify whether Wi-Fi, Bluetooth, GPS, or NFC will be enabled during the run,
– You can give the coordinates of device latitude and longitude for the run,
– You can choose the locale also.
v) Now reconfirm your settings & choose Start run.
Once the test cases will complete then you’ll be able to view the Run’s Results.
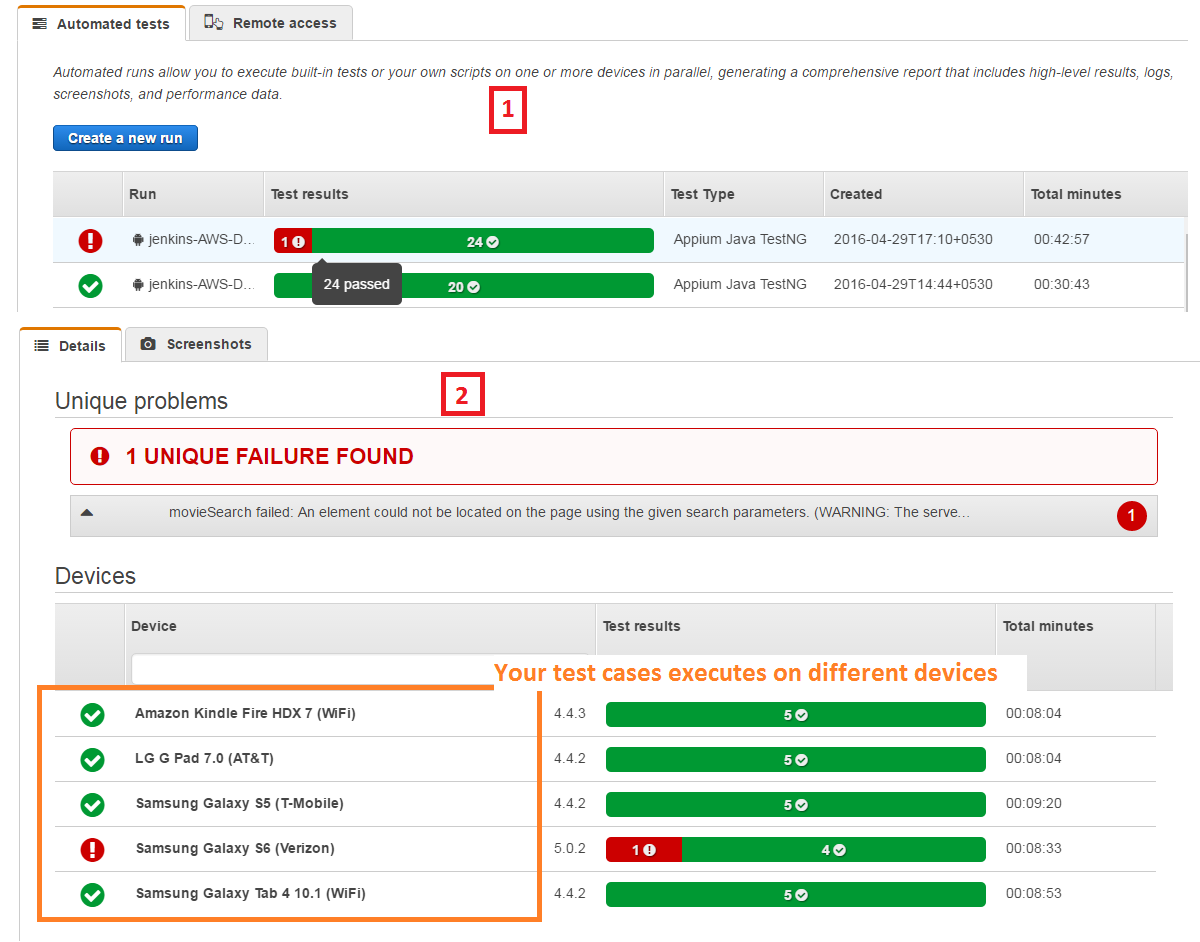
After completing the test-run, just click on your run, then you’ll see that your test-cases have executed on all those devices which you selected from device-pool.
On Test-Run detail page, there is another tab i.e. ‘Screenshots‘, which will display a list of all screenshots captured during your test & for capturing the screenshots during the test, you need to mention a small code in your test-script. & Your answer is here:
How to take Screenshots in Native & Web Application
[java]
public boolean captureScreenshot(final String name) {
String directory = System.getProperty("appium.screenshots.dir", System.getProperty("java.io.tmpdir", ""));
File screenshot = ((TakesScreenshot) driver).getScreenshotAs(OutputType.FILE);
return screenshot.renameTo(new File(screenshotDirectory, String.format("%s.png", name)));
}
[/java]
You can also handle your Test-Runs from Jenkins, just integrate your git repository with Jenkins using Jenkins CI Plugin.
I hope this will ease your Mobile App Automation 🙂
Awesome and quite helpful.