While working in any iOS application, we need to build our app for multiple environments i.e. Development, Production, UAT, QA. Now a days it becomes a common practice for any app to integrate social media, analytics, crash reporter, third party tools, sdks inside apps. Each of these environment have different set of urls to point to these servers, keys for these social media, analytics, crash reporter, third party tools, sdks.
If we are integrating many third party tools, social media platforms, sdks in our app then it becomes more complex for a iOS developer, while running the app for different environment, ensure that app is using the correct keys for these third party tools, social media platforms, sdks for the particular environment.
For the simplex and correct use of these servers with correct set of keys we have to work with multiple Xcode schemes and custom project configurations for build environments inside the app. We need to be able to quickly and easily switch between configurations without messing with compiler flags or manually modifying variables in your project.
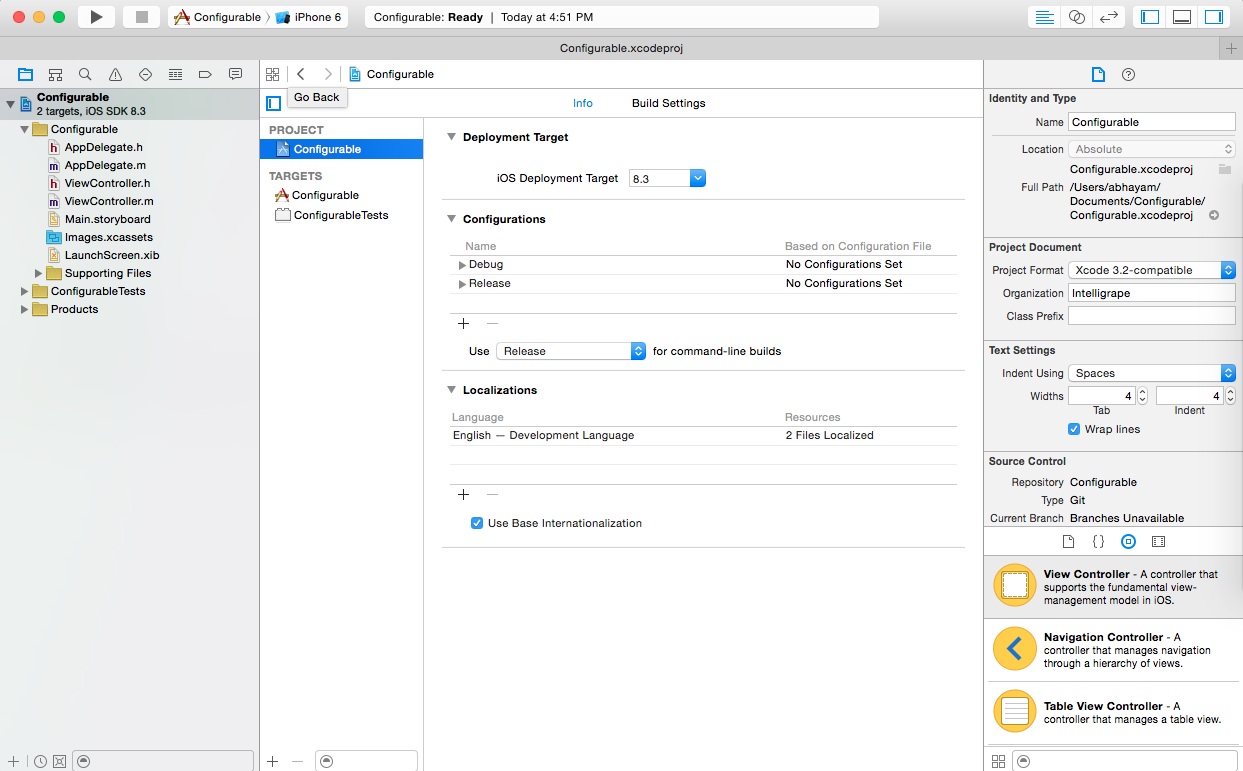
Create A New Project:
when we create a new project, select your project in the project navigator and see info tab, it automatically comes with 1 scheme (named with project name) and 2 configurations (named ‘Debug’ & ‘Release’) without any configuration file.
Creating Configurations:
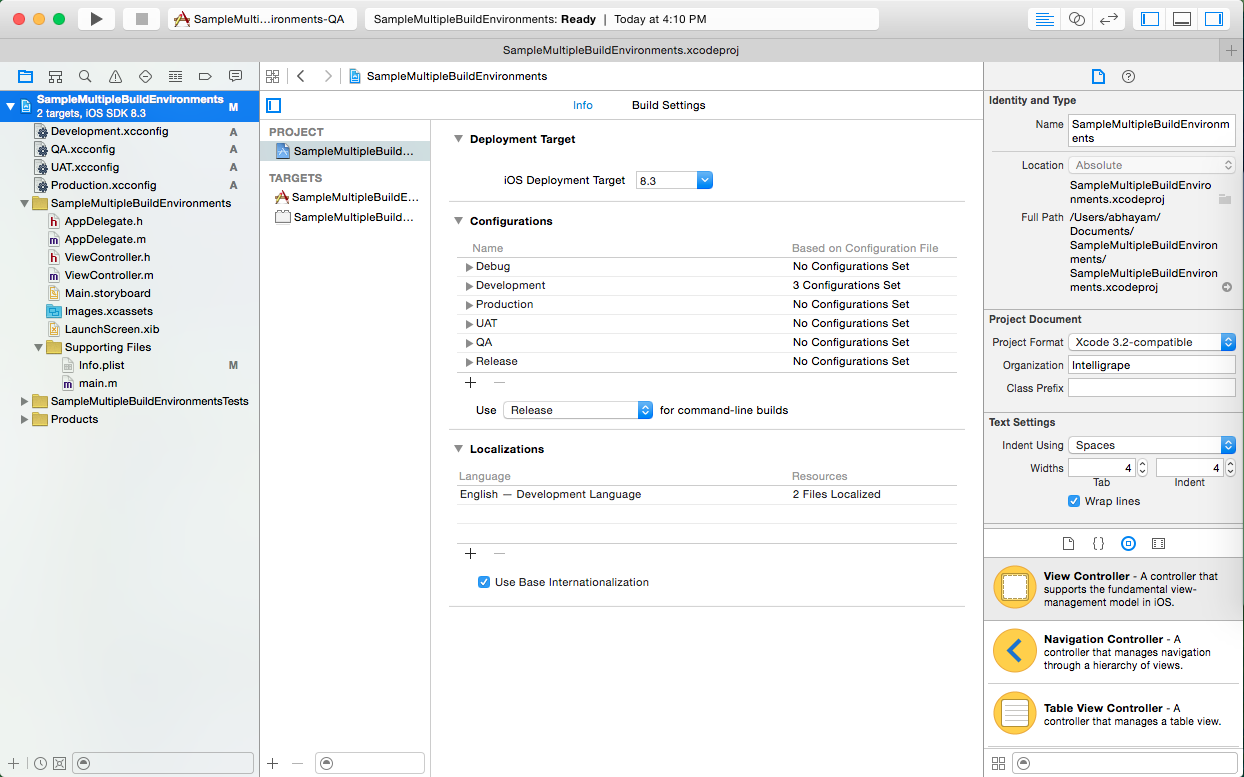
We will go ahead by creating Development, Production, UAT, QA environments. So we will create 4 configurations each for an environment.
Click the + button below the configuration tab, select ‘duplicate debug’ for each new configuration and provide the name for it.
Adding Xcode Schemes:
Add Xcode scheme for each of these environments by following the steps below.
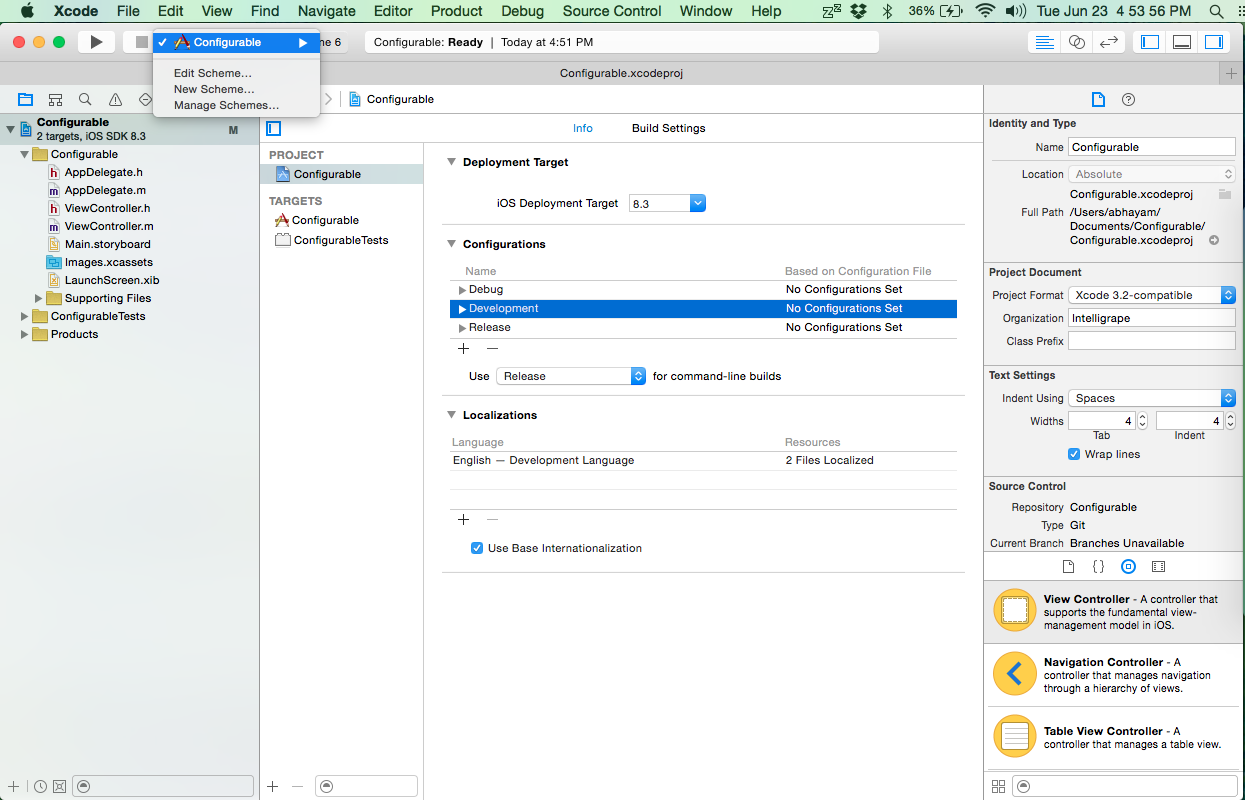
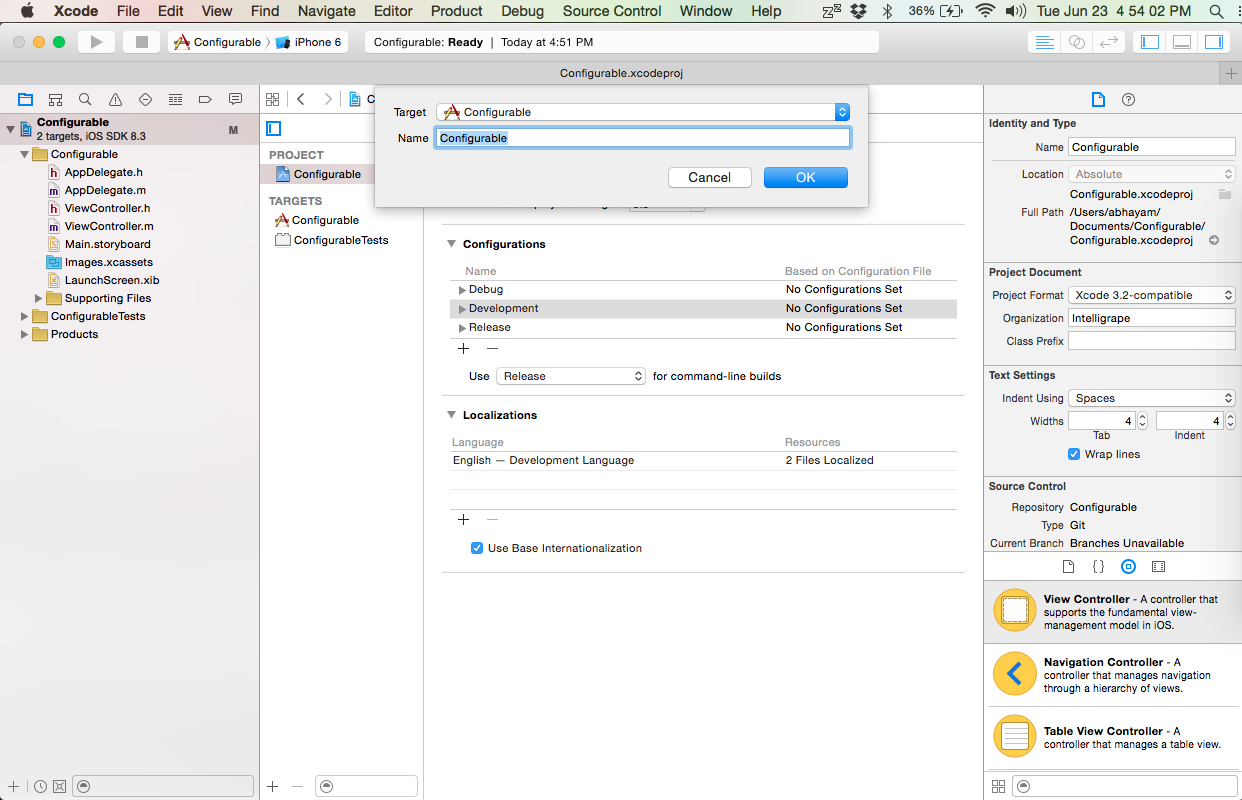
- Click the current scheme, select New Scheme from the menu that appears
- Name the new scheme Development.
- With the new scheme selected, click the scheme and select Edit Scheme from the menu.
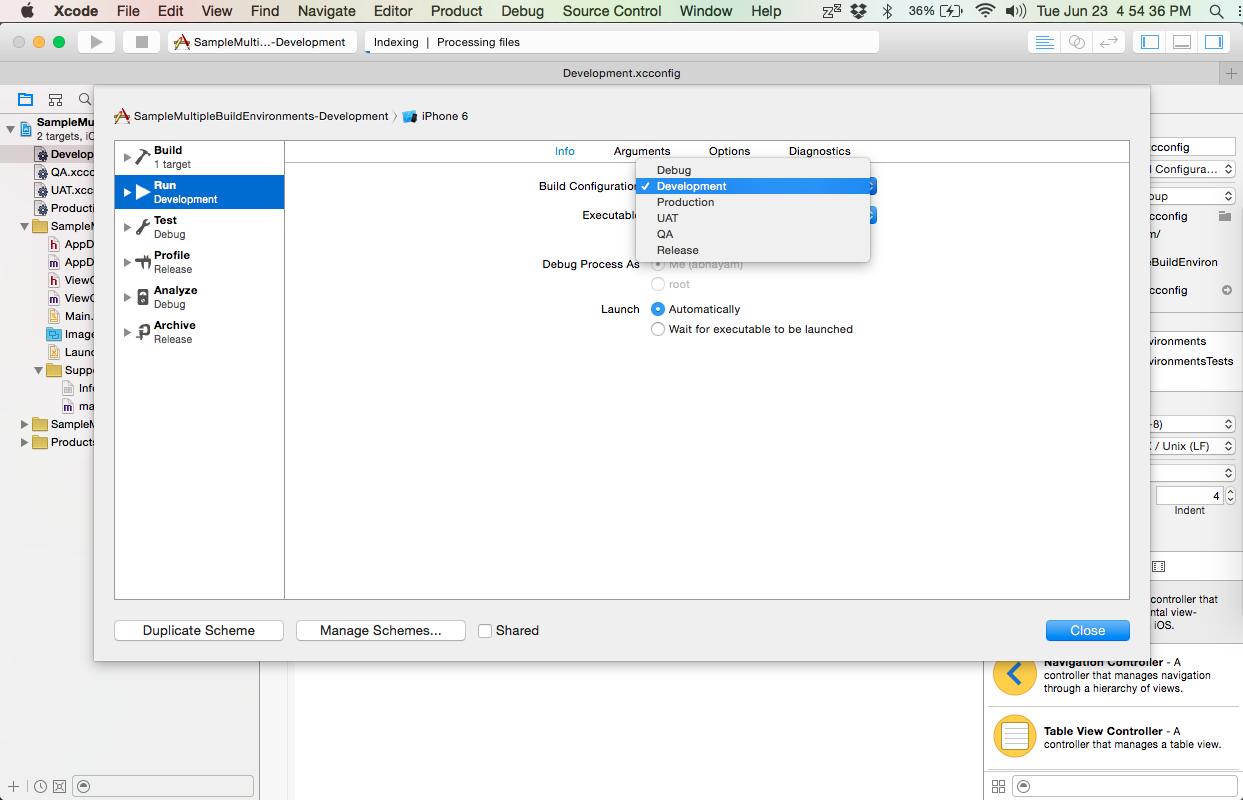
- Select Run Configurable from the left pane, open the Info tab at the top, and set the Build Configuration to Development.
- Create an Xcode scheme for the UAT , QA and Production configurations by repeating the above steps.
Adding Configuration Settings File:
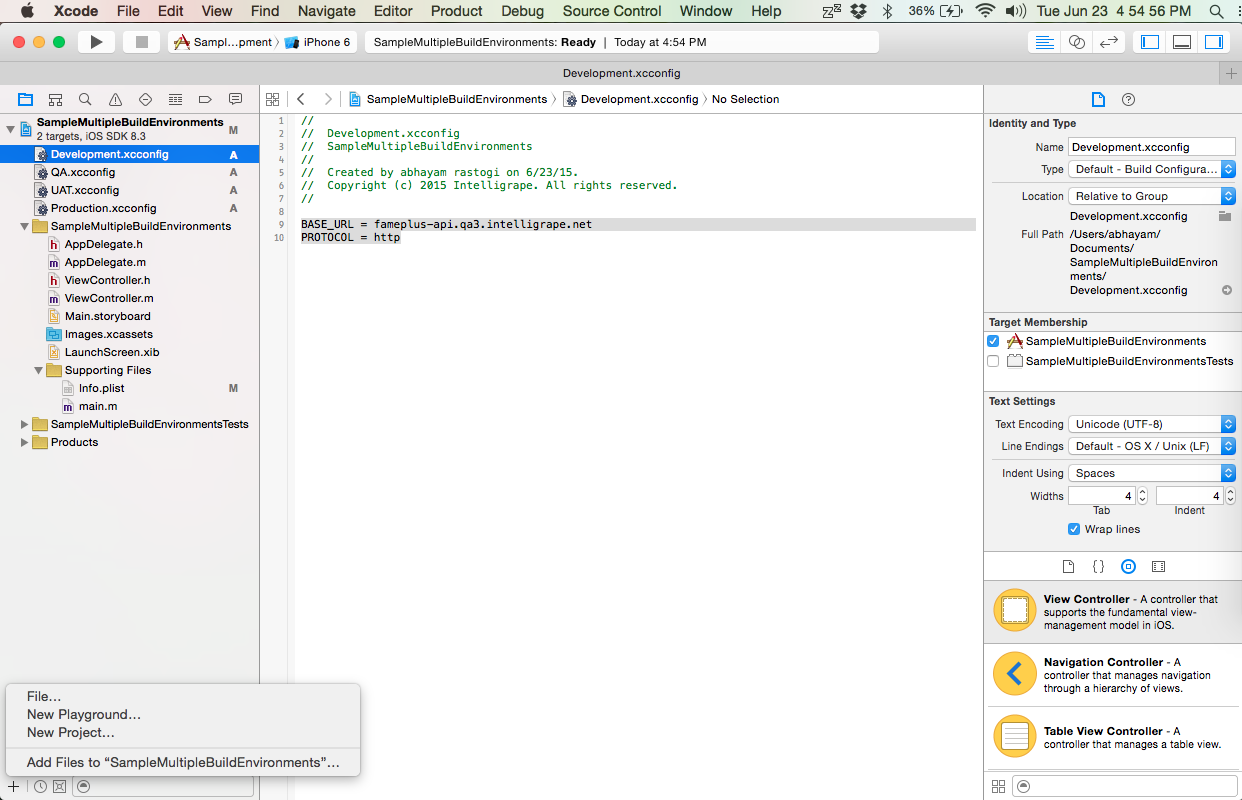
Add Configuration Settings File in your project.
- Select project in your project navigator pane.
- Click + button below in project navigator pane. Select file option.
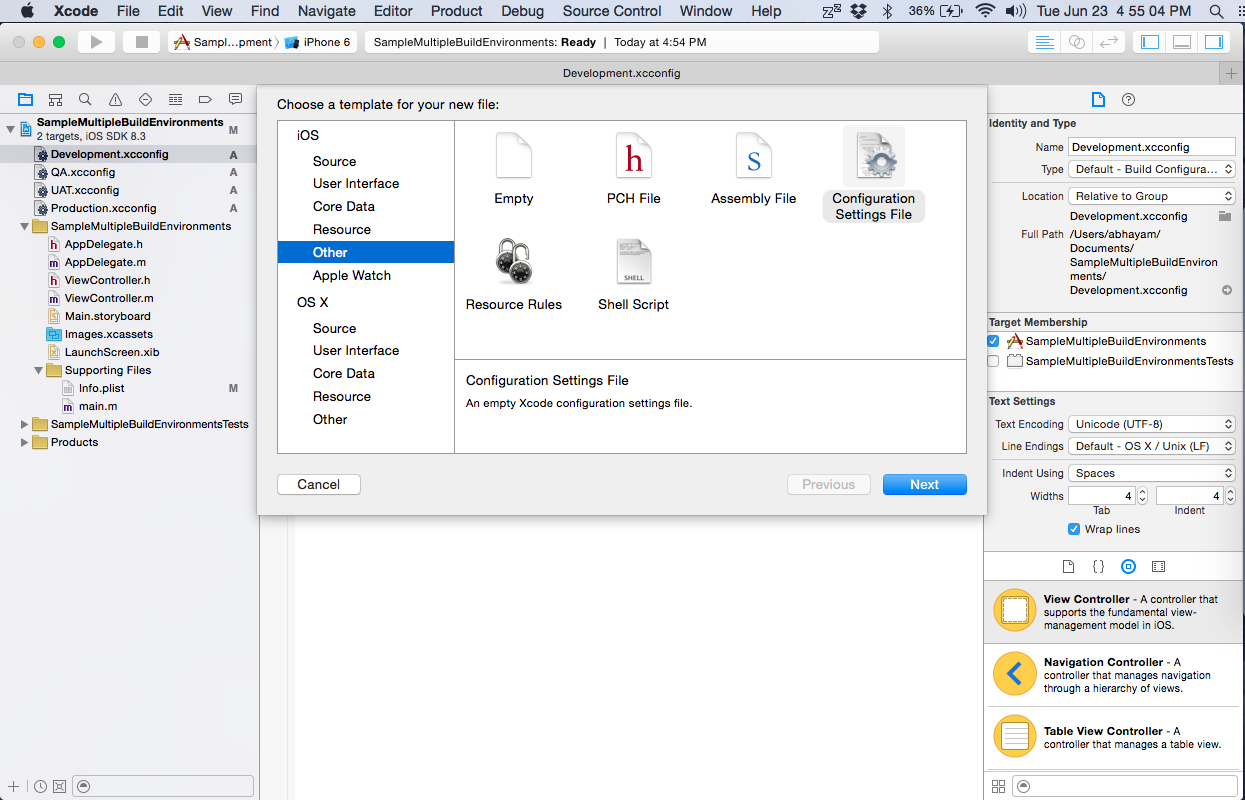
- Select other under iOS section. Select configuration Settings file. Click next. Name it and add.
- repeat 1-3 for each configuration.
Select Configuration Files for the Configurations:
Select Project in Project navigator pane. Go to configurations section. Expand Development, select development configuration file for it in all three section.
Repeat the above process for UAT , QA and Production.

Adding Environment variables in configuration file:
Add your entries in Configuration files i.e. I will add some key for Base_url and protocol to call a web service.
BASE_URL = fameplus-api.qa3.intelligrape.net

PROTOCOL = http
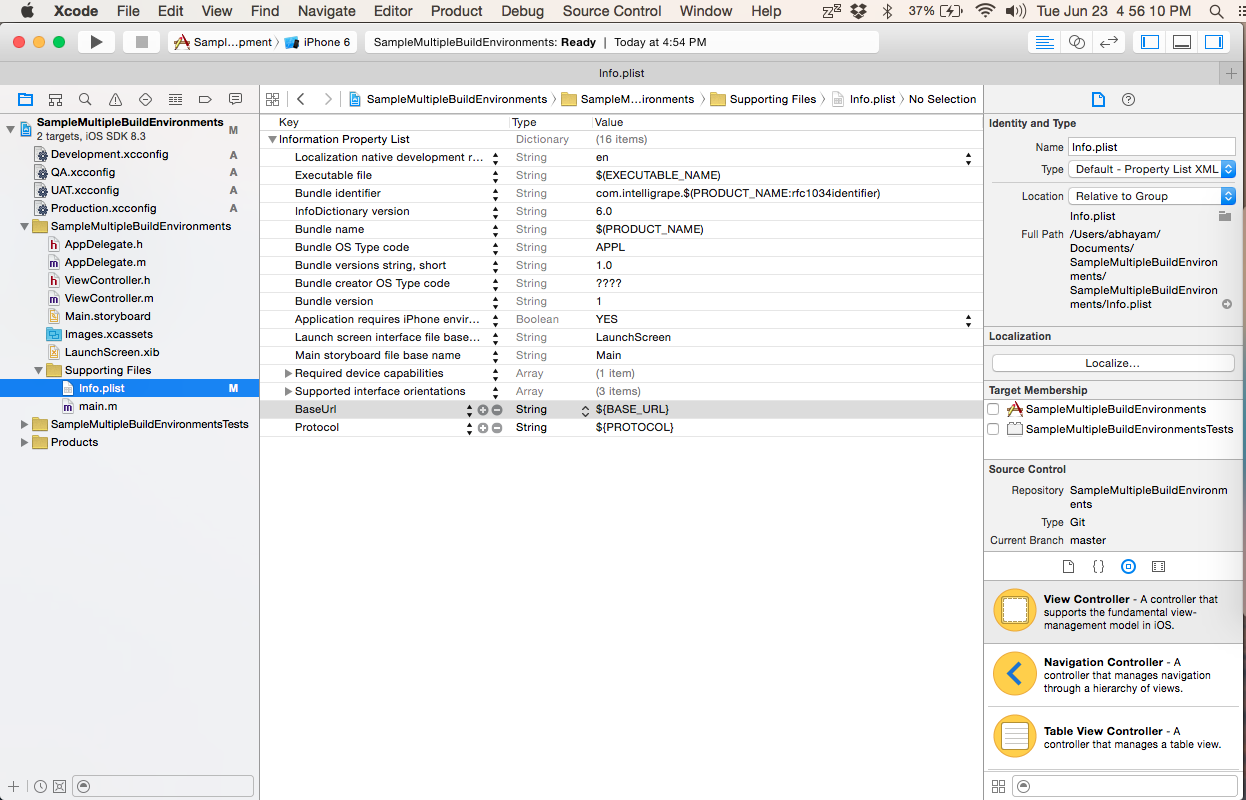
Add environment variables into Info.plist:
Add the entries in info.plist file as well.
Code to fetch environment variables:
Now to fetch base url and protocol from info.plist use following code.
baseUrl = [[NSBundle mainBundle] infoDictionary][@"BaseUrl"];

protocol = [[NSBundle mainBundle] infoDictionary][@"Protocol"];
Now select the particular scheme to run the app in particular environment.
Hi. Thank you for this wonderful tutorial. I have a question though. Where should the code of “baseUrl = [[NSBundle mainBundle] infoDictionary][@”BaseUrl”];” be added?
Thank you.
Very well explained process. Awesome. Thanks in advance.