AWS has great set of tools which helps simplify the deployment process in their cloud and one such tool is AWS CodeDeploy. In this blog, we will deploy the application using AWS CodeDeploy using S3.
Read our blog on: AWS CodeDeploy – A Sample Walkthrough
Consider a use case where you have 20 instances and you want to deploy your code or change the configuration file of these instances. The only solution would be to login into each particular instance and then changing the configuration file. AWS CodeDeploy lets you do this in just few steps . You just create a deploy application and your code will be deployed in all these 20 instances.
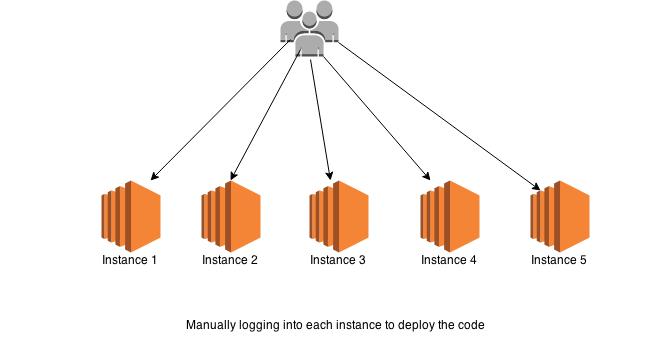
Deploying code without using AWS CodeDeploy

Deploying code using AWS CodeDeploy
There are two ways to deploy code in Amazon Web Services:-
- Using GIT
- Using AWS S3 (Simple Storage Service)
Here, we will deploy the code using Amazon S3 service. Let us also understand few useful terms which will be used in the deployment process:
- AppSpec file:- It is an Application Specification file. It is a unique file that defines a series of deployment actions that you want CodeDeploy to execute.
- Deployment Application:- The unique name which will be given to your Deployment Application.
- Revision:- It is a combination of AppSpec file and other files such as scripts, images, index files, media etc.
- Deployment Group:- It is defined as a group of individual instances and auto-scaled instances.
- Deployment Configuration- It lets you side that how you want your code to be deployed:- one at a time/ half at a time/ all at once.
Deploying Code Using AWS S3
We’ll take a simple example to deploy the code using S3. We are deploying the code in a single instance and are launching a single t2.micro instance. Launch the instance and install nginx in it as we are going to change the front page or index.html of the nginx default configuration. You can install nginx by logging into the instance and typing the following commands: sudo apt-get update sudo apt-get install nginx -y
Now lets move towards Code Deploy into an instance
Before starting with CodeDeploy, we need to have :-
- Two IAM ROLES : one role will be given to EC2-instances to access s3 buckets and the other role is given to CodeDeploy service to choose Ec2-instances based on their tags.
- One S3 bucket containing the appspec file, scripts and other files into a tar,gz or bz2 file (compressed format file). You need to store the compressed file into the S3 bucket. The files will automatically be compressed at the time of Deployment.
IAM Role Given to AWS CodeDeploy to access your EC2-instance
[js]
{
"Version": "2012-10-17",
"Statement": [
{
"Action": [
"autoscaling:PutLifecycleHook",
"autoscaling:DeleteLifecycleHook",
"autoscaling:RecordLifecycleActionHeartbeat",
"autoscaling:CompleteLifecycleAction",
"autoscaling:DescribeAutoscalingGroups",
"autoscaling:PutInstanceInStandby",
"autoscaling:PutInstanceInService",
"ec2:Describe*"
],
"Effect": "Allow",
"Resource": "*"
}
]
}
[/js]
IAM Role Given to EC2-instances to access S3 Buckets
[js]
{
"Version": "2012-10-17",
"Statement":
[
{
"Action":
[
"s3:Get*",
"s3:List*"
],
"Effect": "Allow",
"Resource": "*"
}
]
}
[/js]
Trusted Relationship With AWS CodeDeploy IAM Role
[js]
{
“Version”: “2012-10-17″,
“Statement”: [
{
“Sid”: “”,
“Effect”: “Allow”,
“Principal”: {
“Service”:
[
"codedeploy.us-east-1.amazonaws.com",
"codedeploy.us-west-2.amazonaws.com"
]
},
“Action”: “sts:AssumeRole”
}
]
}
[/js]
We also need to install AWS CodeDeploy Client to our instance. It will allow the code to be deployed into the instance. You can install the code-deploy client onto your instance by the following process:
Installing AWS CLI and AWS CodeDeploy Agent on Ubuntu 14.04 LTS :
[js]
sudo apt-get update
sudo apt-get install awscli
sudo apt-get install ruby2.0
cd /home/ubuntu
sudo aws s3 cp s3://aws-codedeploy-us-east-1/latest/install . –region us-east-1
sudo chmod +x ./install
sudo ./install auto
[/js]
Understanding APPSPEC FILE
AppSpec is the heart of CodeDeploy and is written in YAML. AppSpec defines how the application code will be deployed on deployment targets and which deployment lifecycle event hooks to run in response to various deployment lifecycle events. It should be in the root of an application source code’s directory structure.
High Level Structure of AppSpec File:
|
1
2
3
4
5
|
version: 0.0
os: operating–system–name
files: source–destination–files–mappings
permissions: permissions–specifications
hooks: deployment–lifecycle–event–mappings
|
Hooks: scripts to run at specific deployment lifecycle events during the deployment. The available event hooks are:
- ApplicationStop: events to be performed when application is stopped
- DownloadBundle: occurs when CodeDeploy agent downloads bundle from S3 bucket
- BeforeInstall: occurs before AWSCodeDeploy starts deployment of application code to deployment target
- Install: AWSCodeDeploy copies files to deployment targets
- AfterInstall: occurs once files are copied and installed to deployment targets
- ApplicationStart: occurs just before your application revision is started on the deployment target
- ValidateService: occurs after the service has been validated
The sample AppSpec file used is as shown below:
[js]
version: 0.0
os: linux
files:
– source: /
destination: /usr/share/nginx/html
hooks:
BeforeInstall:
– location: scripts/install_dependencies.sh
timeout: 300
runas: root
AfterInstall:
– location: scripts/afterinstall
timeout: 300
runas: root
ApplicationStart:
– location: scripts/start_server
timeout: 300
runas: root
ApplicationStop:
– location: scripts/stop_server
timeout: 300
runas: root
[/js]
While creating an instance you need to attach the s3 bucket role with your instance and after that you need to install AWS CLI and AWS Code Deploy Agent using the above procedure. Now you are ready to create the CodeDeploy Application.
Creating AWS CodeDeploy Application
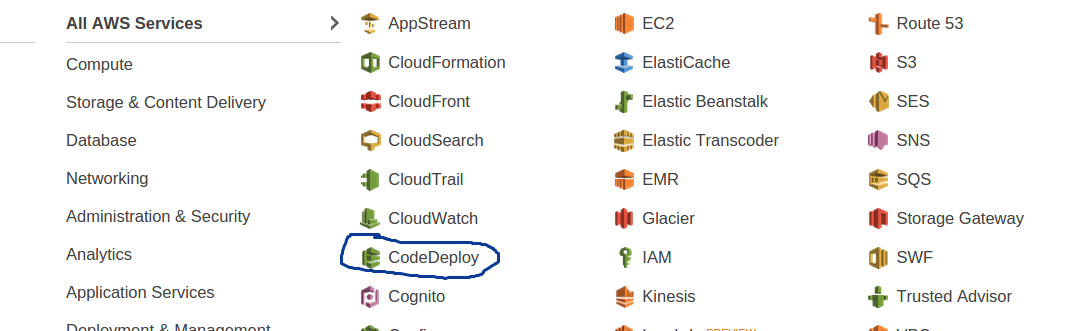
Sign in to the AWS Console . Go to the services and click on “Code Deploy” as shown below.
- Now a new window will open as shown below. Click on “Create New Application” button. It will open up the prompt to create a new application.

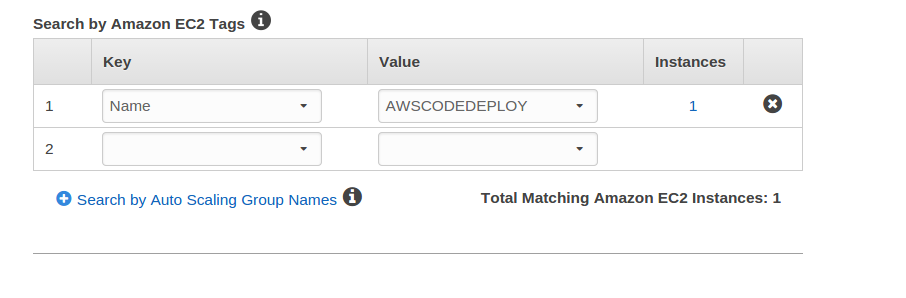
- A new window will appear which ask about the details for creating an application. Enter Application Name, Application Group Name and choose instances to which you want to deploy the code using the Key and Value. Choose your Deploy Configuration :- One at a time /Half at a time /All at a time . This configuration lets you choose how you want to deploy your code.
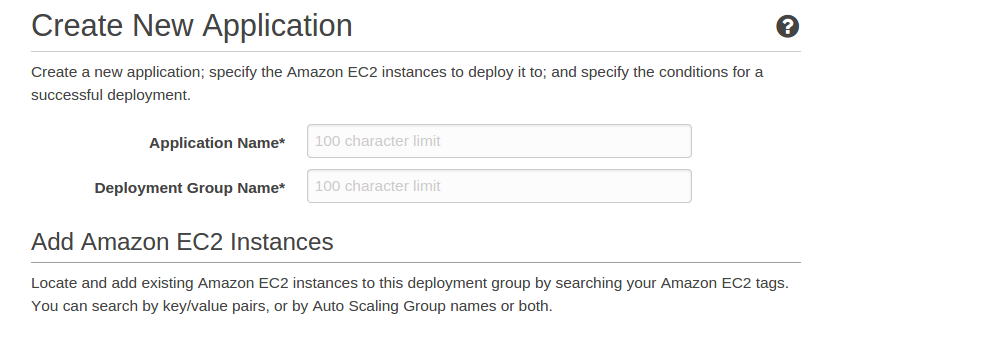
Enter the application name and Application Group Name
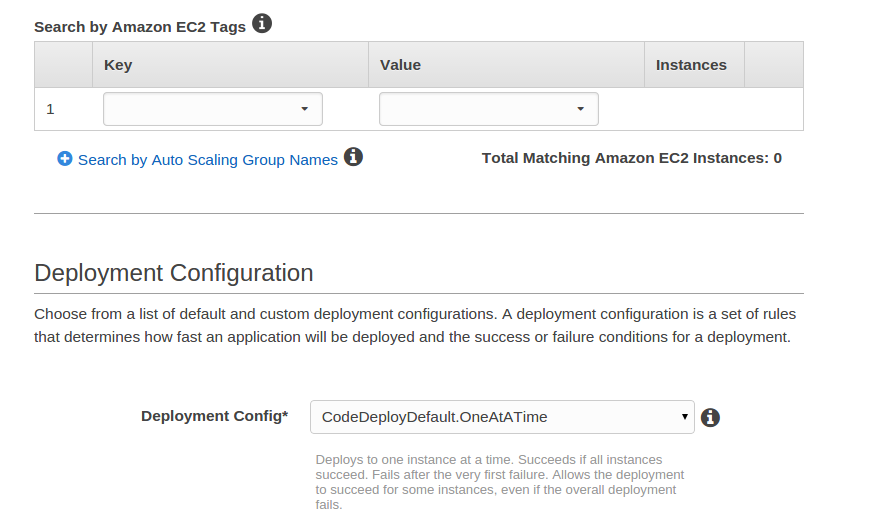
Choose instances based om their Key and Value
- Then Click on “CREATE APPLICATION ” button. Your application will be created and new window will appear as shown below.
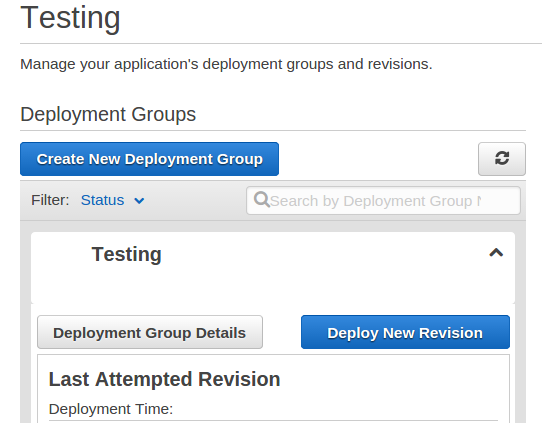
- You have to create a new revision. Click on Deploy New Revision button to create a new revision.
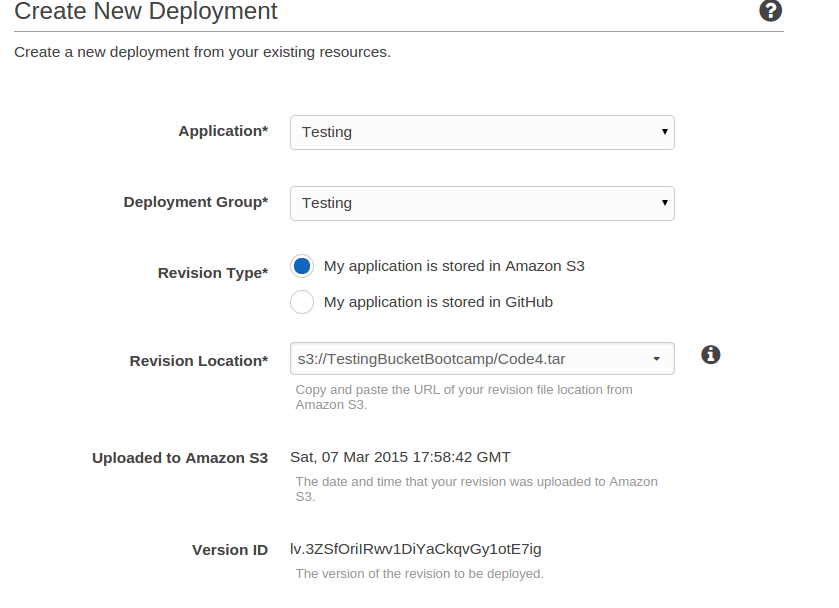
- Now enter the Application Name, Deployment Group Name. Choose Revision type :- “My application is stored in Amazon S3.”. Give the Revision Location i.e. location of Bucket and the file name. (You can also copy the full path of file from AWS S3 and paste it here). After entering all the details, click on Deploy Now. Now your application and code is being deployed. Wait for few seconds and then refresh.

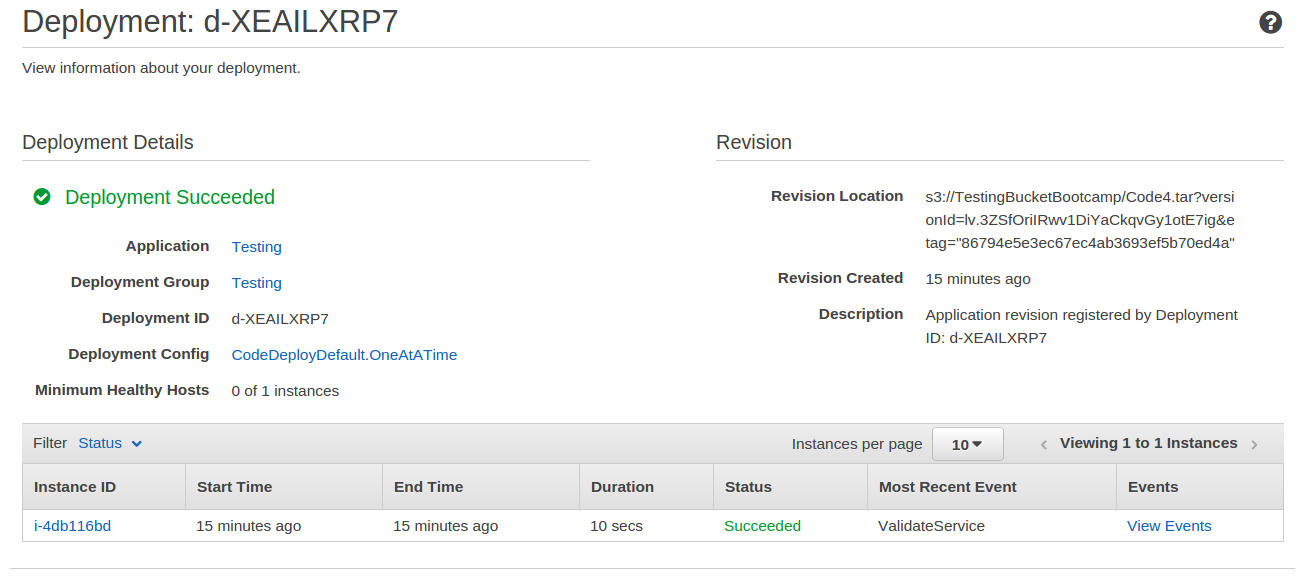
- The status will appear as Succeeded. You can now hit the IP of your instance and you will get the index page that you deployed.
Pingback: Continuous Deployment dengan AWS CodeDeploy – Kudo Dev Blog
Pingback: Delete file from Amazon s3 using Javascript sdk | TO THE NEW Blog