How we can setup CDN on Microsoft Azure with storage?
What is CDN?
A content delivery network (CDN) is a system of distributed servers (network) which deliver webpages and other Web content to a user based on the geographic locations of the user, the origin of the webpage and a content delivery server.
Reasons to use CDN
- Different domains
Browsers have limit of number of concurrent connections (file downloads) to a single domain. Most permit four active connections so the 5th download is blocked until one of the previous files has been fully retrieved. You can often check this limit in action when downloading many large files from the same site.
CDN files are hosted on a different domain. Really, a single CDN permits the browser to download a further four files at the same time.
- Files may be pre-cached
JQuery is ubiquitous on the web. There is a high probability that someone visiting our website’s pages has already visited a website using the Google CDN. Therefore, the file has already been cached by your browser and would not need to be downloaded again.
- High-capacity infrastructures
You may have great hosting but as per my understanding it doesn’t have the capacity or scalability offered by Google, Microsoft or Yahoo. The better CDNs offer higher availability, lower network latency and lower packet loss.
- Distributed data centers
If main web server is based in Washington, users from Europe or Asia must make a number of trans-continental electronic hops when they access files. Many CDNs provide localized data a center which are closer to the user and result in faster downloads.
- Built-in version control
It is usually possible to link to a specific version of a CSS file or JavaScript library. We can often request the “latest” version if required.
- Usage analytics
Many commercial CDNs provide file usage reports since they generally charge per byte. Those reports can supplement our own website analytics and, in some cases, may offer a better impression of video views and downloads.
- Boosts performance and saves money
A CDN can distribute the load, save bandwidth, boost performance and reduce our existing hosting costs.
Step by step approach to create storage and integrate that storage account with CDN
- Login with existing Azure account or Signup with new account
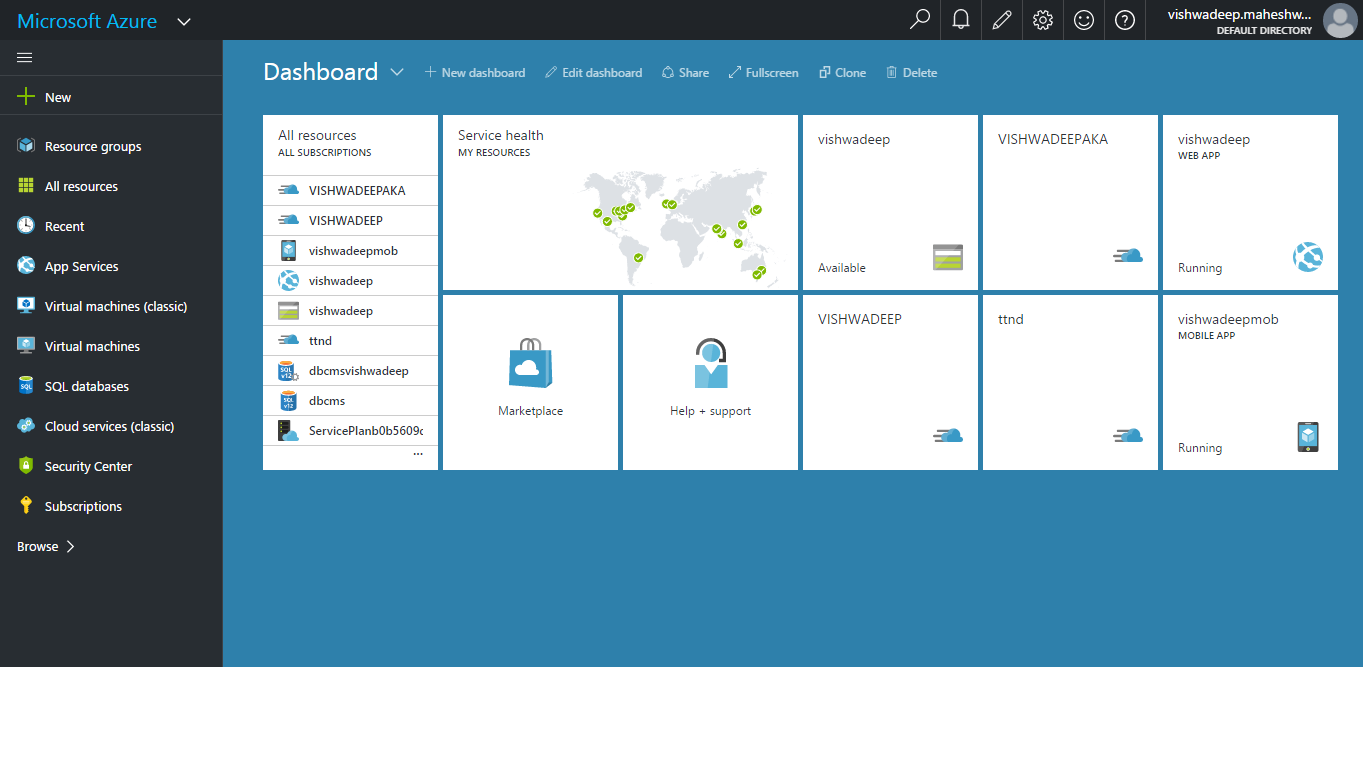
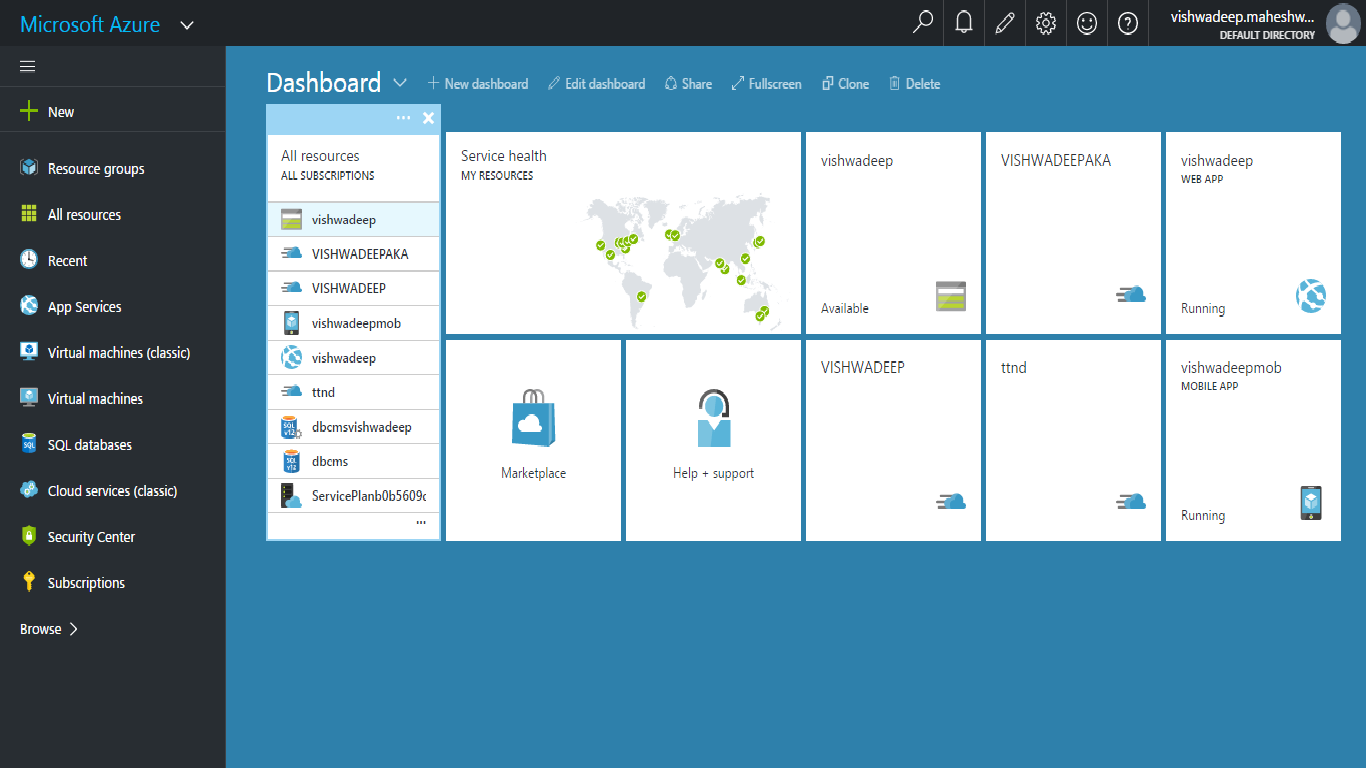
After getting successful signup or login, user will be redirected on dashboard as given in below screen shot:-
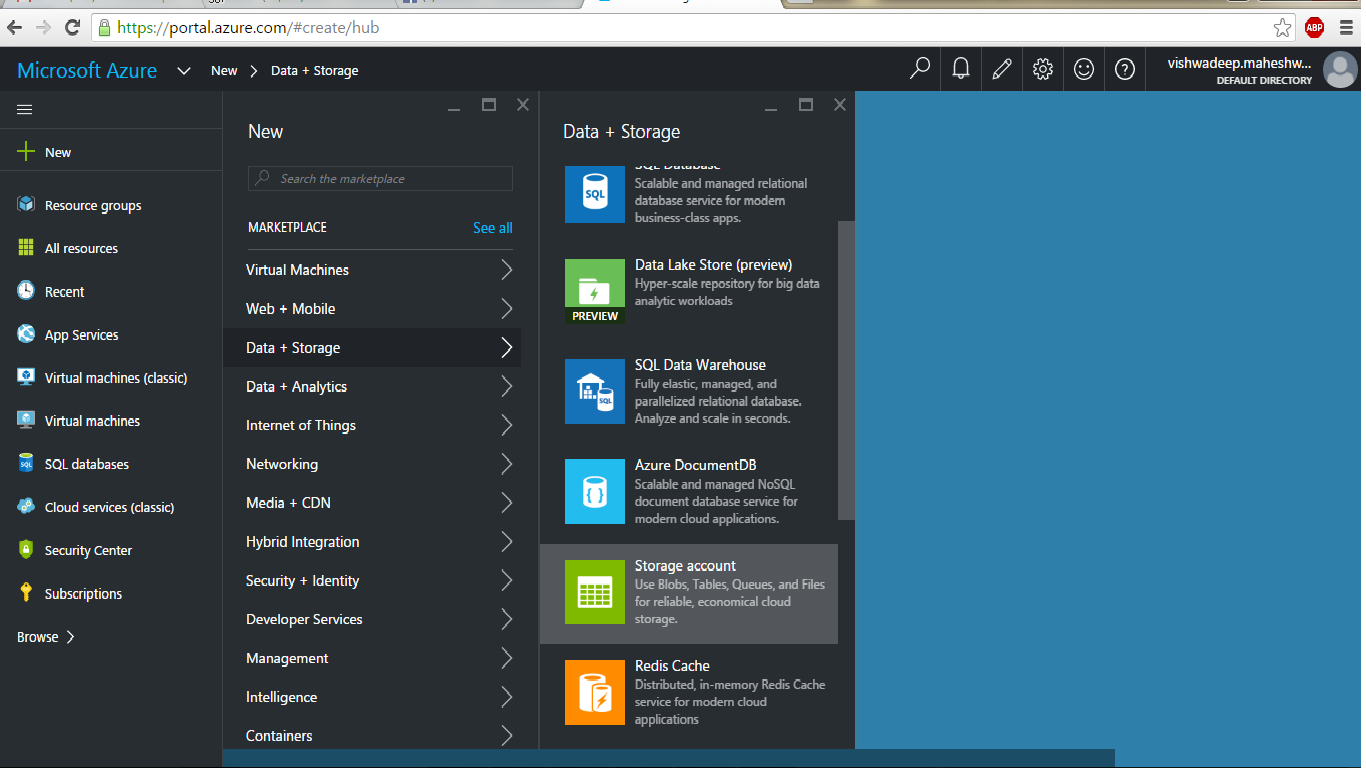
- Create Blob Storage Account on clicking on +New button as given below screen :-

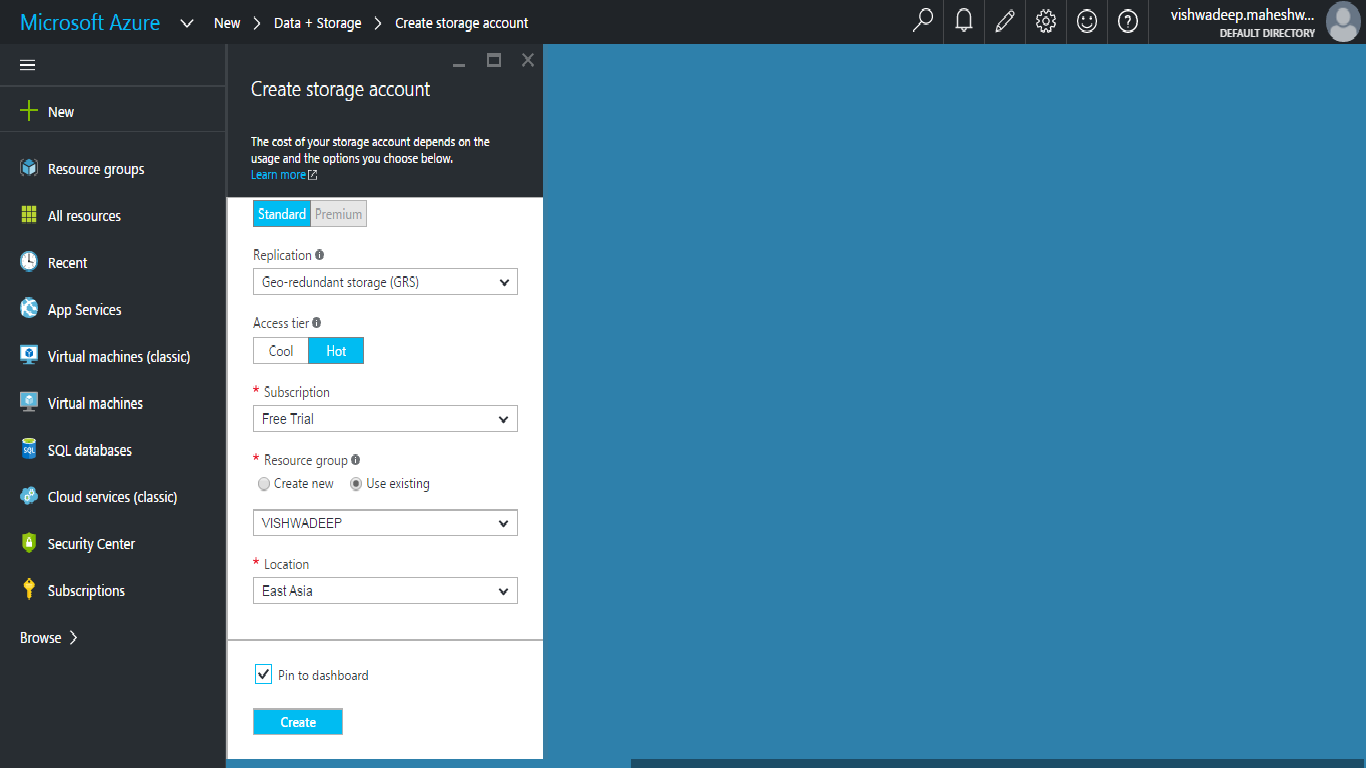
User has to fill required details such as storage account name, account kind, replication, subscription, resource group and location to create new storage account. After successful creation of storage account, user has to create container which is used to store content, image, video etc. as given below screen shot:-
Click on storage account name as given in above screen shot.
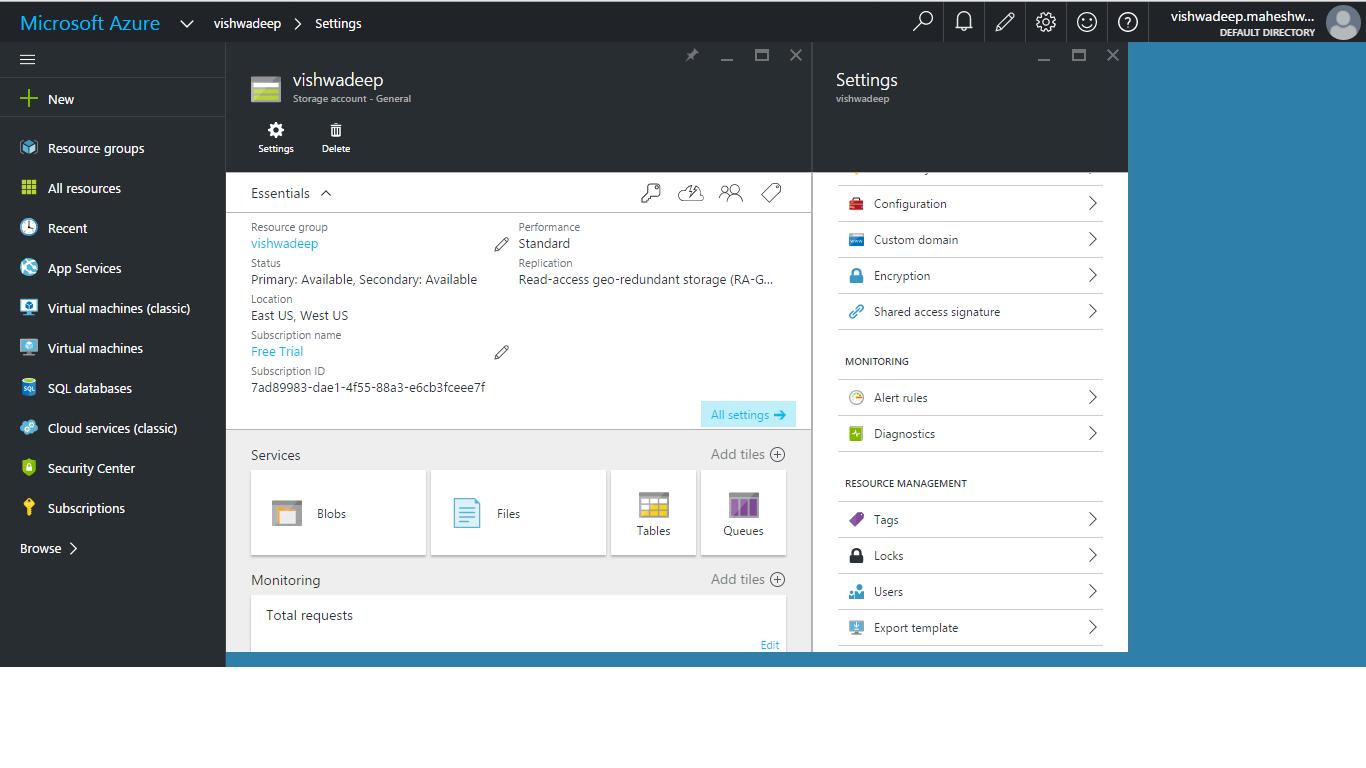
Click on Blobs as shown in above screen shot .
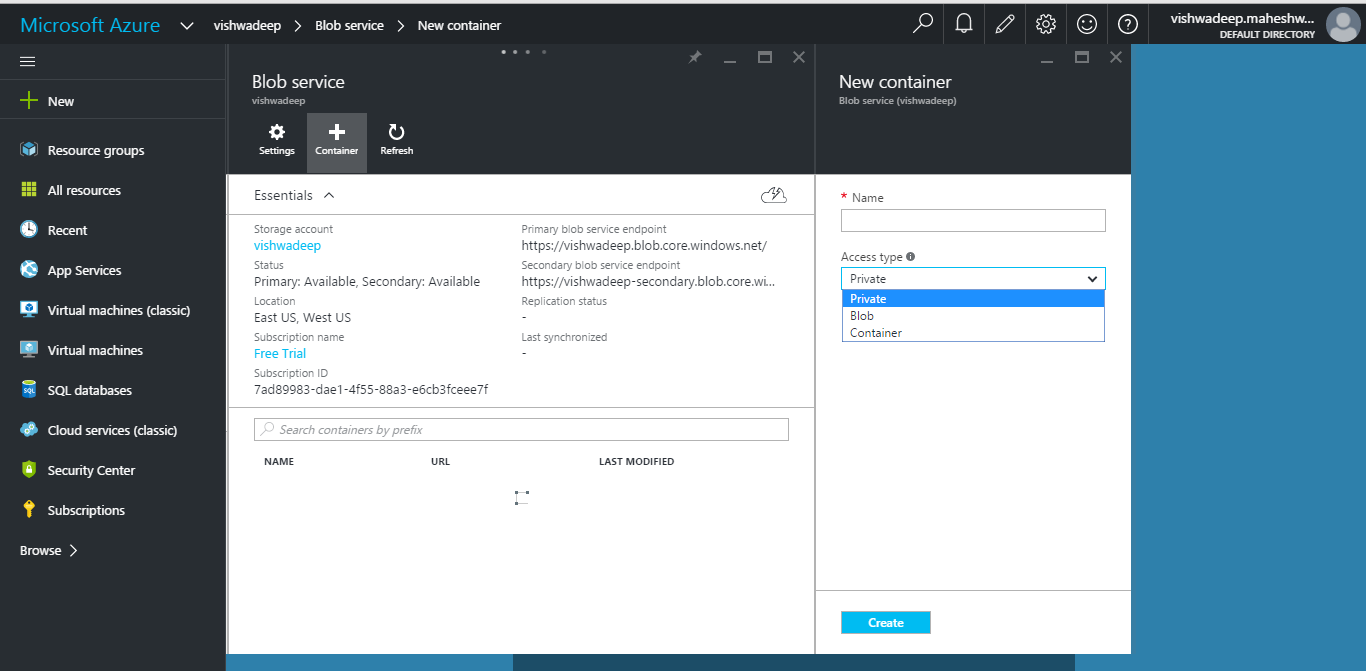
Create container by filling container name e.g. image, css, video etc. and select access type as Private, Blob or container as shown in above screen shot.
Now storage account creation process is completed and user’s storage account is ready to use.
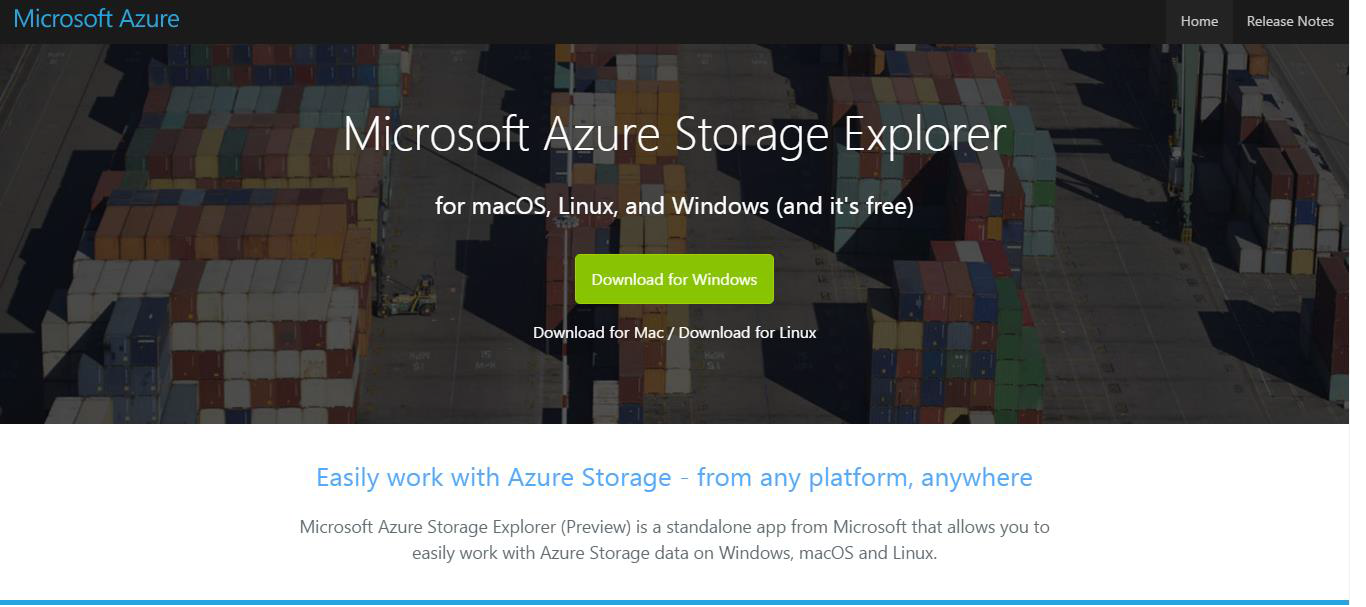
User has to download Microsoft Azure Storage Explorer to Upload and Download content files on his Azure storage account. The link to download is http://storageexplorer.com/.
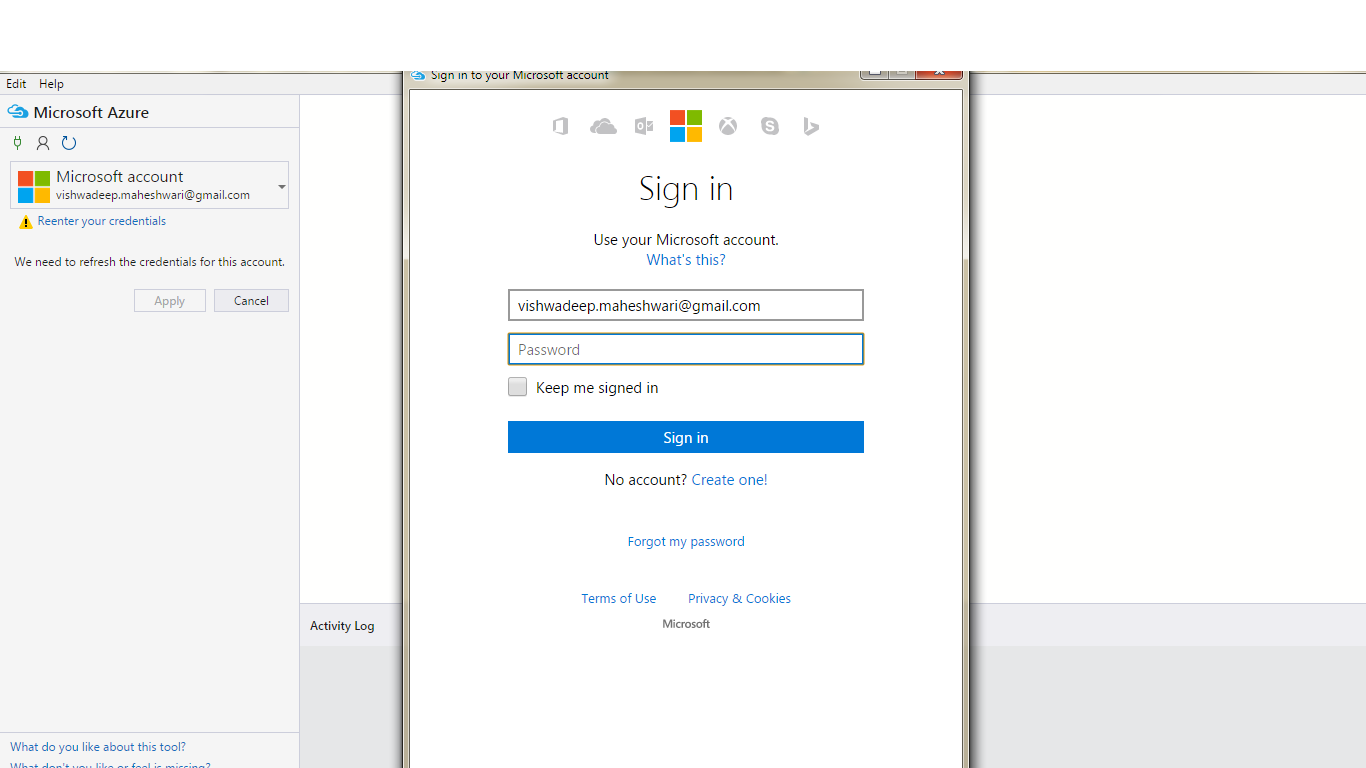
After downloading and installing it on system, user has to login with same credentials which he/she used to login with azure account as given below screen shot:-
After getting successful login with his/her account user will be redirected to his/her account dashboard screen as given below screen shot:-
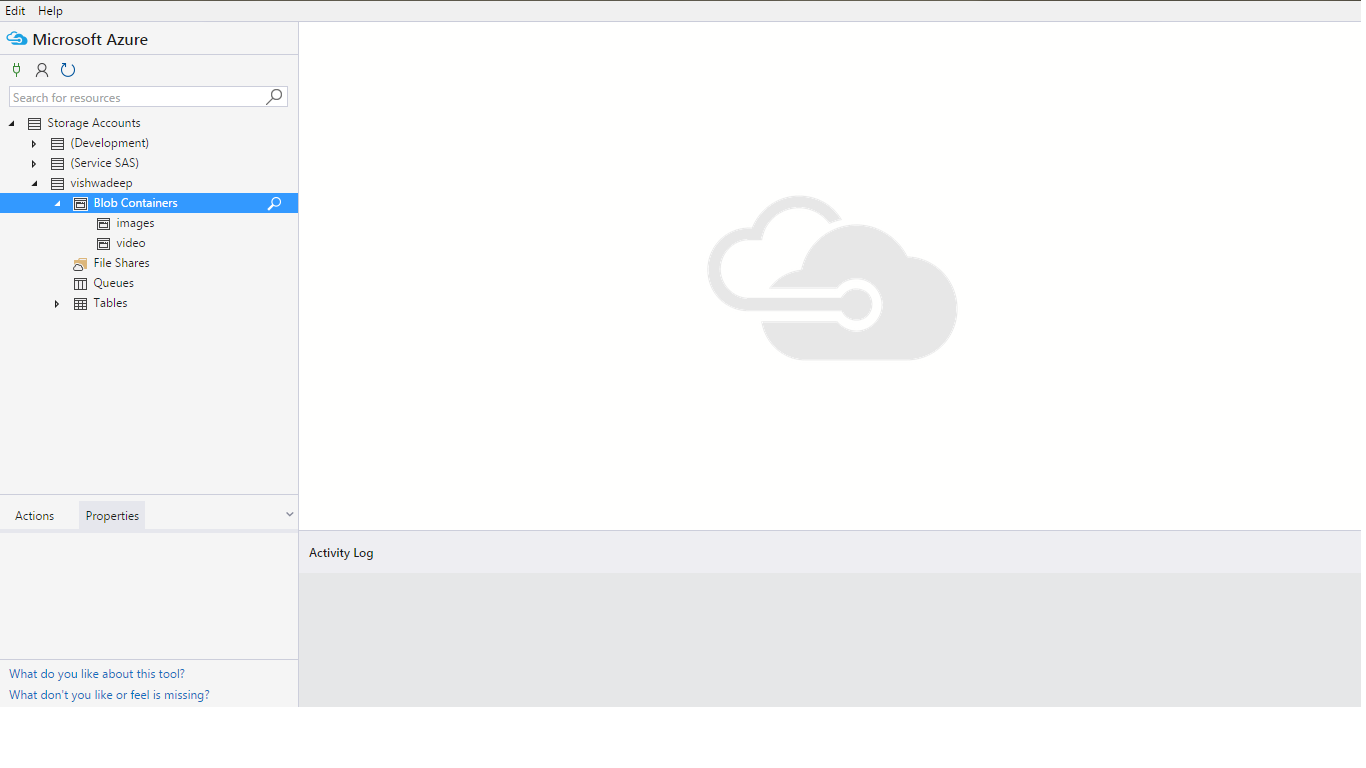
Open container which you created in window azure storage account as shown in above screen shot.
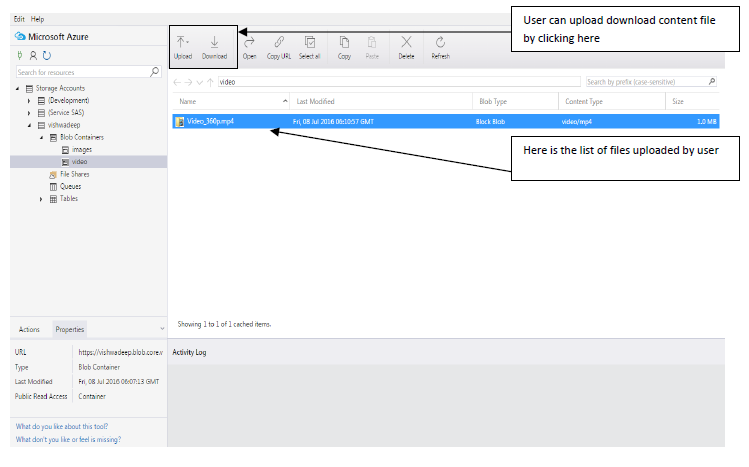
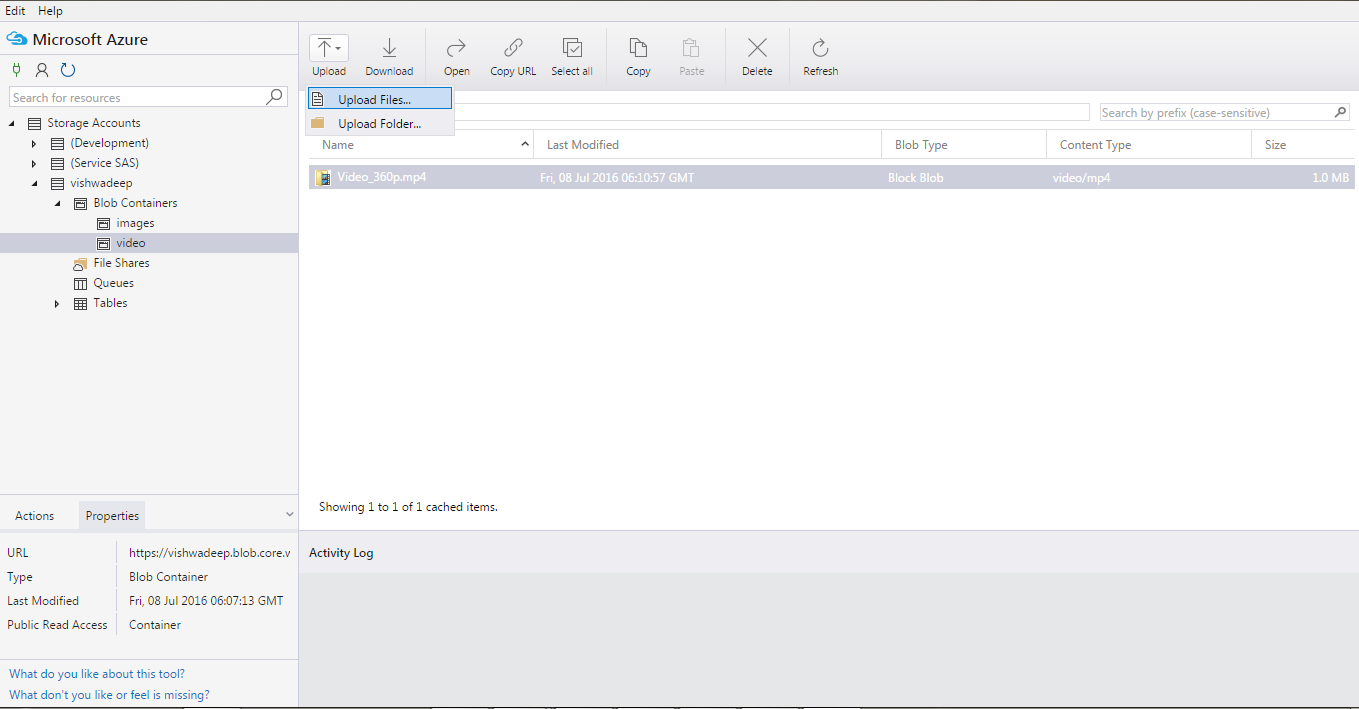
Upload content file as given below screen shots.
Now user can get file url to access as given below screen shot:-

After getting uploaded file successfully on storage will be shown as in given below screen shot:-
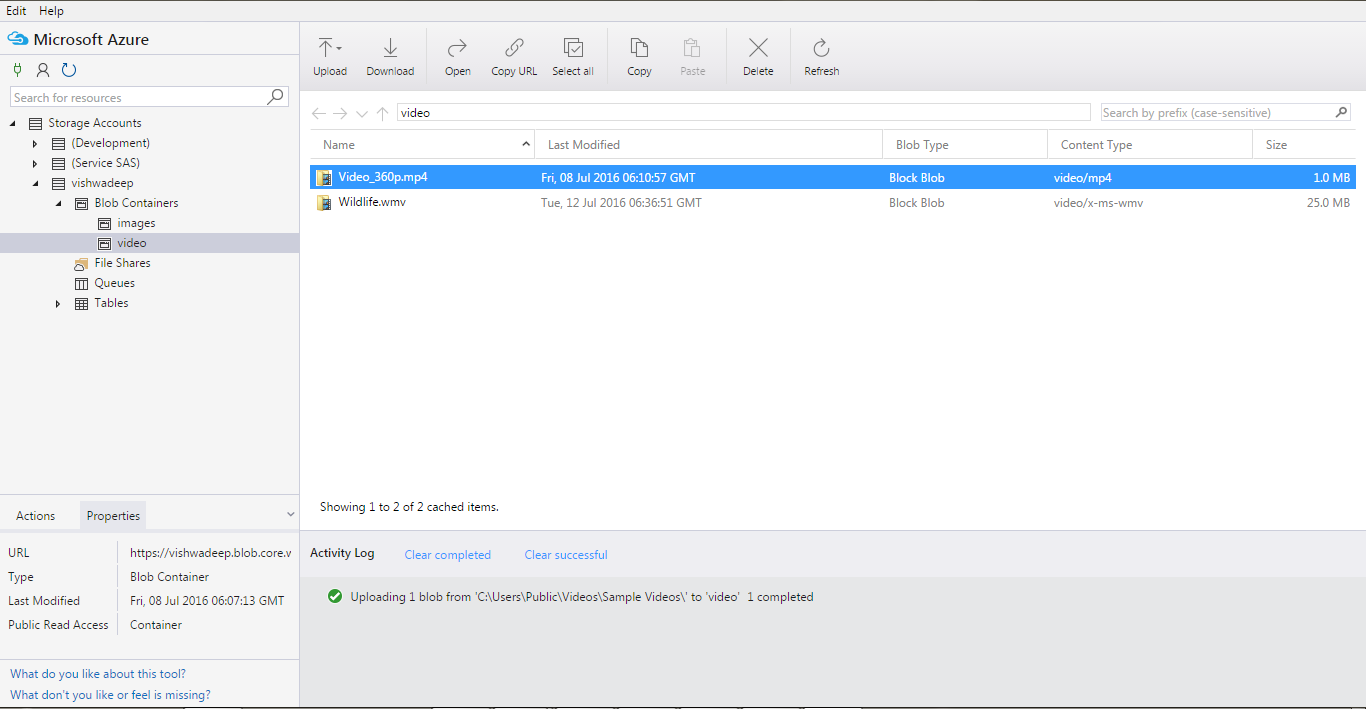
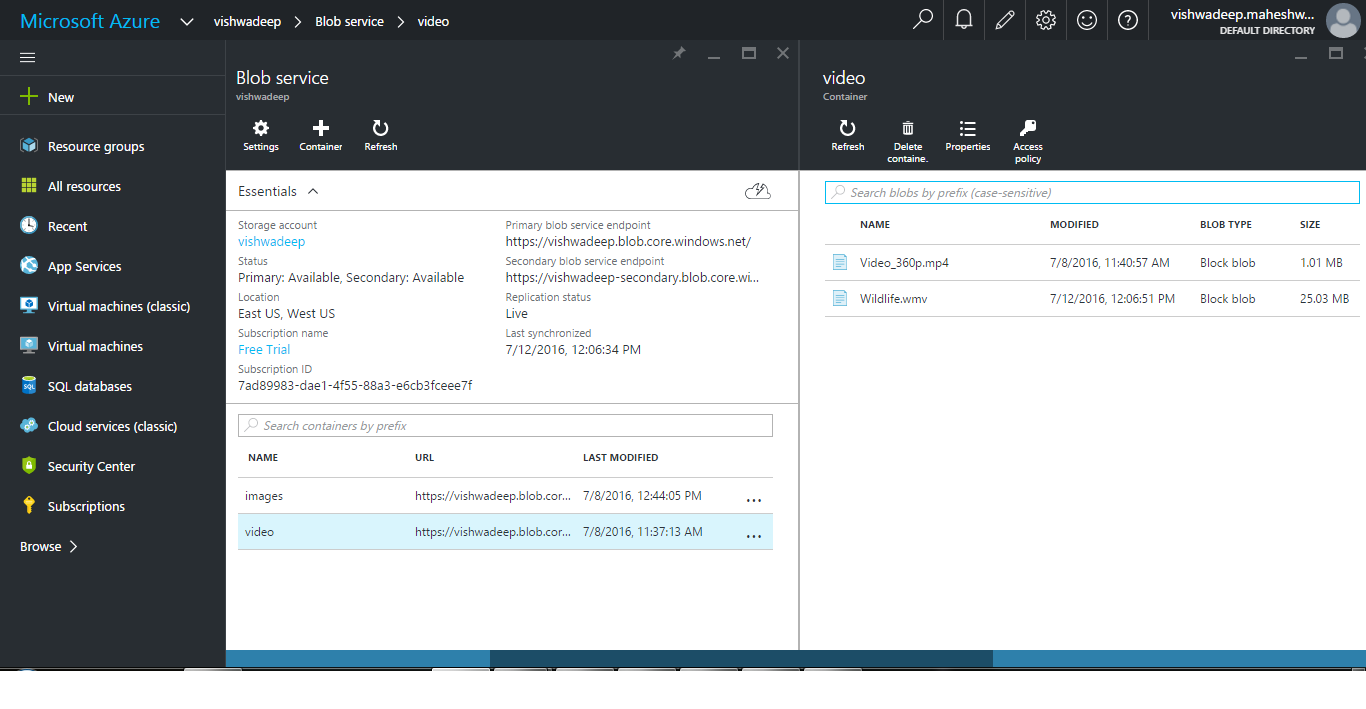
Also you can check it on window azure storage account as given below screen shot:-
URL: –
Now user can use the url generated from storage account in his application to display that content.
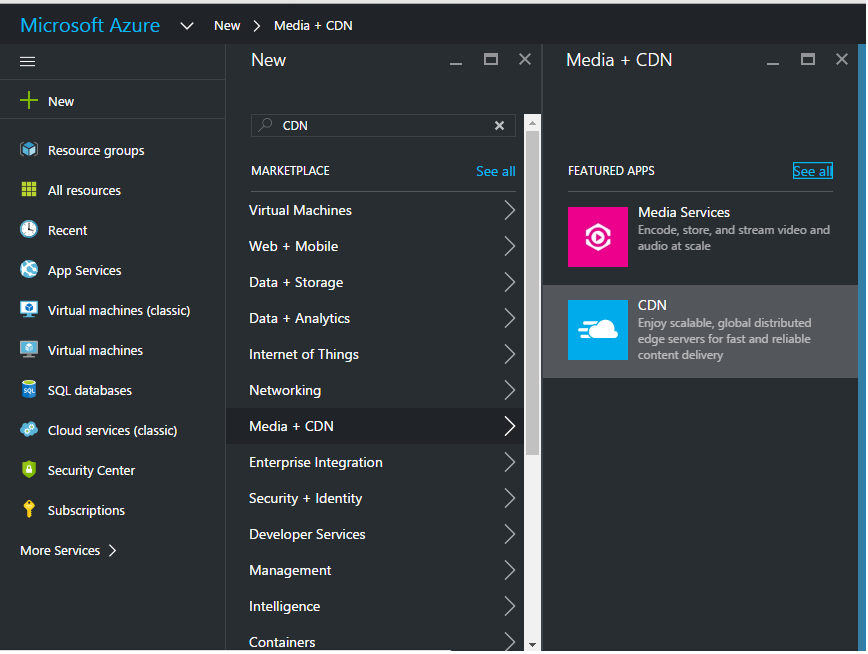
Now create CDN profile and CDN end point to enable CDN with Storage Account
CREATE CDN Profile as given below screen shots:-
Create CDN profile by filling and selecting required information as Profile Name, Subscription resource group (if exist any, please select that otherwise create new one).Resource group location will be auto selected on behalf of your resource group selection. At last you have to choose pricing tier, based on this selection price will be charged.
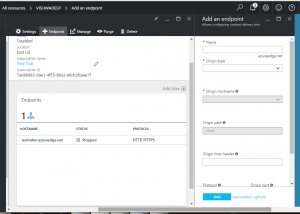
 Create End Point to generate CDN URL of resources as:-
You can set name of endpoint which will be used as CDN url.Then select origin type (e.g. Storage).Then select origin hostname i.e. select storage which will be mapped with CDN end point. Once Endpoint will be created successfully, will be listed as given below screen shot.
Here is the endpoint which can be used to display resources stored in storage. For example here I uploaded Video_360.mp4 in storage section in Video folder So I can use to access this video as given below url:-
CDN URL: –
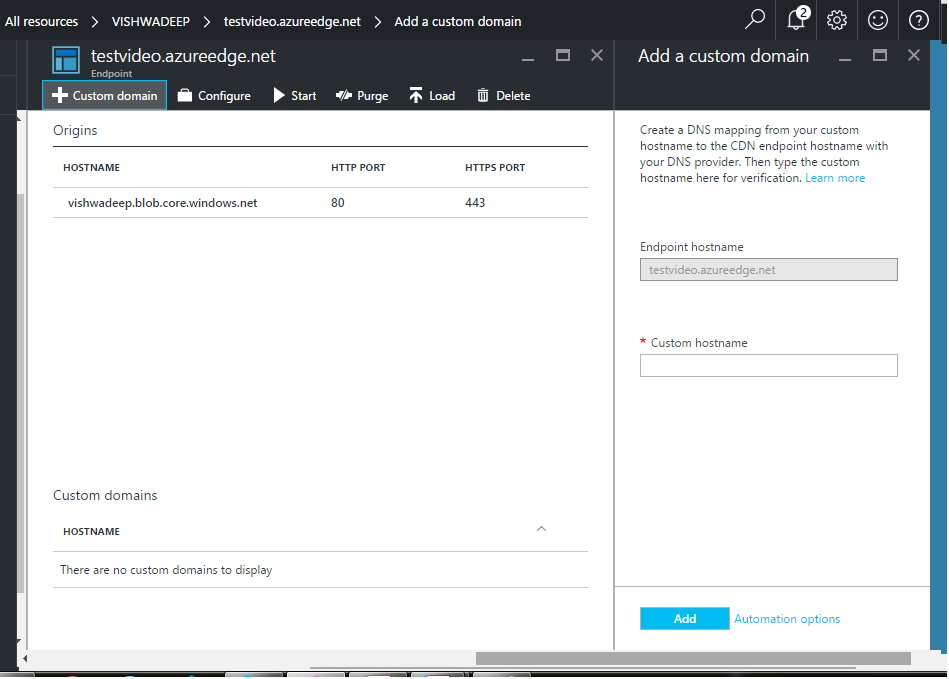
Set custom hostname with respect to a particular endpoint .For example for this end point we can set custom domain name as given below screen shot.
Now CDN Profile and Endpoint created successfully. You can upload resources on storage and use CDN url.