Introduction to AWS Inspector

AWS Inspector is an automated security assessment service which helps to improve the security and compliance of applications deployed on AWS EC2 by identifying potential security issues, vulnerabilities, or deviations from security standards.
Using Amazon Inspector, one can easily automate security testing across development, test, and production environments, identifying security vulnerabilities as a part of the entire software development, deployment, and operations lifecycle.
It works by first defining a target set of resources using tags, then configuring an assessment template that defines what we’re looking for (common vulnerabilities and exploits (CVEs), PCI requirements, etc.) and runs an assessment against our target resources, thereby examining the findings and mitigating the issues found.
Setting up Amazon Inspector
In order to assess the security of the EC2 instances that make up our Amazon Inspector assessment targets, we must install the AWS agent on each instance first. To do so, first download the agent script by running either of the commands:
- wget https://d1wk0tztpsntt1.cloudfront.net/linux/latest/install
- curl -O l
To install the agent, run sudo bash install.
This will successfully install AWS agent on your EC2 instance.
Now, follow the following steps in order to setup Amazon inspector on your EC2 instance:
- Sign into the AWS Management Console and open the Amazon Inspector.
- On prerequisites page, click on Choose or Create role:
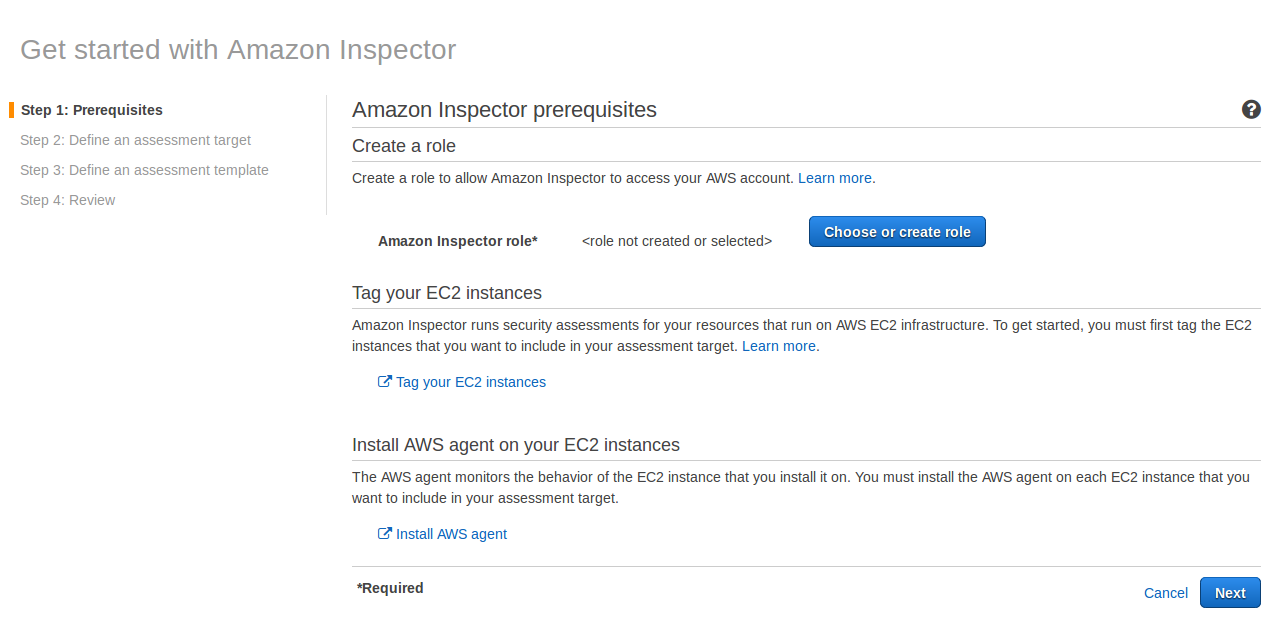
- A new window will pop up specifying the new IAM role created. Click allow:

- Click Next.
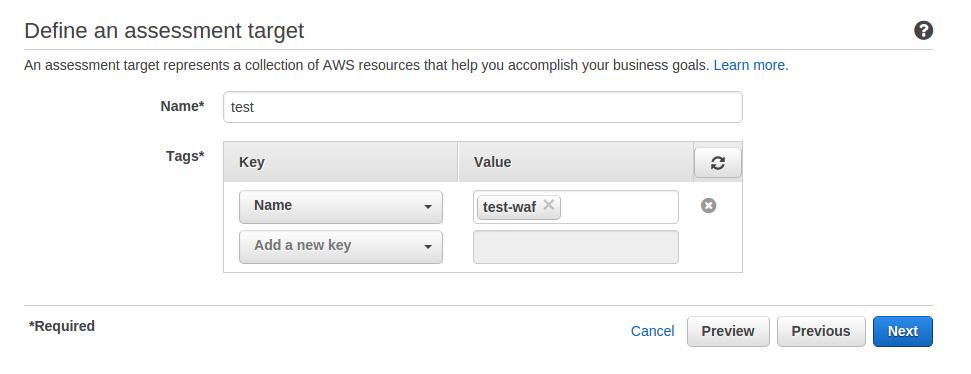
- On Define an assessment target page, specify the name of the assessment target.
In Tags field, select Key as Name and value as the name of the EC2 instance you want to include in your assessment target:
- On Define assessment template page, specify the name for the assessment template. For Rule packages, select the rule packages that you want to use in the assessment template.
In Duration field, specify the duration for your assessment template. Click Next: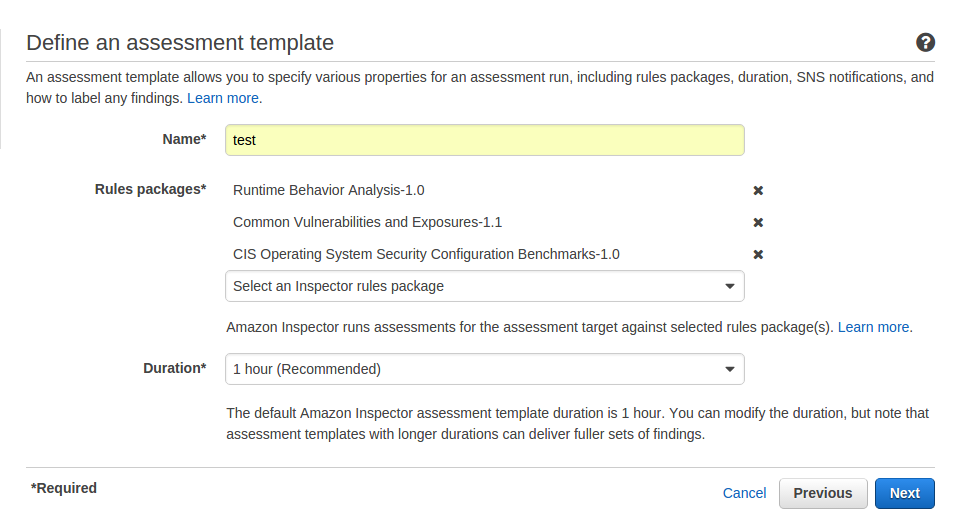
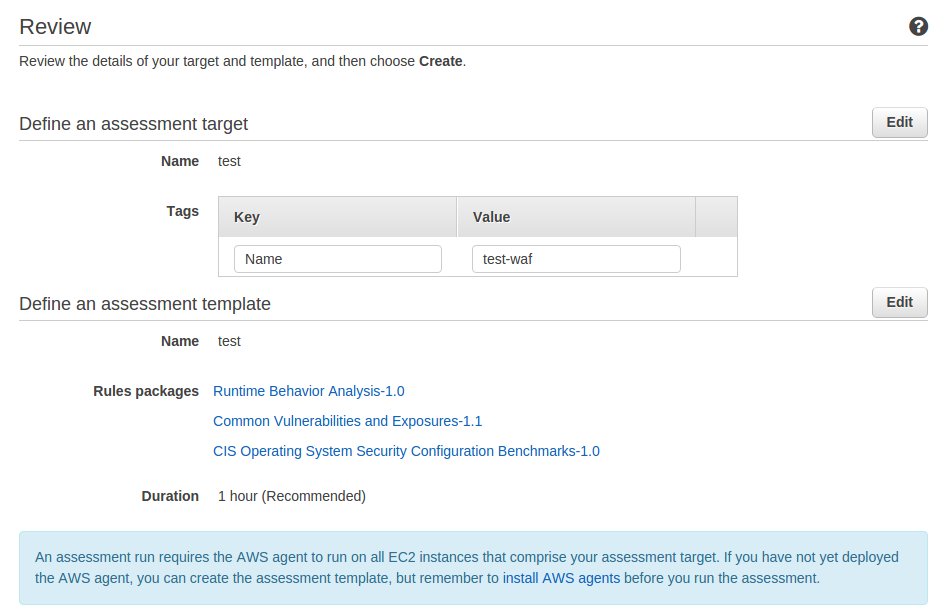
- On the Review page, review the selections, and then choose Create and run:
Locating the Generated Findings
In the Amazon Inspector console, navigate to the Findings page. It will show the inspector findings along with the severity as below:

This is how Amazon Inspector helps us to identify the vulnerabilities in our EC2 instances and also provides the recommendations to fix them up.