
Integrating and Managing Old Artifacts through Jenkins
Continuous Integration (CI) and Continuous Deployment (CD) has now become the first and foremost necessity in Agile methodology. Developer’s life has now become much easier as they can now focus on automating other tasks. Managing the artifactory using CI/CD tools is also important to optimize storage cost for the system. It is observed that the artifacts are managed using storage tools like AWS S3, JFrog artifactory, etc. integrated with CI/CD tools like Jenkins. These storage options provide an unlimited storage, and one can move forward without worrying about the setup of storage servers. However, the question is, what about managing the old artifacts that are no longer required?
To find out the solution of the above use case, let us understand what an artifactory is and how can we speed up the deployment process using such artifactories with CI/CD tools?
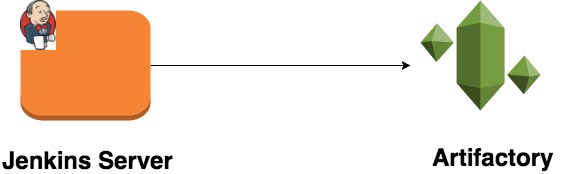
Artifactories are used to store the artifacts (build packages) onto a storage service. The build artifacts can then be downloaded and deployed to the instances. So for each deployment, the build artifacts will be pushed to the artifactory. The server scripts will then download these artifactories to the respective servers and deploy. It also helps in managing the older artifacts and reverting to them in the case of buggy deployment. Let us first understand, how to integrate an artifactory with Jenkins.
Integrating JFrog artifactory with Jenkins
- Go to the Jenkins console and navigate to Manage Jenkins. We will be installing the plugin to integrate JFrog artifactory.
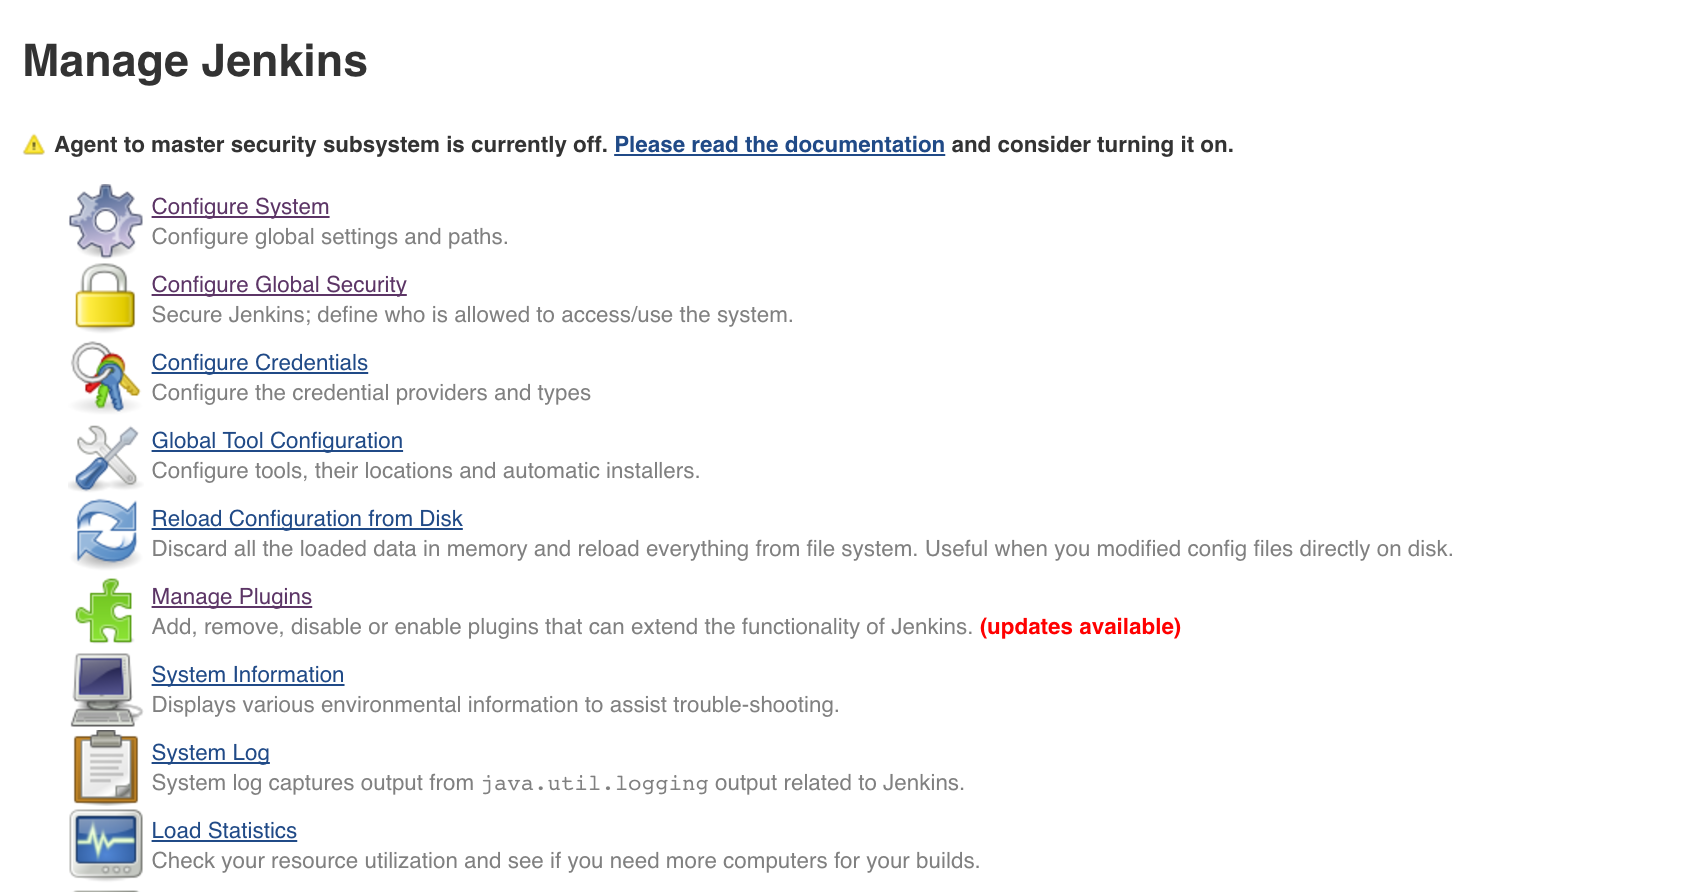
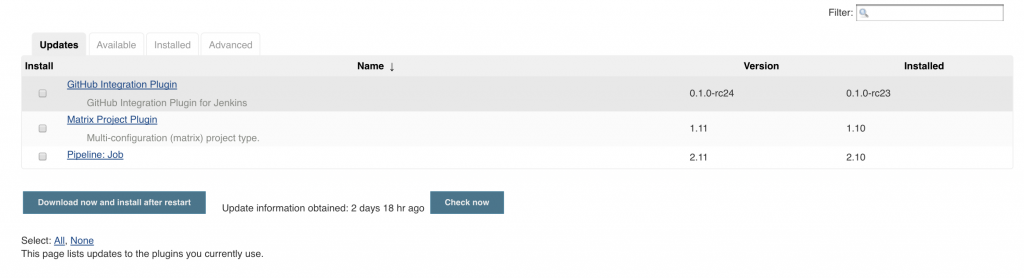
- Click on Manage Plugins. It will open up the console to integrate new plugins.
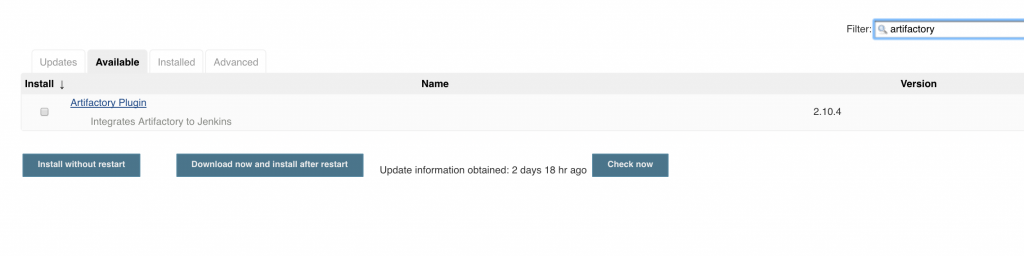
- Go to Available tab and search for Artifactory Plugin. Install the plugin and wait for the Jenkins to restart.
- After the Jenkins restarts, create a new Jenkins job or configure the existing job. You will start getting options for artifactory in the configuration. Before configuring the Jenkins job, the configuration should be done globally from Manage Jenkins -> Configure System.
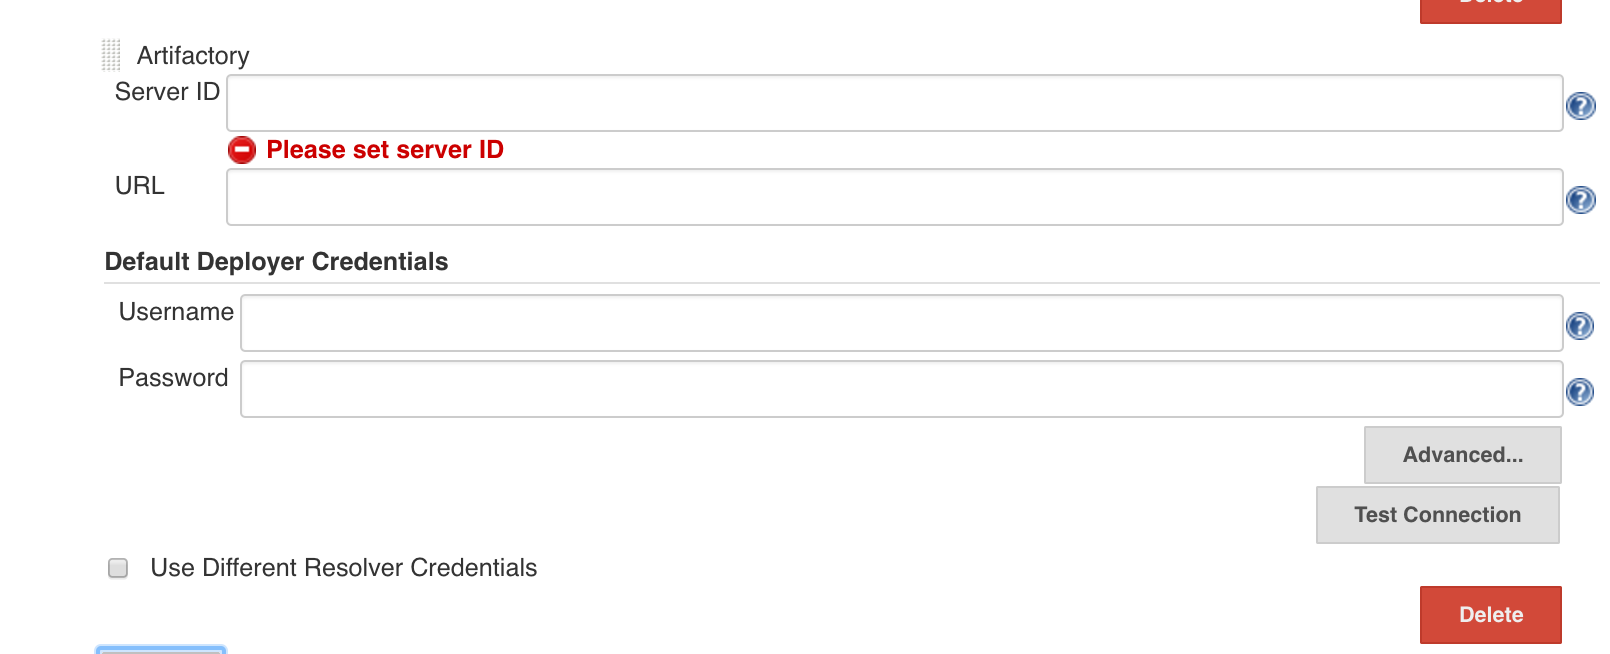
- After configuring the Jenkins global settings, the Job can be configured. Under build configuration, choose Generic-Artifactory Integration. Configure the Job as shown below:
The artifacts will then get saved to the artifactory, and it can easily be managed from the JFrog repository.
Now consider a use case, where you are building a war file using Jenkins and then publishing it to the JFrog artifactory. The job builds a war file of around 100 MB on every commit. There are around 20 commits per day which lead to around 2 GB of storage cost. After the deployment of the war file, the older artifacts are no longer needed. It can be said that if 20th commit to the build is being deployed to the environment, we would no longer need the build of 1st to 15th commit.
We can delete the build artifacts created for these commits and optimize the cost to a much greater extent. We must pay for the required memory storage. For instance, if we need a lesser storage space like 500 MB then there is no point of purchasing 2GB storage. It has been observed that the older artifacts are managed using some automation scripts. The unwanted artifacts are deleted using some cron scripts and some command line interfaces. It also increases the overheads of monitoring these cron scripts. If these scripts fail, then it will increase the storage cost, and a complete tested mechanism needs to be implemented to delete the artifacts. Another issue with JFrog artifactory is that, on deleting particular folders using CLI, it deletes the files but leaves the folders empty. This way, it becomes difficult to identify the folders whose files have been deleted. To solve this issue, various integrations are available in JFrog but may not be suitable for the team who is not interested in installing extra integrations.
Jenkins provides an option to manage the older artifacts. It provides an integration wherein you can use the Discard Old Build Plugin to manage the artifacts in the artifactory. This plugin is used to manage the builds of a Jenkins job. One can decide the number of build data of a job to be stored. For example, it can be defined to store last 5 build information to the Jenkins Job. The more information about the plugin can be obtained from this link https://wiki.jenkins-ci.org/display/JENKINS/Discard+Old+Build+plugin
This plugin functionality can be extended to manage the artifacts. For example, after installing the plugin, you will get the option as shown below to manage the build data of your Jenkins job:

One can handle the build data depending upon the last number of builds or number of days. The job can be configured as shown below:
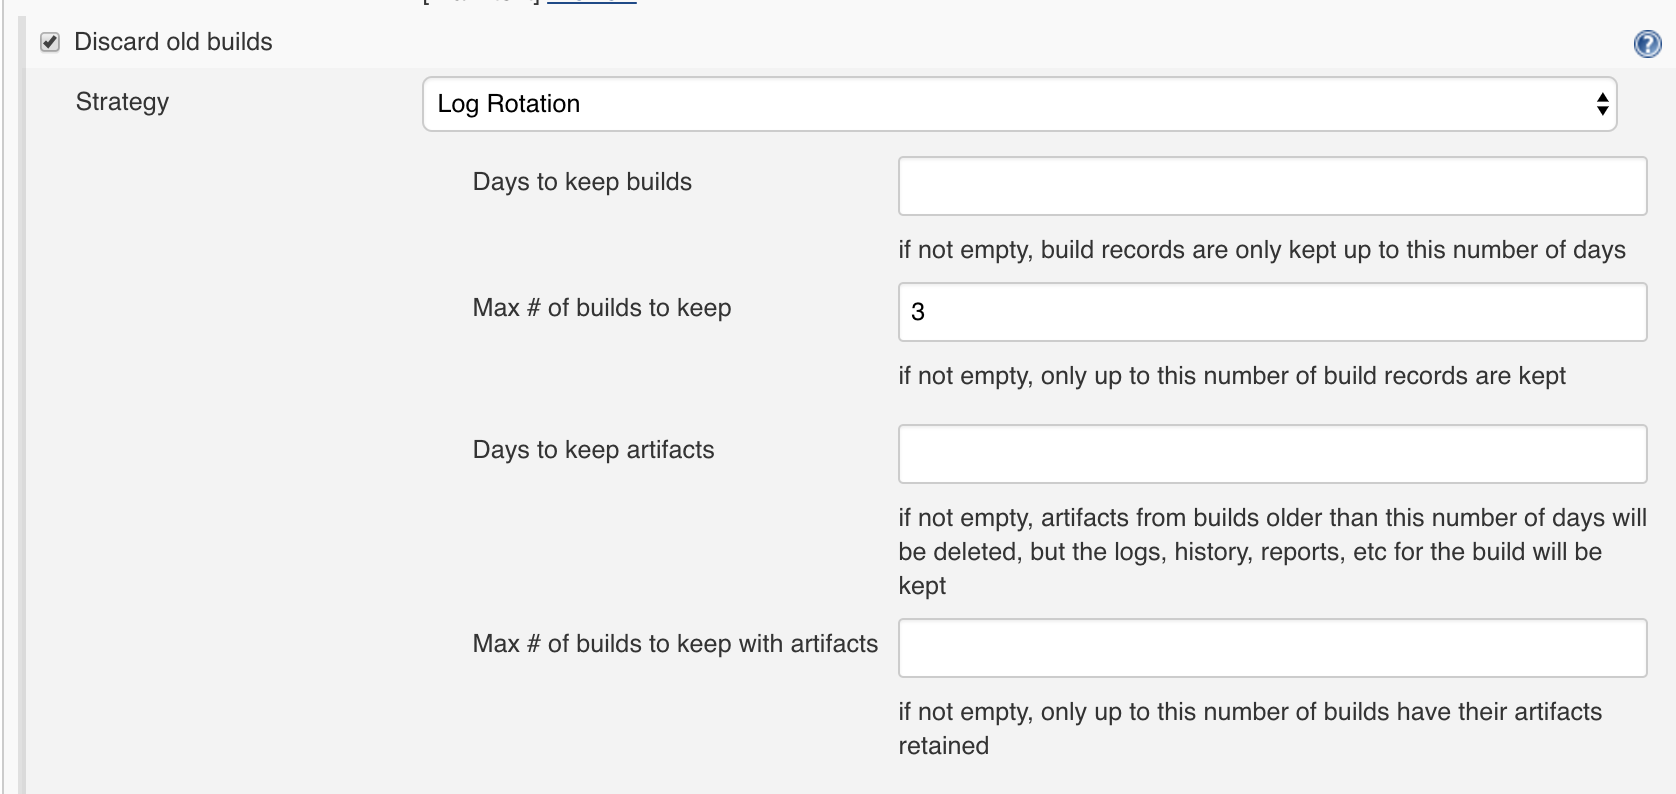
One can define the days to keep the builds, a maximum number of builds to keep, days to keep artifacts or the max number of builds to keep with artifacts. All options are self-explanatory.
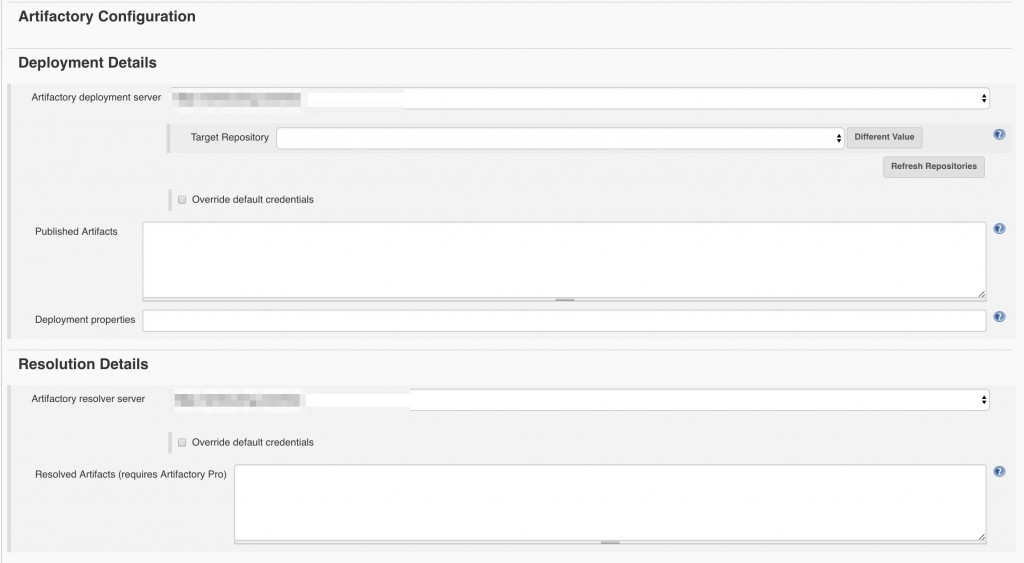
After defining the above options, it is also desired to manage the artifacts generated through the execution of Jenkins job. This can be managed through the Artifactory configuration as shown below:

After configuring these options, builds and artifacts will be managed accordingly. There is no need to install the artifactory CLI and setting up automation scripts to manage the older artifacts and job details.
Hope this blog will help you integrate and manage old artifacts through Jenkins in a faster and better way.
