In today’s digital age, providing users with convenient and secure payment options is crucial for the success of any online business. PayPal, being one of the most widely used payment gateways globally, offers a reliable solution for processing online transactions. Integrating PayPal into your Django web application can enhance user experience and streamline checkout. In this comprehensive guide, we’ll walk through the step-by-step process of integrating PayPal payments into a Django web application.
Step 1: Setting Up a PayPal Developer Account:
Here’s how you can set up a PayPal sandbox account:
- Go to the PayPal Developer website: https://developer.paypal.com/.
- Log in with your PayPal account credentials or sign up for a new PayPal account if you don’t have one.
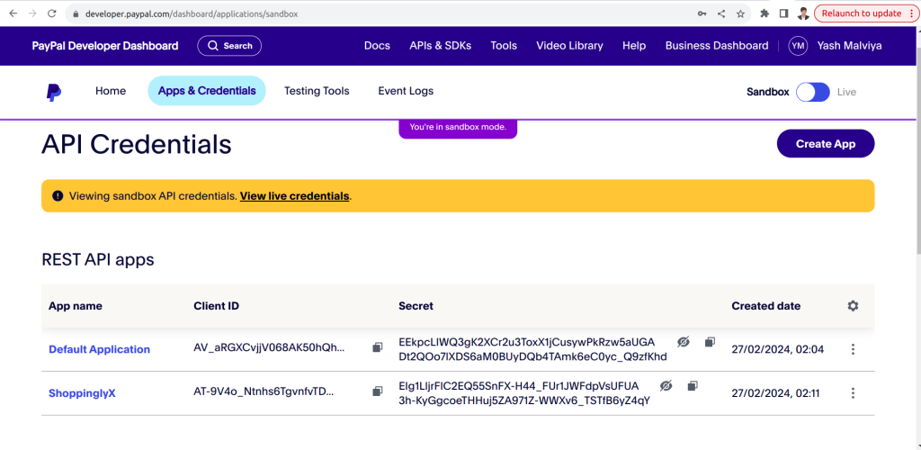
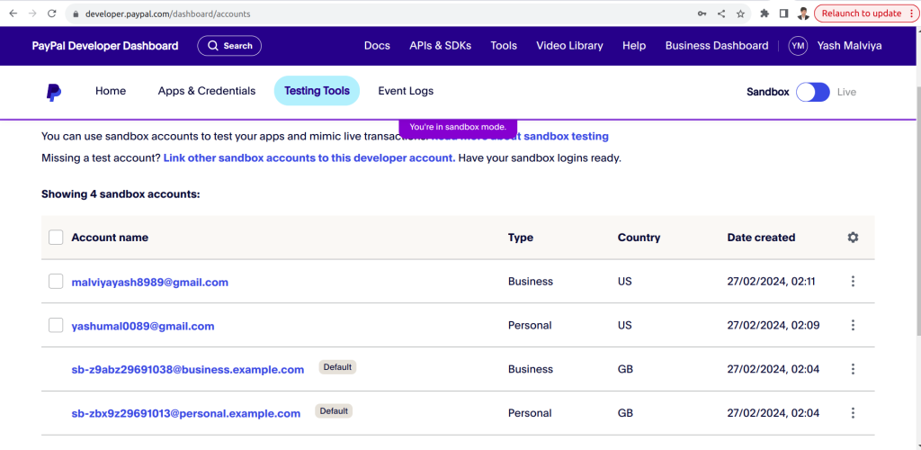
- Once logged in, navigate to the Dashboard and the Sandbox > Accounts section.
- Click on the “Create Account” button to create a new test account.
- Follow the prompts to create both seller and buyer (customer) test accounts.
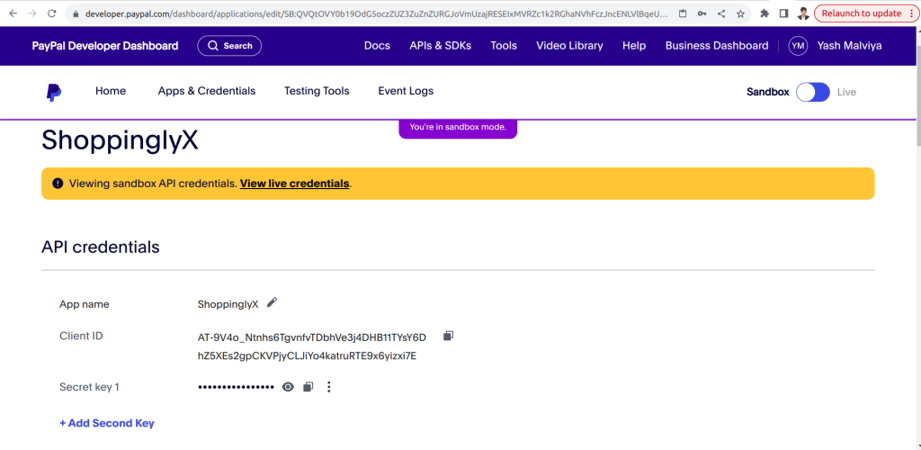
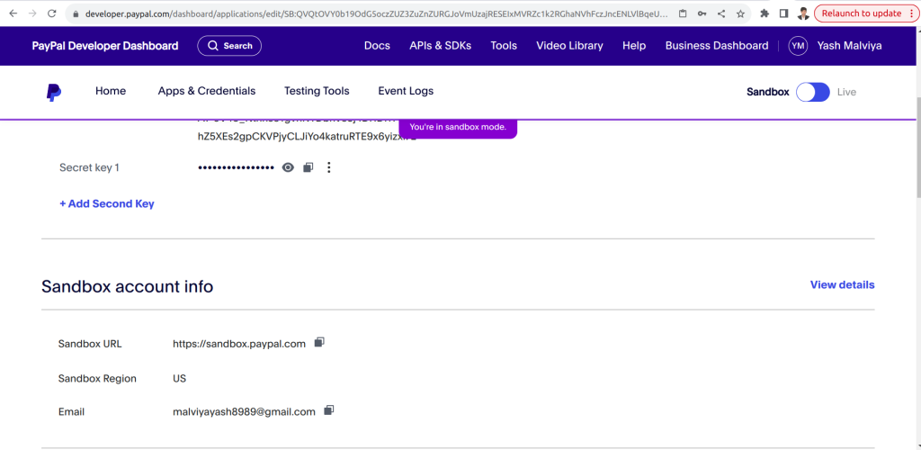
After setting up your sandbox accounts, you can use the provided sandbox API credentials (Client ID and Secret) in your Django app to interact with the PayPal API in the sandbox environment for testing purposes.
When deploying your app to production, remember to replace these sandbox API credentials with your live PayPal API credentials.
Step 2: Configuring Django Settings:
In your Django settings file (settings.py), add your PayPal client ID and secret key obtained from the PayPal Developer Dashboard:
PAYPAL_CLIENT_ID = 'YOUR_CLIENT_ID'
PAYPAL_SECRET_KEY = 'YOUR_SECRET_KEY'
Replace ‘YOUR_CLIENT_ID’ and ‘YOUR_SECRET_KEY’ with the actual values obtained from your PayPal Developer account.
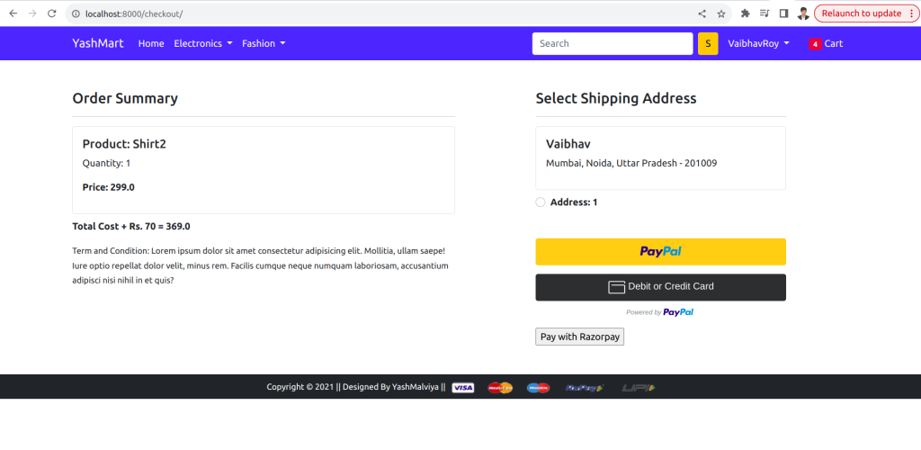
Step 3: Creating the Checkout Page:
- Create a new HTML template named checkout.html where users can review their order and proceed with PayPal payment.
- Design the page layout according to your application’s UI/UX requirements.
- Include a button or link to initiate the PayPal payment process
Step 4: Integrating PayPal JavaScript SDK:
In the checkout.html template, include the PayPal JavaScript SDK script. This script provides functions for setting up and handling the PayPal payment button.
<script src="https://www.paypal.com/sdk/js?client-id=AT-9V4o_Ntnhs6TgvnfvTDbhVe3j4DHB11TYsY6DhZ5XEs2gpCKVPjyCLJiYo4katruRTE9x6yizxi7E¤cy=USD"></script> <script> functioninitPayPalButton(){ paypal.Buttons({ style: { shape: 'rect', color: 'gold', layout: 'vertical', label: 'paypal', }, createOrder:function(data,actions){ return actions.order.create({ purchase_units: [{"amount":{"currency_code": "USD", "value": '{{total_amount}}'}}] }); }, onApprove:function(data,actions){ return actions.order.capture().then(function(orderData){ var paypalPaymentID = orderData.purchase_units[0].payments.captures[0].id; // Full available details console.log('Capture result', orderData, JSON.stringify(orderData, null, 2)); // Show a success message within this page, for example: constelement= document.getElementById('paypal-button-container'); element.innerHTML = ''; element.innerHTML = '<h3>Thank you for your payment!</h3>'; document.getElementById('paypal-payment-id').value = paypalPaymentID; document.getElementById('myform').submit(); // Or go to another URL: actions.redirect('thank_you.html'); }); }, onError:function(err){ console.log(err); } }).render('#paypal-button-container'); } initPayPalButton(); </script>
Step 5: Implementing Server-side Logic:
In your Django views, implement server-side logic to create and process PayPal orders In the views.pyfile
def payment_done(request):
user = request.user
paypal_transaction_id = request.GET.get("paypal-payment-id")
custid = request.GET.get("custid")
customer = Customer.objects.get(id=custid)
cart_items = Cart.objects.filter(user=user)
# Check if the payment was made with PayPal
if paypal_transaction_id:
for cart in cart_items:
OrderPlaced.objects.create(
user=user,
customer=customer,
product=cart.product,
quantity=cart.quantity,
transaction_id=paypal_transaction_id,
)
cart.delete()
return redirect("orders")
# Handle the case where PayPal payment ID is not provided
else:
return HttpResponse("Invalid payment information").
Step 6: Update URLs:
Configure URLs to map views in your Django app’s urls.py:
urlpatterns = [
path('paymentdone/', views.payment_done, name='payment_done'),
]
Now Click on the Pay With PayPal
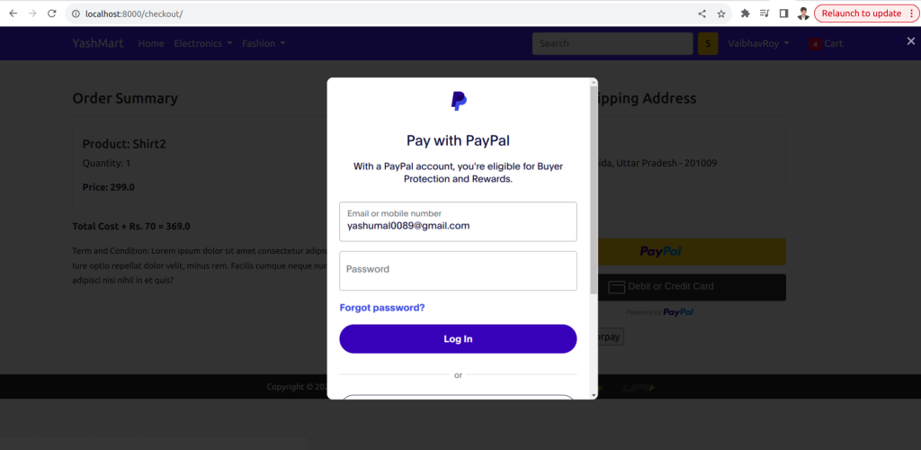
Now enter your Paypal account credentials
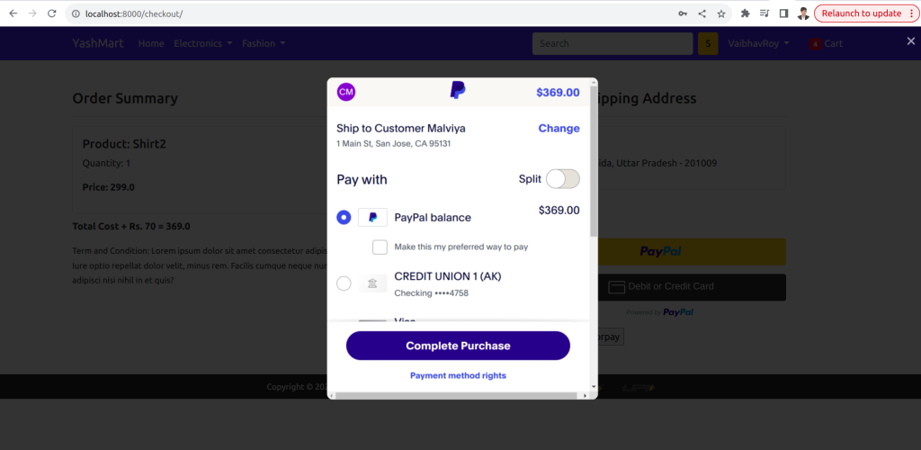
For the demo, we are using Paypal balance for payment
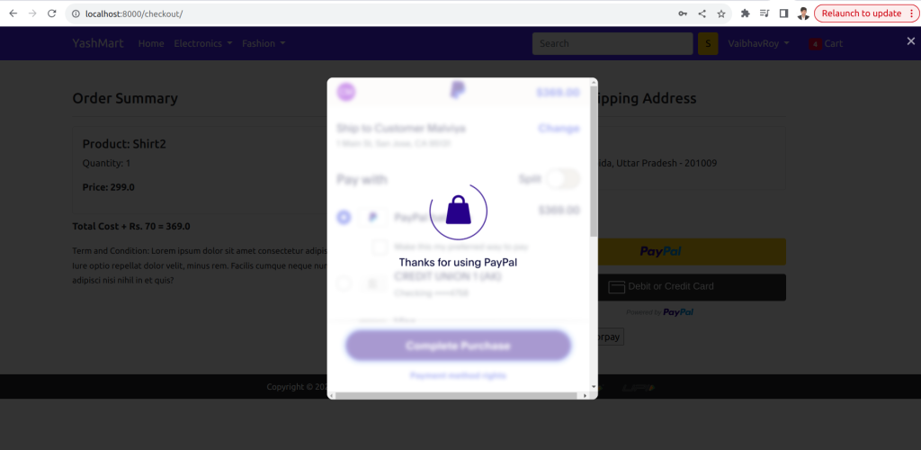
Completed the payment process
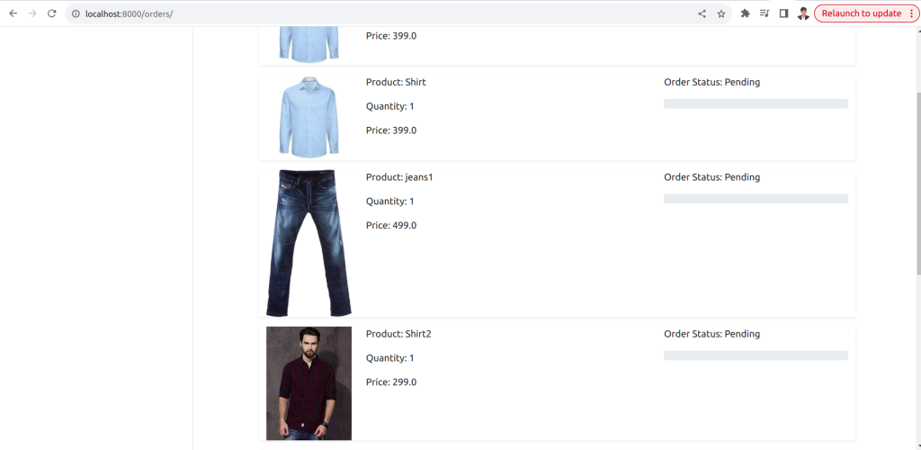
Successfully redirect to the orders page
Thank You