Flutter, Google’s open-source UI software development toolkit, is gaining popularity day by day for its ability to create beautiful and highly customisable user interfaces. Flutter is now becoming a better option to create and deliver cross-platform apps. In this blog post, we will dive into creating a reusable circular view component in Flutter that dynamically adjusts its size to occupy one-fourth of the screen when added to any view. This component can be a valuable addition to your Flutter project, as it provides a visually appealing and responsive way to display information.
Prerequisites
Before we start building our reusable circular view component, ensure you have Flutter and Dart installed on your system. You can follow the official Flutter installation guide to get started.
Setting Up a New Flutter Project
Let’s begin by setting up a new Flutter project or using an existing one. Open your terminal and run the following commands:
flutter create circular_view_example
cd circular_view_example
Now, open your project in your preferred code editor.
Creating the Circular View Component
We’ll create a separate Dart file for our reusable circuler view component. Create a new Dart file named circular_view.dart in the lib directory of your Flutter project.
In circular_view.dart, define a CircularView widget class as follows:
import 'package:flutter/material.dart';

class CircularView extends StatelessWidget {

final Widget child;
CircularView({required this.child});

@override
Widget build(BuildContext context) {

final screenSize = MediaQuery.of(context).size;
final radius = screenSize.shortestSide / 4;

return Container(
width: radius * 2,
height: radius * 2,
decoration: BoxDecoration(
shape: BoxShape.circle,
color: Colors.blue, // Customize the background color as needed
),
child: Center(
child: child,
),
);
}
}
In this code, we’ve created a CircularView widget that takes a child widget as parameter. The CircularView widget is calculates the radius based on the shortest side of the screen and uses it to set the size and shape of the circular container. You can customise the background color and other styling properties to match your project’s design. More properties can be added to the component based on the custom requirement.
Using the Circular View Component
Now that we have our reusable circular view component, let’s use it in our Flutter project. Open the main.dart file and replace the default code with the following:
import 'package:flutter/material.dart';
import 'package:circular_view_example/circular_view.dart';

void main() {
runApp(MyApp());
}

class MyApp extends StatelessWidget {
@override
Widget build(BuildContext context) {
return MaterialApp (
home: Scaffold(
appBar: AppBar(
title: Text('Circular View Example'),
),
body: Center(
child: CircularView(
child: Text(
'1/4 of the Screen',
style: TextStyle(color: Colors.white, fontSize: 20.0),
),
),
),
),
);
}
}
In this code, we import our CircularView widget and use it within the MyApp widget’s body. The circular view automatically occupies one-fourth of the screen’s shortest side, and you can place any child widget inside it. In this example, we’ve added a simple text widget.
Running the Flutter App
Now that we’ve created our reusable circular view component and integrated it into our Flutter app, it’s time to see it in action. Open your terminal and navigate to your project directory. Run the following command to launch your Flutter app:
flutter run
You should see your app running in your emulator or on your connected device, displaying the circular view with the specified child widget occupying one-fourth of the screen.
Congratulations! You’ve successfully built a reusable circular view component in Flutter that dynamically adjusts its size to fit one-fourth of the screen when added to any view. You can now customize and reuse this component in various parts of your Flutter app to create visually appealing UIs.
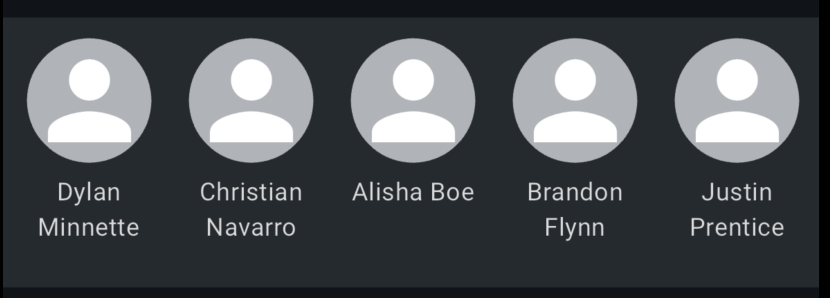
Attached are the screenshots of the final list of views created by using a similar reusable component.