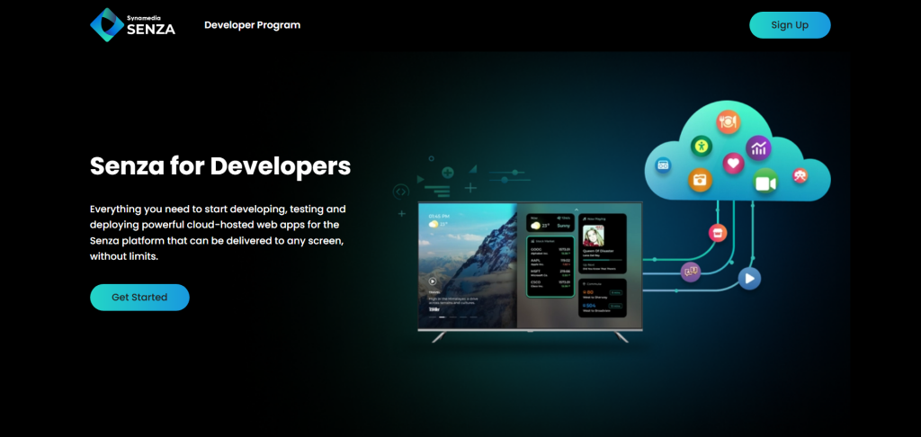
Introduction
Synamedia’s Senza platform (commonly called Senza) powers modern media delivery and streaming. It is a cloud-based video streaming solution that brings apps and content directly to any TV. Senza uses video streaming technologies inspired by the gaming world to deliver the user interface from a cloud-based browser to a low-cost device called the Cloud Connector. Senza Cloud Connector works like an extended HDMI cable from the cloud to your TV, enabling web apps to run smoothly without depending on the TV’s hardware.
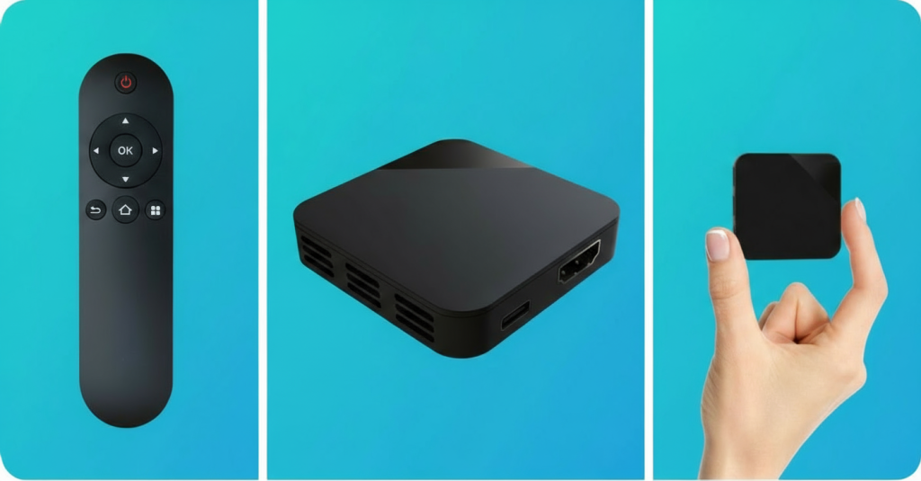
Senza Cloud Connector image
Key Features of Senza
Web Applications: Apps run in a standard Chrome browser in the cloud. This means minimal hardware requirements, always up to date apps, no app store approval delays and straightforward integration.
Streaming Video: The user interface is streamed from the cloud, while video content streams directly from the CDN. You only pay for browser usage which makes the setup more cost-efficient.
Cloud Connector: A small HDMI device with Wi-Fi and a Bluetooth remote. It’s fast, future-proof and practically invisible from a developer’s perspective.
Security: End-to-end encrypted streaming with DRM protection. No local data is stored and each device comes with unique customer authentication.
Requirements for Senza Apps
Apps run best on Senza when built for the TV experience. At a high level, your app should:
- Be written using HTML5, JavaScript and CSS
- It is designed for viewing on a 1920 x 1080 HD screen
- Support remote control navigation (up, down, left, right, OK and back)
- Play streaming video using DASH manifests, MP4 fragments, H.264 and AAC audio
- Support Widevine DRM for protected content
Senza Account Setup
The first step is creating a Senza Developer Account. You can sign up directly on the Developer site or through a Synamedia representative. The process is simple:
- Enter your details and accept the terms
- Confirm via the email invitation to the Synamedia Cloud Portal
- Set your password and pay a one-time $100 fee(this may vary based on your app)
- Complete a short survey
SignUp Screen
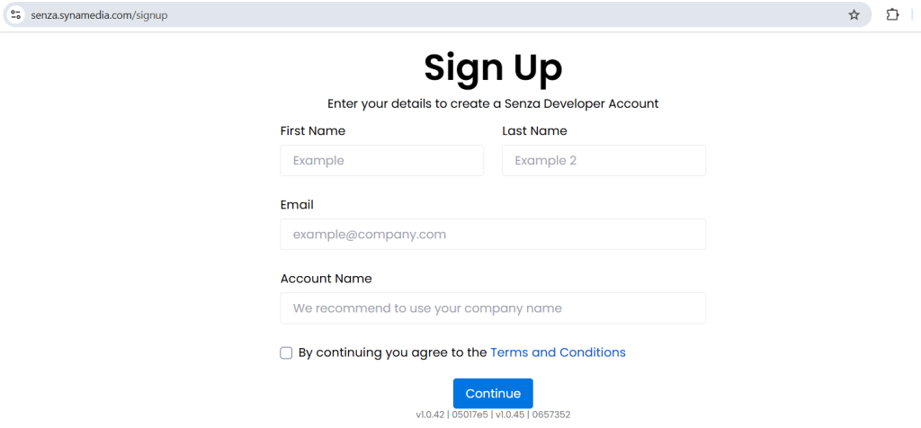
SignUp Form
Once done, you’ll land in the Senza Console, where you can:
- View your app
- Update your app URL (hosted on your server)
- Use Senza Simulator to run and debug the App
Here’s a video overview of the developer tools.
Development Workflow
App Integration Steps
- Browser Integration: Test Chrome compatibility, remote control support and remove platform-specific dependencies.
- Device Integration: Connect the Senza client library, get Cloud Connector info and configure geolocation using the device’s IP.
Senza Library Integration
You can use the client library to integrate your app with the Senza platform. There are two ways to use the library:
1. NPM Package
Install the Senza SDK directly as an NPM package:
npm install senza-sdk
If your app has a package.json, add the dependency:
{
  "name": "myapp",
  "version": "1.0.0",
  "dependencies": {
    "senza-sdk": "^4.2.54"
  }
}
Then import it into your app:
import * as senza from "senza-sdk";
2. Script Tag
If you’re not using a module bundler like webpack, link the library directly:
<head>
  <script src="https://senza-sdk.streaming.synamedia.com/latest/bundle.js" defer>
  </script>
</head>
Library Initialization and Important Functions
Once imported, initialize and use the senza object:
window.addEventListener("load", async () => {
  try {
    await senza.init();       // Initialize SDK once at startup
    senza.uiReady();          // Call when UI is ready to accept input
  } catch (e) {
    console.error(e);
  }
});
Some important functions
- init() – Initializes the SDK once at startup
- uiReady() – Signals that the app’s UI is ready for interaction
- isRunningE2E() – Detect if the app is running end-to-end or locally
- getConnectReason() – Check why the app was launched
- getTriggerEvent() – Identify what reloaded the UI
- setTimezone(“Europe/London”) – Manually set the device timezone
Testing and Debugging
Using the Device Simulator:
The Device Simulator allows you to develop and test your web app in the Senza environment directly from your browser, similar to how it would run on a physical cloud connector.
- Launching: From the Senza Console, open the Simulator for any device (physical or virtual). It runs in a new browser tab and connects to your app’s URL.
- Viewing & Navigation: Since the app streams from the cloud, you control it using the on-screen remote or keyboard shortcuts, not mouse clicks.
- Debugger: Use the built-in Remote Debugger for advanced testing, including login flows, before enabling Device Authentication.
- Limitations: Audio is not supported in browser mode and some encrypted videos may not play.

Simulator screenshot
Using Senza Cloud Connector:
After using the Simulator, validate your app on a real Cloud Connector. Request a device from your Synamedia representative, then set it up in minutes:
- Connect the HDMI to the TV
- Power via USB
- Configure Wi-Fi using the on-screen steps
You can also follow the Cloud Connector Installation Guide. Once connected, test your app’s full performance on a TV and use remote debugging for troubleshooting, just like in the Simulator.
Certification
Senza doesn’t have a formal app certification process. You control when and how updates go live. The key is making sure your app is fully integrated, thoroughly tested, and compatible. Once it runs smoothly in the Simulator or on a Cloud Connector, you are ready to launch.
Conclusion
Senza makes it possible to deliver web apps directly to TVs without hardware limitations or lengthy certification processes. With its cloud-powered approach, you stream the UI from a browser while video comes directly from the CDN, ensuring efficiency and cost savings. With the Senza SDK, developer console, simulator, and Cloud Connector, you can move quickly from concept to deployment while ensuring a secure and optimized TV experience.