Welcome to our comprehensive guide, where we illuminate the process of updating a Remote Single Page Application (SPA) – operating independently of AEM – to seamlessly consume and deliver content authored within Adobe Experience Manager (AEM). Throughout this blog, our focus centers on the local setup of an AEM instance and a Next.js application, as well as the binding necessary to make them work together harmoniously. We will also create a demo component and drop it on the home page, exposing you to working on Remote SPA with AEM.
Steps to Setup Local AEM Instance with Nextjs App
Step 1: Setup Local AEM Instance
- Download the latest AEM SDK
- Unzip the AEM SDK to ~/aem-sdk
- Rename the AEM SDK Quickstart Jar file to “aem-author-p4502.jar”
- In Terminal, run the following command
java -jar aem-author-p4502.jar
By using the above command, the AEM Instance is created in Author mode and automatically launches on http://localhost:4502. Then log in using the following credentials:
Username: admin
Password: admin
Step 2: Download & Install Wknd Site Package
- Download the latest version of aem-guides-wknd.all.x.x.x.zip
- Go to http://localhost:4502/crx/packmgr.
- Upload the aem-guides-wknd.all.x.x.x.zip downloaded in step 1
- Tap the Install button for the entry aem-guides-wknd.all-x.x.x.zip. (This Step is used for content purposes only.)
Step 3: Create an AEM Project using AEM Archetype
Here, we are using AEM Archetype Version 41 and removing the frontend module because we don’t need the frontend module anymore as we are using RemoteSPA.
We can change groupId, appId, and app title as required.
mvn -B org.apache.maven.plugins:maven-archetype-plugin:3.2.1:generate \

 -D archetypeGroupId=com.adobe.aem \
 -D archetypeArtifactId=aem-project-archetype \
 -D archetypeVersion=41\
 -D aemVersion=cloud \
 -D appTitle="WKND App" \
 -D appId="wknd-app" \
 -D groupId="com.adobe.aem.guides.wkndapp" \
 -D frontendModule="decoupled"
Step 4: Changes in Codebase
A few adjustments are required for AEM SPA Editor compatibility with Remote Next.js SPAs.
Set AEM Page as Next.js Remote SPA Template: open ui.content/src/main/content/jcr_root/content/wknd-app/us/en/home/.content.xml and update it as below.
<?xml version="1.0" encoding="UTF-8"?> <jcr:root xmlns:sling="http://sling.apache.org/jcr/sling/1.0" xmlns:cq="http://www.day.com/jcr/cq/1.0" xmlns:jcr="http://www.jcp.org/jcr/1.0" xmlns:nt="http://www.jcp.org/jcr/nt/1.0" jcr:primaryType="cq:Page"> <jcr:content cq:template="/conf/wknd-app/settings/wcm/templates/spa-next-remote-page" jcr:primaryType="cq:PageContent" jcr:title="WKND App Home Page" sling:resourceType="wknd-app/components/remotepagenext"> <root jcr:primaryType="nt:unstructured" sling:resourceType="wcm/foundation/components/responsivegrid"> <responsivegrid jcr:primaryType="nt:unstructured" sling:resourceType="wcm/foundation/components/responsivegrid"> <text jcr:primaryType="nt:unstructured" sling:resourceType="wknd-app/components/text" text="<p>Hello World!</p>" textIsRich="true"> <cq:responsive jcr:primaryType="nt:unstructured"/> </text> </responsivegrid> </root> </jcr:content> </jcr:root>
Finally, deploy the AEM Project to AEM SDK by using maven command given below
mvn clean install -PautoInstallSinglePackage
Step 5: Configure the root AEM Page
- Log in to AEM Author
- Navigate to Sites > WKND App > us > en
- Select the WKND App Home Page, and tap Properties
- Navigate to the SPA tab
- Fill out the Remote SPA Configuration: http://localhost:3000
- Tap Save & Close
Step 6: Clone the Next.js App
Clone the project to your local machine by using command given below.
git clone https://github.com/adobe/aem-headless-app-templates

mkdir aem-nextjs-app
cp -r aem-headless-app-templates/nextjs-remotespa/* aem-nextjs-app/
cd aem-nextjs-app/
Step 7: Setup Next.js App
- Install node version 16.x
- Goto location where aem-nextjs-app is present
- Run Command – npm install
Create 2 files under directory aem-nextjs-app/ named as “.env.development” and “.env.production” and update it as below.
NEXT_PUBLIC_URL=http://localhost:3000

NEXT_PUBLIC_AEM_HOST=http://localhost:4502

NEXT_GRAPHQL_ENDPOINT=/content/graphql/global/endpoint.json

NEXT_PUBLIC_AEM_SITE=wknd-app

NEXT_PUBLIC_AEM_PATH=/content/wknd-app/us/en/home

NEXT_PUBLIC_AEM_ROOT=/content/wknd-app/us/en
Then execute the build command
npm run build
Then, you can start the app in development mode or in production mode by using the command given below.
npm run dev
Or
npm run start
Step 8: Now your instance is ready for development
You can create a new component in AEM and React and render it on Page.
Steps to create the component in Next.js App and bind it with AEM component
Step 1: Create an AEM component
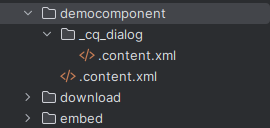
Create DemoComponent in ui.apps as shown below. There is no need for a DemoComponent.html file.
Create a DemoComponent model in the core module as shown below.
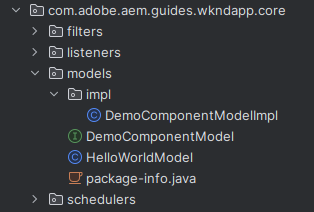
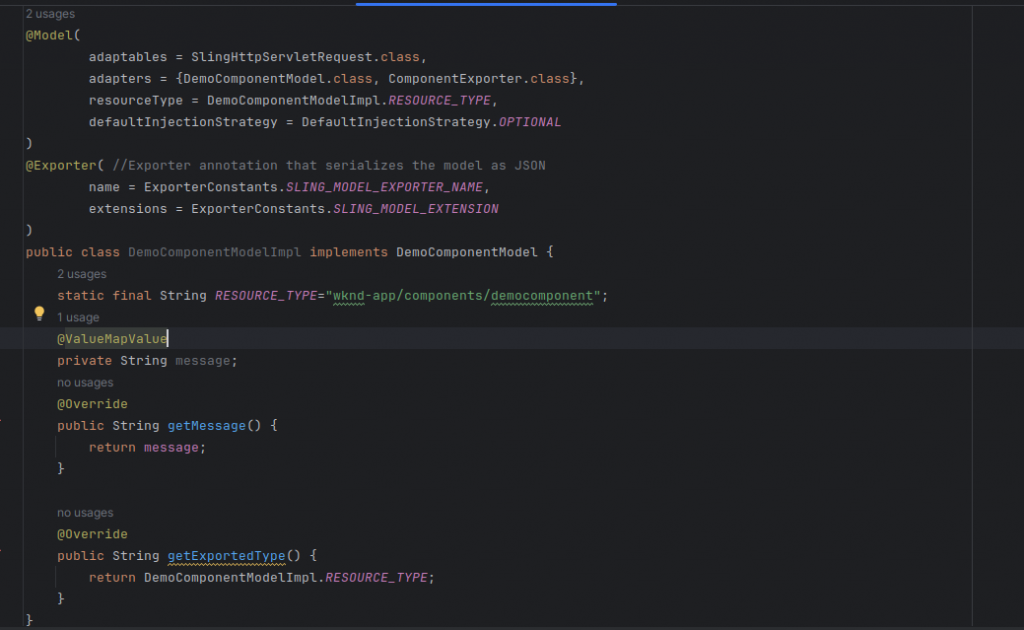
Update file with content given in DemoComponentModel.java and DemoComponentModelImpl.java.
Here, Sling Exporter is used for exporting Sling Models as JSON objects for consumption by programmatic web consumers such as other web services and JavaScript applications.
Step 2: Create a component in NextJs App
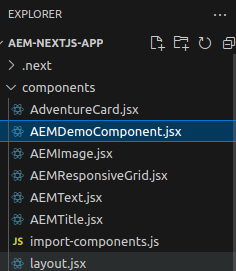
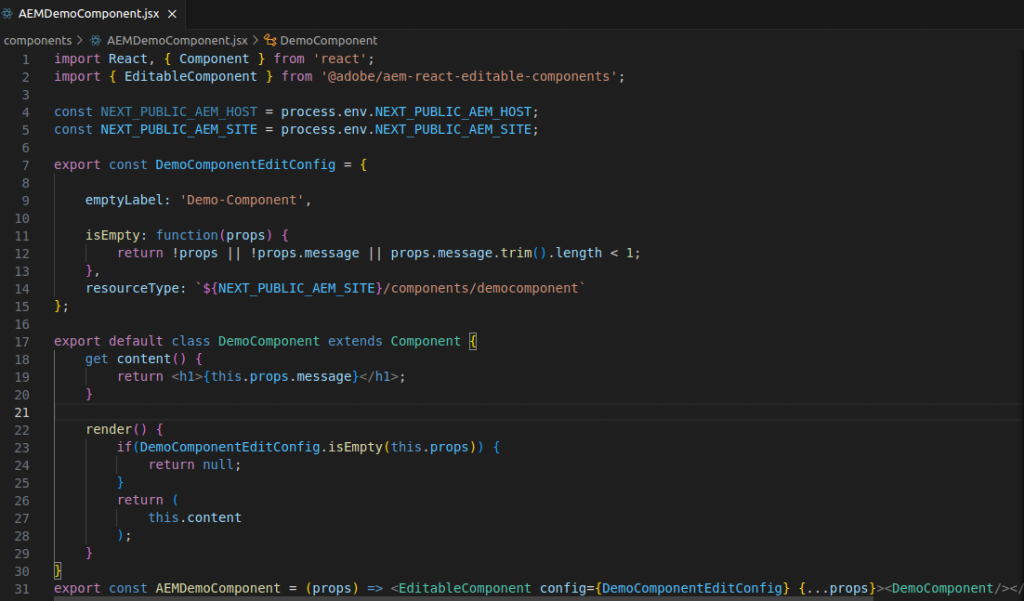
Create a file under directory – aem-nextjs-app/components/ named as AEMDemoComponent.jsx (Download AEMDemoComponent.jsx file).
And update the file as below –
Step 3: Create Mapping with AEM Component
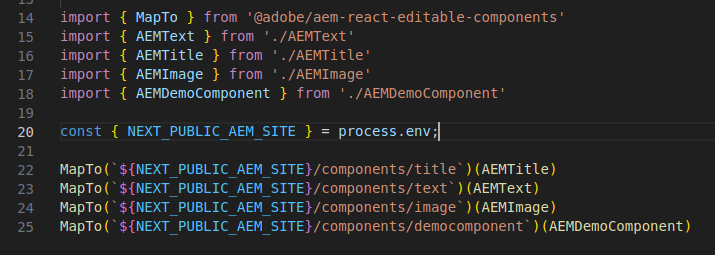
Open import-components.js file and update it as below.
MapTo(`${NEXT_PUBLIC_AEM_SITE}/components/democomponent`)(AEMDemoComponent)
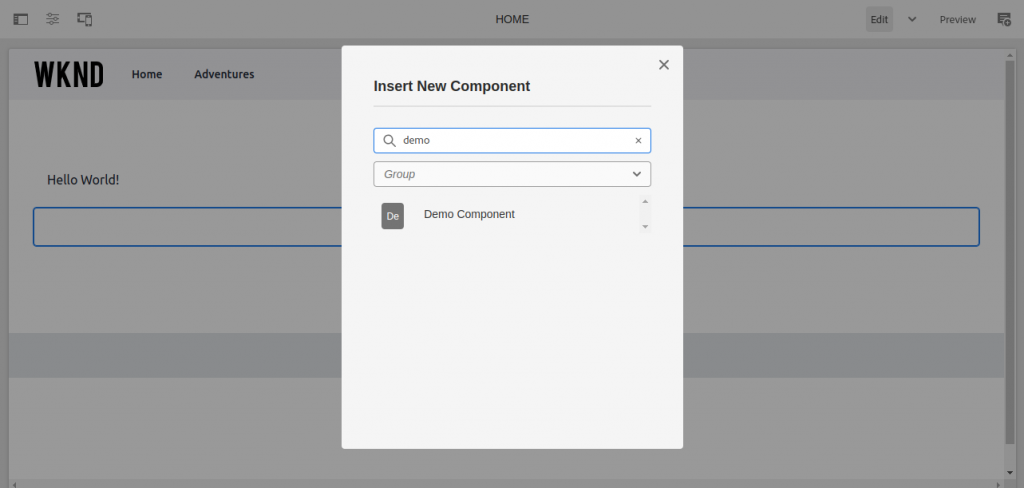
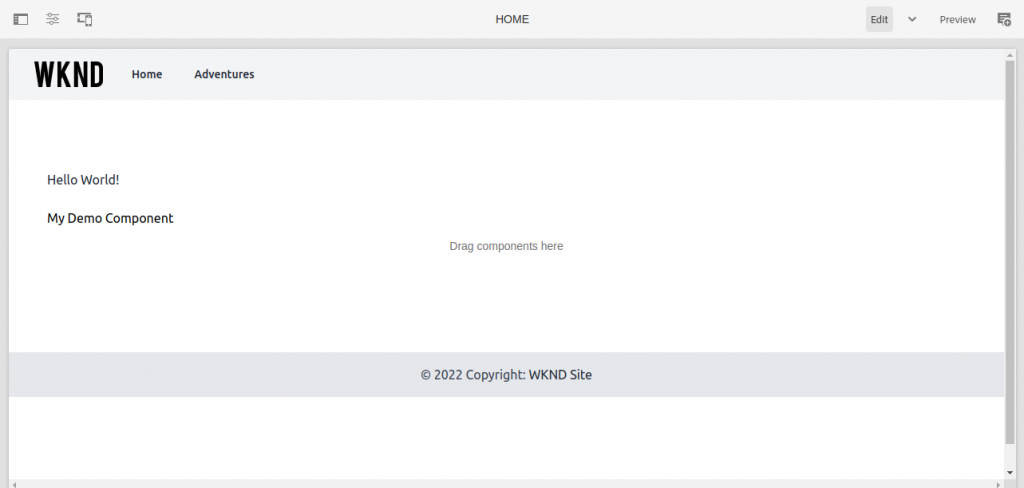
Step 4: Drop the Demo Component on the Home Page
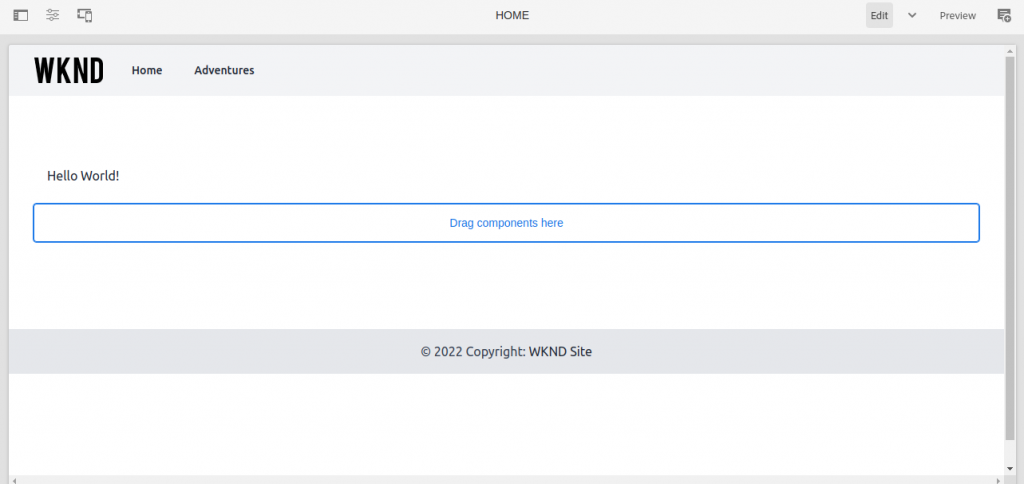
2. Drop Component here
3. Now, open the home page in view as a published mode – http://localhost:4502/content/wknd-app/us/en/home.html , then inspect the page and check network calls
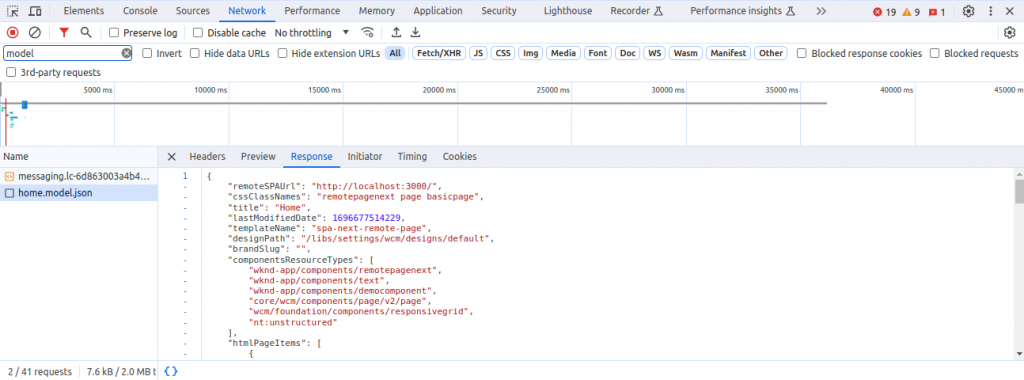
4. Now check the component on the NextJs App: http://localhost:3000/
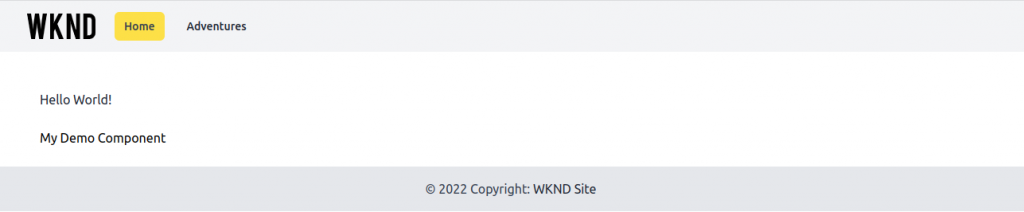
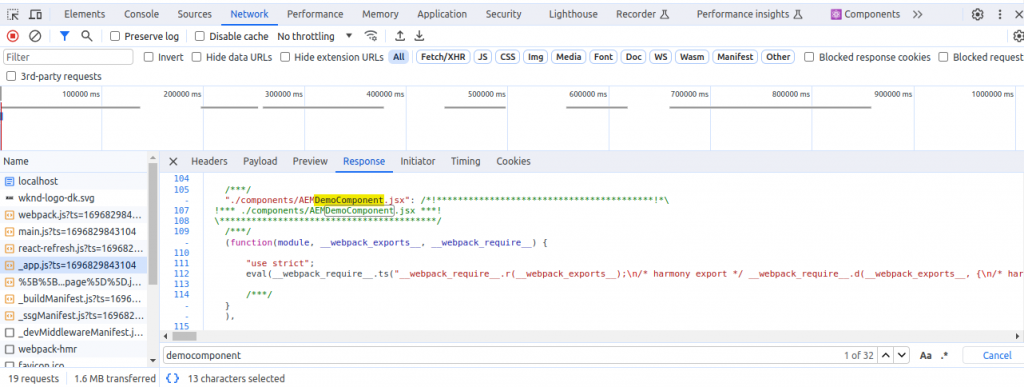
5. Inspect the page open the network tab check _app.js call, then search for democomponent.