Single Sign-On (SSO) is a user authentication process that allows individuals to access multiple applications, systems, or services with a single set of credentials. Instead of requiring users to remember and manage multiple usernames and passwords for different platforms, SSO enables them to log in once and gain access to various resources without the need for repeated authentication.
In this blog post, we’ll explore the Google SSO steps to seamlessly implement on the WordPress site, providing users with a hassle-free and secure login experience.
Why Login with Google?
Logging in with Google has become a ubiquitous feature on the web, allowing users to access various platforms without requiring lengthy registration forms. By integrating this functionality into your WordPress site, you not only simplify the login process but also leverage the trust associated with the Google brand. Users appreciate using their Google credentials, saving time and reducing password fatigue.
Step-by-Step Guide to Implement Login with Google in WordPress
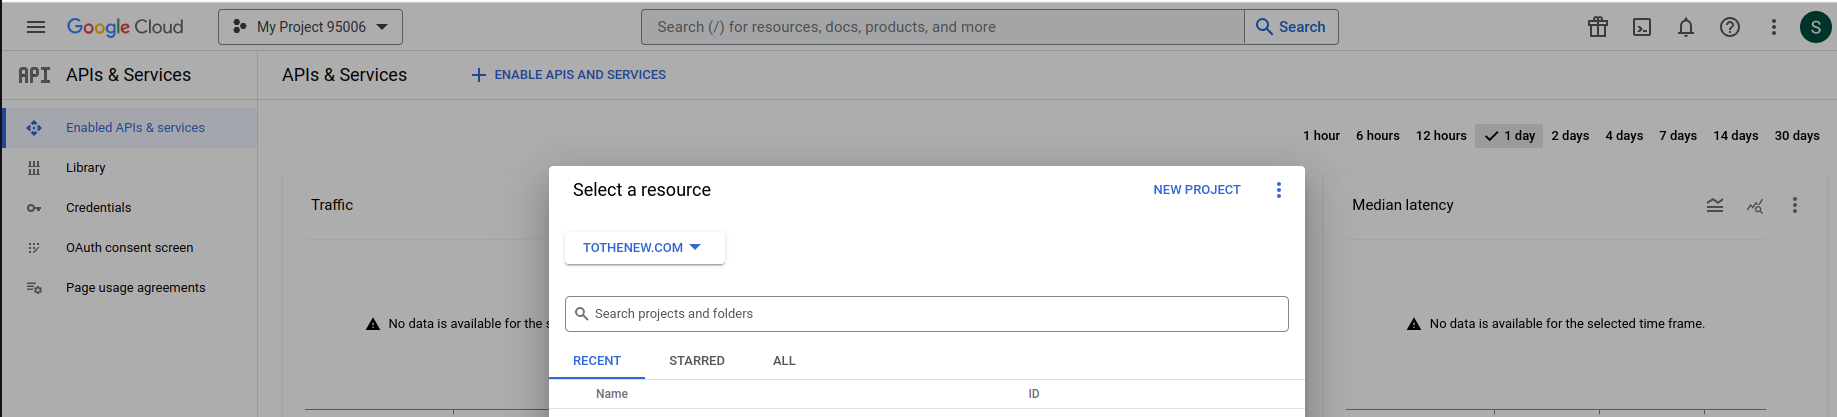
1. Create a Project from Google Developers Console
To get started, navigate to the Google Developers Console and create a new project by entering project name, organization, and location. This project will serve as the foundation for implementing the login functionality.
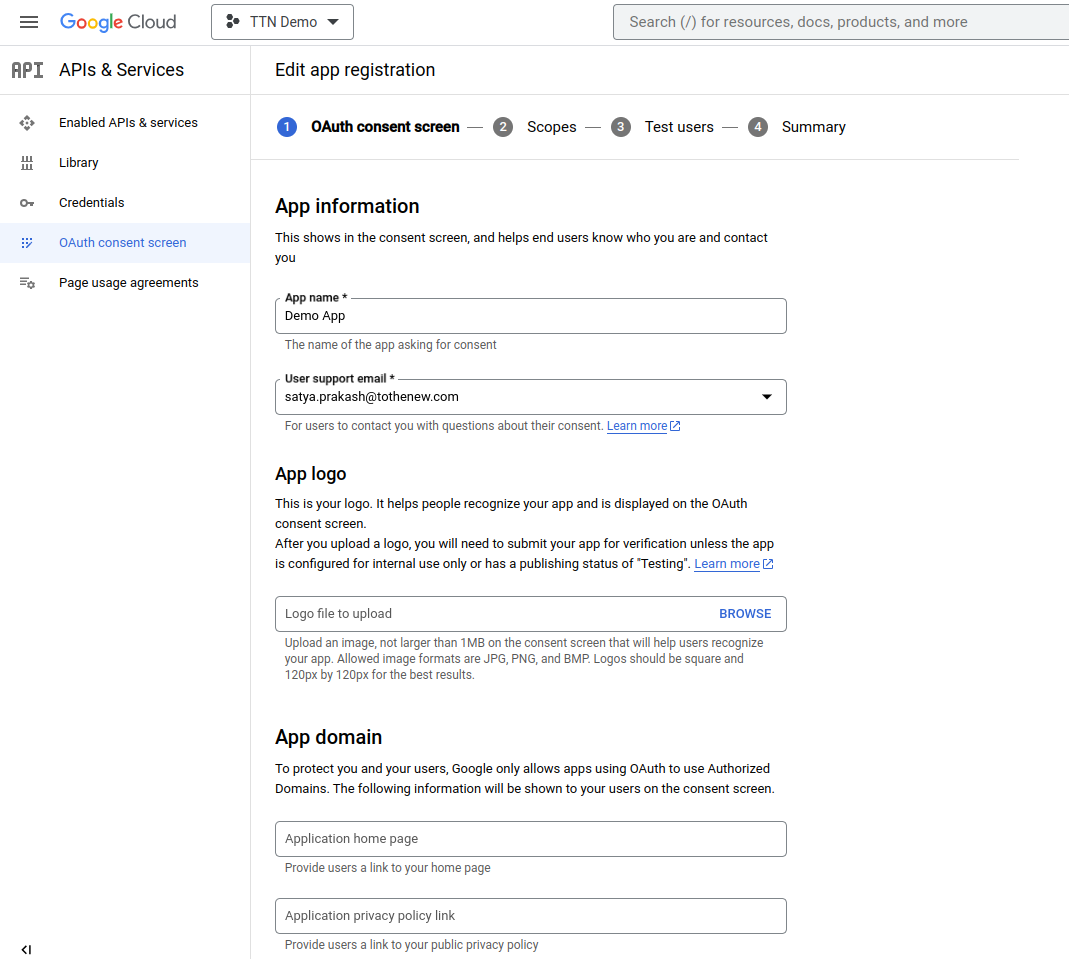
2. Configure the OAuth Consent Screen
Within your project, go to the credential tab and configure the OAuth consent screen by providing essential details about your WordPress site. This includes specifying the authorized domains and redirect URLs.
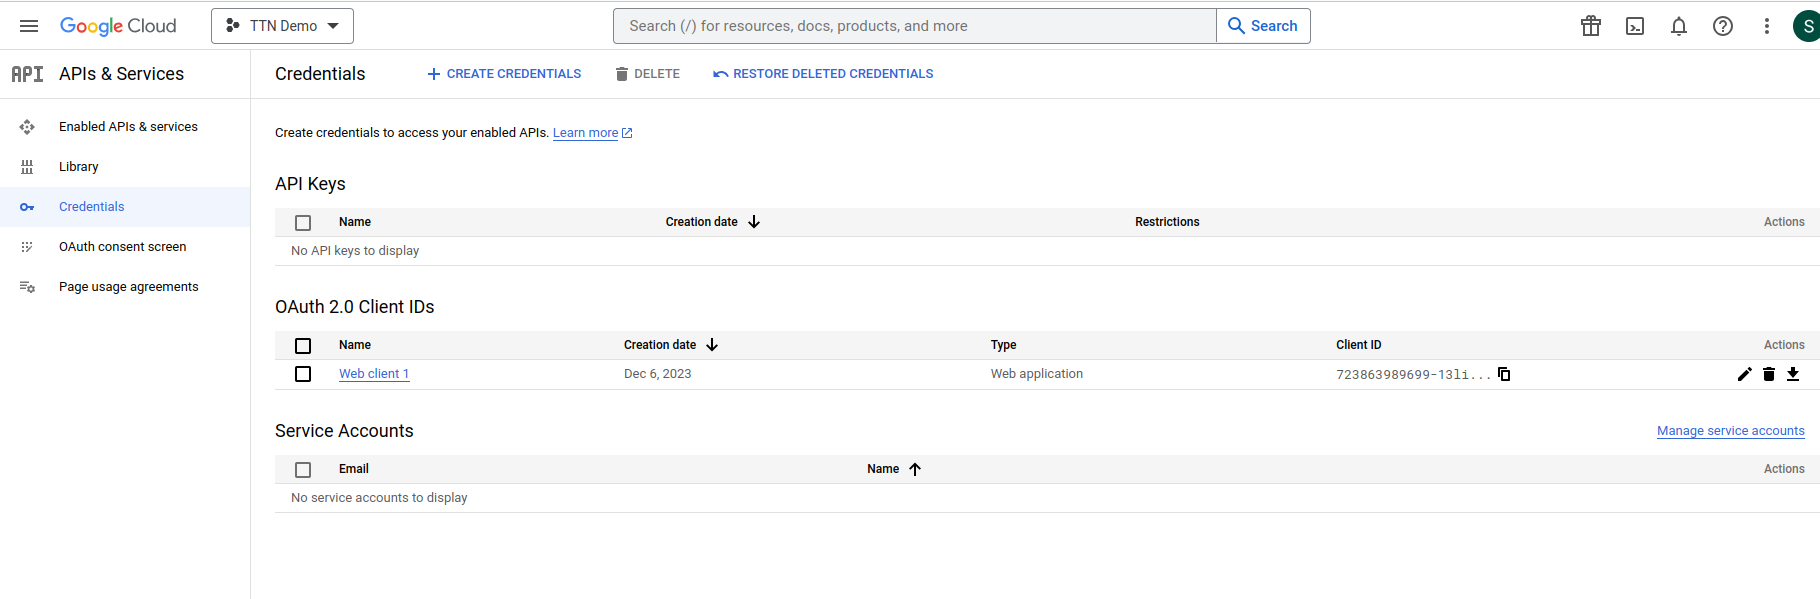
3. Generate OAuth 2.0 Credentials
Generate OAuth 2.0 credentials (Client ID and Client Secret) to enable secure communication between your WordPress site and Google. Keep these credentials confidential and secure.
4. Install and Configure Log in with the Google plugin
In your WordPress dashboard, install a reputable Login with Google plugin. Configure the plugin settings by entering the Client ID and Client Secret generated earlier, or you can define Client ID and Client Secret in wp-config.php using the following code snippet:
define( 'WP_GOOGLE_LOGIN_CLIENT_ID', 'YOUR_GOOGLE_CLIENT_ID' );
define( 'WP_GOOGLE_LOGIN_SECRET', 'YOUR_SECRET_KEY' );
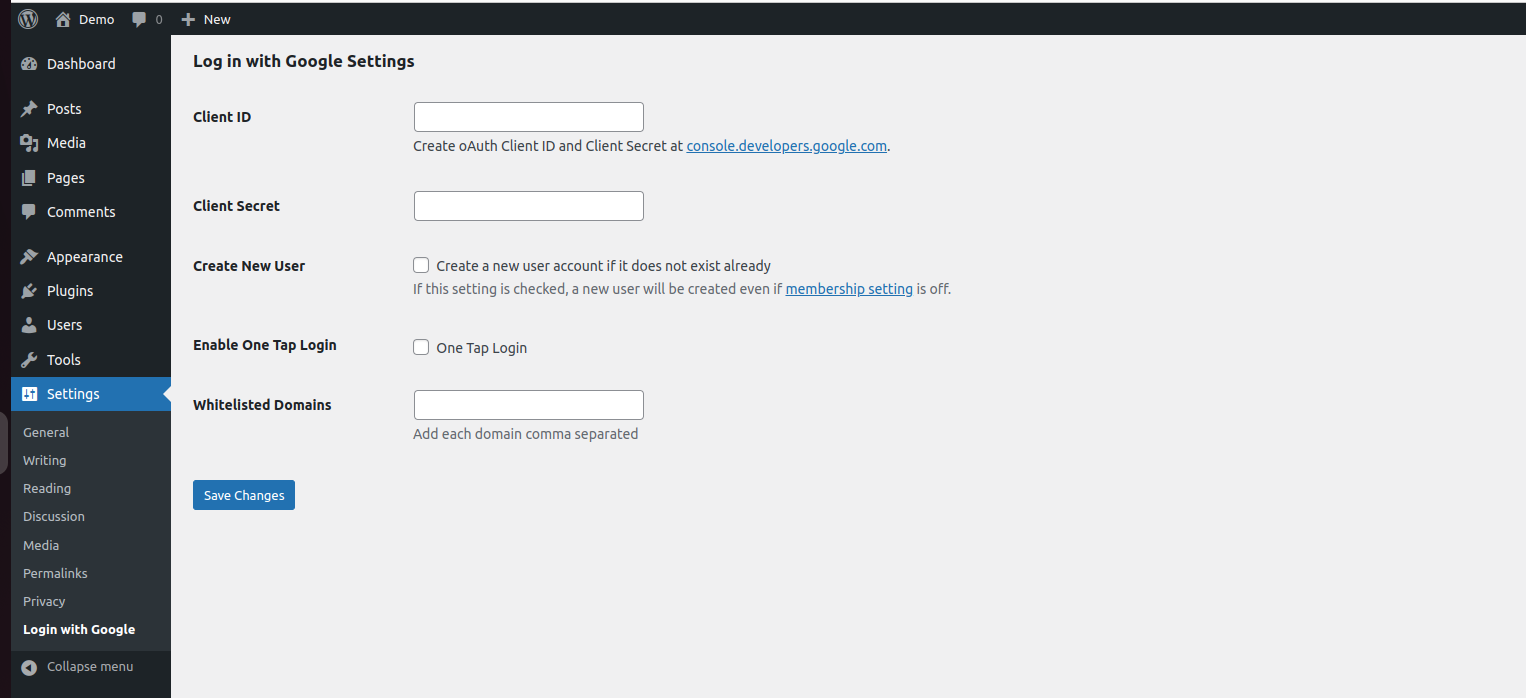
Adjust other settings, such as creating new users and whitelisted domains, based on your site’s requirements.
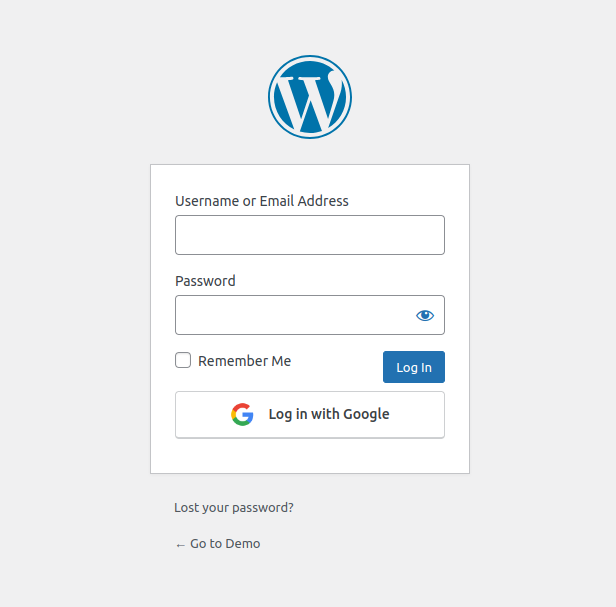
5. Customize the Login Button
Ensure a seamless integration by customizing the login with Google button to align with your site’s design. This step enhances the overall aesthetics and user experience.
6. Test the Integration
Before making the feature live, conduct thorough testing to ensure users can log in seamlessly using their Google credentials. Check for any discrepancies and address them promptly.
Benefits of Login with Google Integration
- Enhanced User Experience: Simplify the login process, reducing user friction and encouraging increased engagement.
- Increased Security: Leverage Google’s robust security measures to protect user accounts and sensitive information.
- Time and Resource Savings: Eliminate the need for users to create and remember yet another set of login credentials, streamlining their experience.
- Access to User Data: With user consent, gain access to valuable user data to inform personalized content and interactions.
Conclusion
Integrating Google SSO into your WordPress site is a strategic move to enhance user experience, streamline access, and bolster security. Following these steps can unlock the potential for increased user engagement and satisfaction. Embrace the era of seamless logins and propel your WordPress site to new heights of user-friendliness.