Events in Drupal help to communicate between various modules and components in a decoupled manner. Events provide a flexible and standardized way for developers to extend the behavior of the system, enhance integration capabilities and execute custom logic at specific points in application flow.
You have to understand the below points about event concepts in Drupal.
- Event Subscribers – Sometimes called “Listeners”, are callable methods or functions that react to an event being propagated throughout the Event Registry.
- Event Registry – Where event subscribers are collected and sorted.
- Event Dispatcher – The mechanism in which an event is triggered, or “dispatched”, throughout the system.
Step 1. Create custom Event in drupal 10
In order to define an event, create a class UserLoginEvent in your custom module /src/Event/ path.
namespace Drupal\custom_event\Event;

use Drupal\Component\EventDispatcher\Event;
use Drupal\user\UserInterface;

/**
* Event that is fired when user login
*/
class UserLoginEvent extends Event {

    const EVENT_NAME = 'custom_event_user_login';

    /**
    * the user account
    *
    * @var \Drupal\user\UserInterface
    */
    public $account;


    public function __construct(UserInterface $account)
    {
        $this->account = $account;
    }

}
Step 2 : Dispatch an event which you have created i.e UserLoginEvent.
We are dispatching userLoginEvent in Hook_user_login at the time when user login in the system.
use Drupal\custom_event\Event\UserLoginEvent;

/**
  * Implement Hook_user_login().
  */
  function custom_event_user_login($account){

    //initiate our event
    $event = new UserLoginEvent($account);

    //Get the event dispatcher service and dispatch the event.
    $eventDispatcher = \Drupal::service('event_dispatcher');
    $eventDispatcher->dispatch($event, UserLoginEvent::EVENT_NAME);

  }
Step 3 : Subscribe to the dispatched event. Create a class in module path /src/EventSubscriber/UserLoginSubscriber
We have to extend this class with EventSubscriberInterface. In this class we have to define function getSubscribedEvents function. This function will return events array with event and callback function details as below,
public static function getSubscribedEvents()
    {
        return [
            UserLoginEvent::EVENT_NAME => 'onUserLogin',
        ];
    }
Complete code of UserLoginSubscriber.php provided below. In this we are adding a message when that user was created.
<?php

namespace Drupal\custom_event\EventSubscriber;

use Drupal\custom_event\Event\UserLoginEvent;
use Symfony\Component\EventDispatcher\EventSubscriberInterface;

class UserLoginSubscriber implements EventSubscriberInterface {

    /**
    * @inheritdoc
    */
    public static function getSubscribedEvents()
    {
        return [
            UserLoginEvent::EVENT_NAME => 'onUserLogin',
        ];
    }


    /**
    * subscribe to the user login event Dispatched.
    */
    public function onUserLogin(UserLoginEvent $event){

        $database = \Drupal::database();
        $dateFormatter = \Drupal::service('date.formatter');

        $account_created = $database->select('users_field_data', 'ud')
            ->fields('ud', ['created'])
            ->condition('ud.uid', $event->account->id())
            ->execute()
            ->fetchField();

        \Drupal::messenger()->addStatus(t('Welcome, Your account was created on %created_date.', [
            '%created_date' => $dateFormatter->format($account_created, 'short'),
        ]));

    }
}
Tag event subscriber with event_subscriber
Create {module_name}.services.yml file in module path. Add below in this file.
services:
  custom_event_user_login:
    class: '\Drupal\custom_event\EventSubscriber\UserLoginSubscriber'
    tags:
      - { name: 'event_subscriber' }
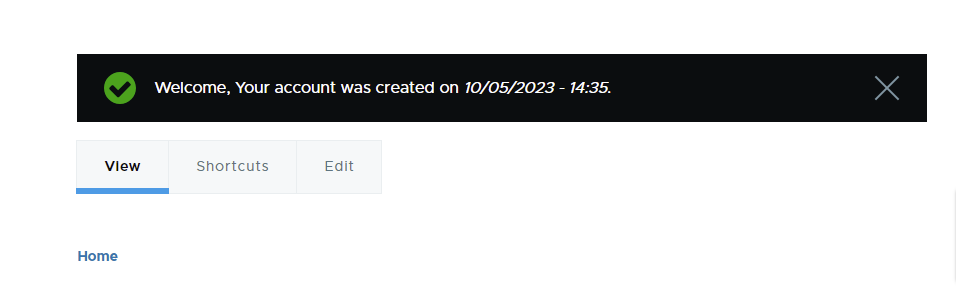
When user login to the system, this event dispatched and the message which we added in eventSubscriber will display as below :