Playing with AutoLayouts in iOS:-
AutoLayouts was introduced in iOS 6.0. It is basically used for making ios app development easy to support different screen sizes(iPad/iPhone) with using same storyboard/View.
For using AutoLayouts, You should have an idea about “Constraints”. Constraints is basically a rule that allows a view to set its position and size. So, to allow views to be positioned and sized correctly, we need to have set multiple constraints on it. A constraint is simply follows this formula:
view1.attribute1 = view2.attribute2 x M(multiplier) + k(constant)
A view generally need atleast four constraints (x(leading/trailing) , y(top/bottom), width & height).
So, I will simply tell you that AutoLayout is a big threat now a days but if you are using it and playing with it then I can bet you will be loving it.
So, I will give you an example using storyboard. Just drag a label on your view.
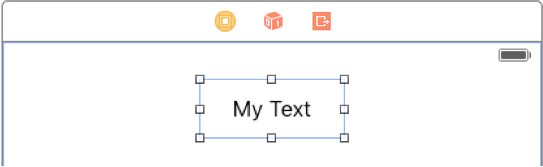
Now, just run your app(command+R) on different screen sizes, you will see it does not meet your requirements because it is not centrally aligned. So, we need to add constraints on it. As i told earlier, we need atleast four constraints to set a view position.
So, first, we are going to set its top constraint. For doing thing, just click “Resolve Auto Layout issues” button on the bottom right of storyboard with symbol sign |-△-| . A pop up window will come out look like:
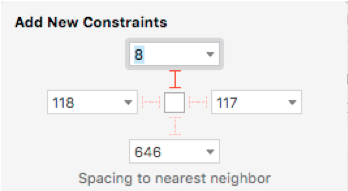
As you can see on above fig., there are showing us some default spacing values with respect to our nearest neighbour i.e it’s top position will be take 8 pixel space from its top neighbour view. 118, 117 & 646 pixels space from its left, right and bottom neighbour views respectively.
Now, If text is expending depending on the response.
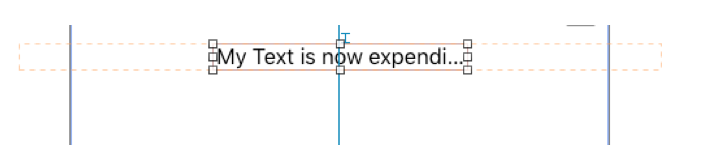
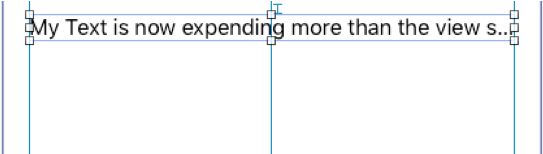
So, After “Update frames” on Resolve AutoLayouts issue. It will look like as,
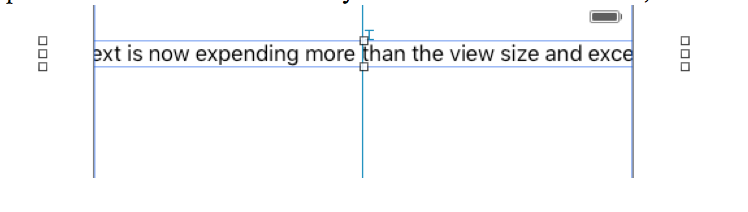
As you can see on above , text is expending over the view and kind of non readable form because we can not read the message exactly. So, to avoid these kind of problems we have to set its Leading & trailing constraints so it will not overlap on container(view).
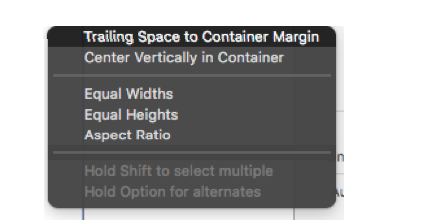
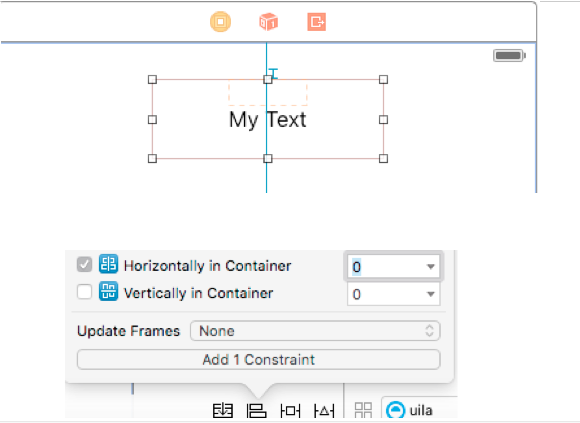
After select trailing constraints, a pop up window will come out and will look like:-
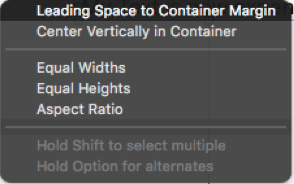
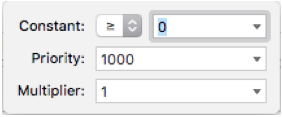
Now, you have to set its leading constarints same as trailing constraints, just open the constraints window & select “Leading Space to Container Margin”. Because We need to adjust our label centrally(left & right) for all iOS devices.
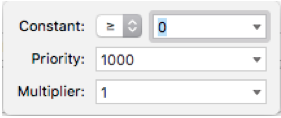
After set its leading constraints w.r.t its superview, it contains some constant value. Now same as trailing constraints, we need to set its leading constraints. In this scenario, we just set its constant value greater than 0(i.e >= 0).
Now, after setting or adjusting its leading & trailing constraints, just need to click on “Update frames” on Resolve AutoLayouts issue.
As you see on above, we get the required output but not satisfactory yet. Because it is showing text on single line. So, for supporting multilines, we have to set its line to 0.

Now, If you see the output, it will be look like as

Conclusion:
While playing with AutoLayout, you can create the UI’s for different resolution of devices that are coming in different resolution and different screen size. This will reduce unwanted conditional check in your classes and make your life smooth.