Creating editorial workflow using content moderation is used to speed up the publishing process. Imagine a website has 10 content types, hundreds of contents for each content type, and daily contents are updated or added by a single admin user who has the publish and unpublish permission. So admin user can verify and publish each content one by one, which is time-consuming. So publishing process speed will be reduced since one user is creating, updating, verifying, and publishing the content.
Please note the below points before implementing content moderation and workflow in Drupal. We need to have workflow/content moderation only if we have the below requirements.
- Multiple content authors are uploading content on your website that needs to be reviewed before it gets published.
- You’re managing a team of multiple admins with different user roles.
- Each moderator knows his/her role in the publishing chain.
if we have content authors with the same role as admin, we don’t need to configure workflow/content moderation. In this case, the publishing process will slow down. The publishing process includes a node in the draft reviewed by another or the same user and, after the review, approved by another user and then published.
So here, one node is going through different states before getting published. We can say below are the states of this node.
- Draft
- Review
- Ready to Publish
- Published
- Archive
In order to achieve content moderation in Drupal 9, Drupal 9 has a core Content Moderation module that works in conjunction with the Workflows module to easily create and manage an editorial workflow using different states and transitions.
The Content moderation module allows you to:
- Create a Draft (The first state is not published)
- Have different states than just published and unpublished.
- Change the states.
- Have granular permission control for every transition and state.
- Select the content types that you want to apply to the workflow.
The Workflows module defines a set of states and transitions that are then attached to content by the Content moderation module. A “state” is the current condition that your content is in (Draft, Unpublished, Review, Ready To Publish, Published, Archive). A “transition” is the process of moving content from one state to another (Needs work, Needs review, Publish).
Configuring Content Moderation
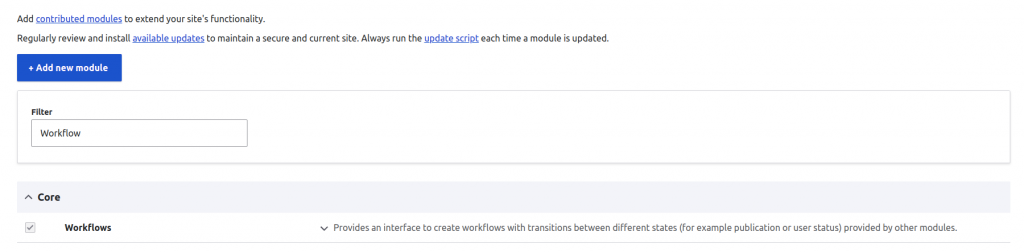
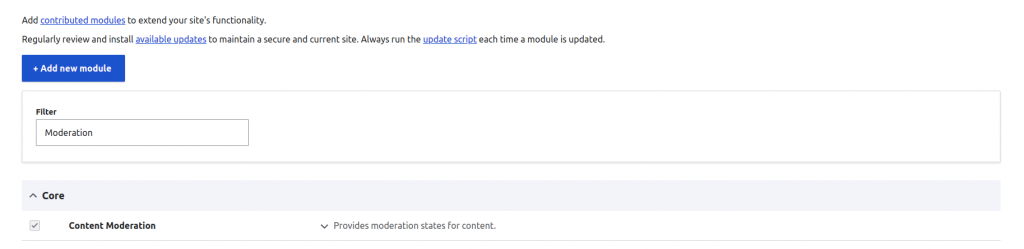
First, enable your core modules, Content moderation module, and Workflow module. To enable the module, go to Extend, select modules, and Click on Install.
Once the module has been enabled, You will find a view “Moderated content view” to check and edit the status of all your content – moderation state, content revisions, author, content type, etc. To find it, go to Content -> Moderated Content tab.
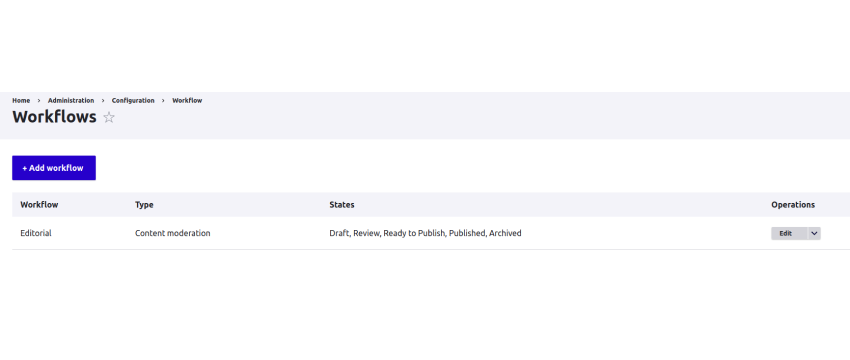
Now go to Configuration -> Workflow -> Workflows.
Here, a default workflow called “Editorial” gets created when you enable the module. You can edit the existing “Editorial” workflow or create a new workflow by clicking on Add Workflow.
Creating a new workflow
Once you have created a new workflow, you will see various states and transitions that you can configure and edit. You can also create your own state or transition if your team requires more flexibility or steps. There’s also the option for you to choose the content type to which you want to apply this workflow.
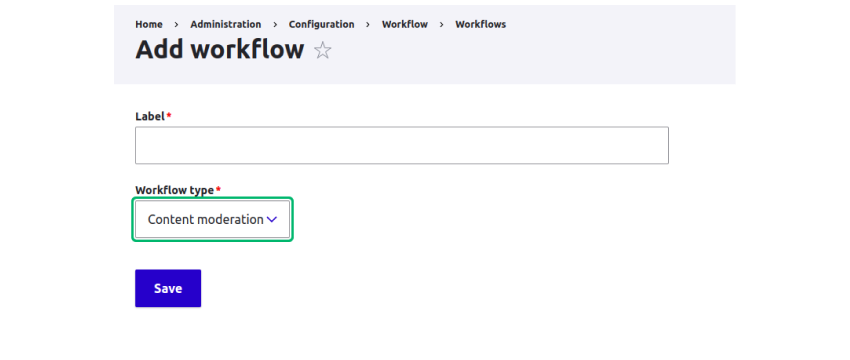
Defining a new Workflow
Label: The name of the Workflow.
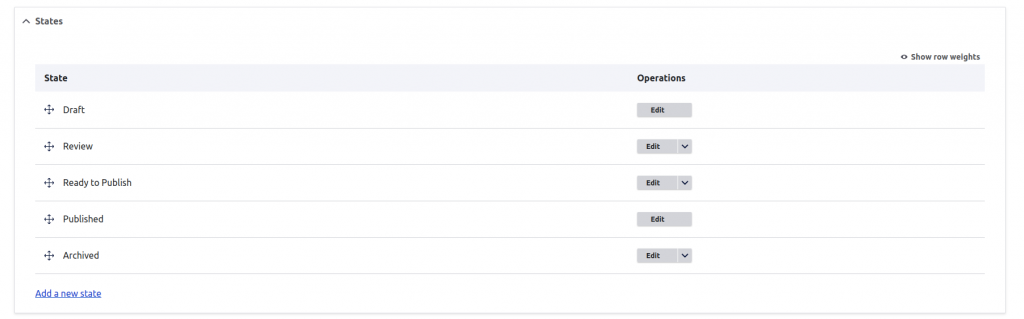
States: You can add a new state by clicking on the “Add a new state” button like “Review”, or “Ready to Publish”. You can also edit an existing state. You can add multiple states in states section.
Transitions: You can add a new transition by clicking on the “Add a new transition” button. For Example Transition from Ready to Review, Ready to Publish
![]()
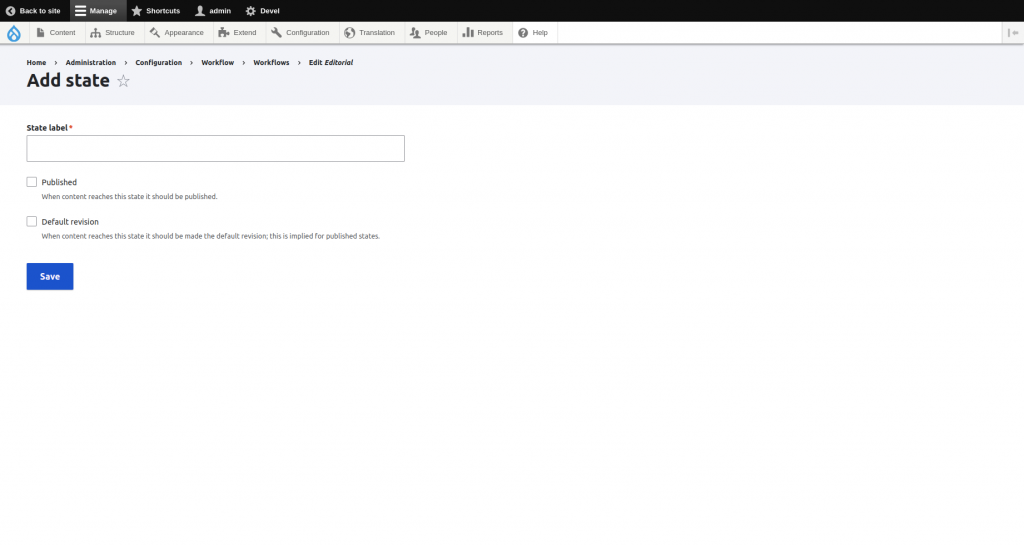
While adding a new transition, you can provide a label for each transition and decide from state to state. See below how a transition add screen looks.
![]()
Here you can see you can select multiple states for transition. Click the save button. So this transition will be listed in your transitions section.
This workflow applies to: You can choose to which entity types the workflow should apply. For example, Block types, Media types, Content, etc.
Assign to content type

Click select button and add content types/or custom blocks.

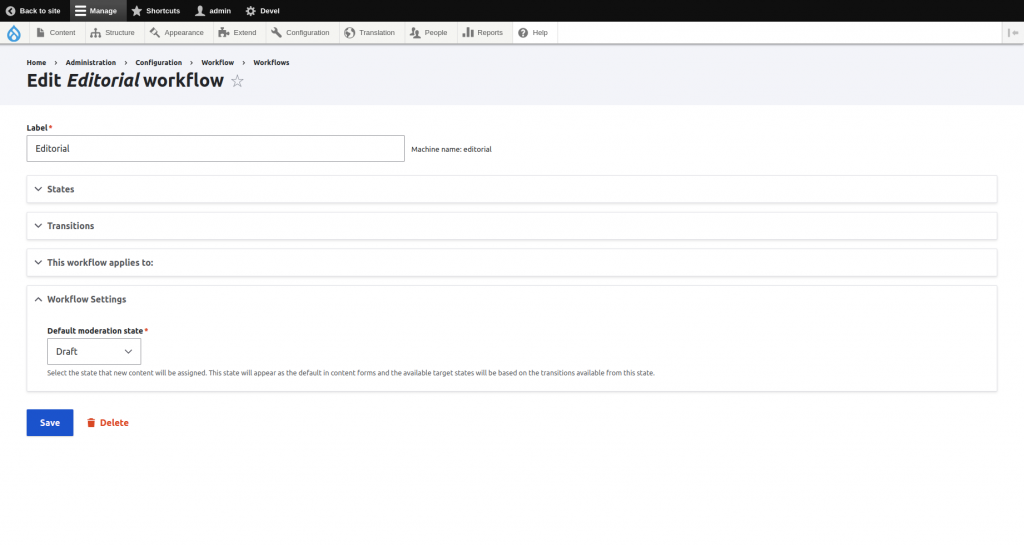
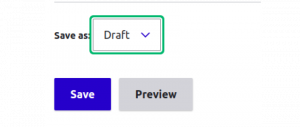
Default Moderation State: Here, you can choose the default moderation state when we create new content.
Users & Permissions
You will probably allow people with roles other than administrator to participate in the workflow. To achieve this, you will need to set up the proper permission schema at People > Permissions.
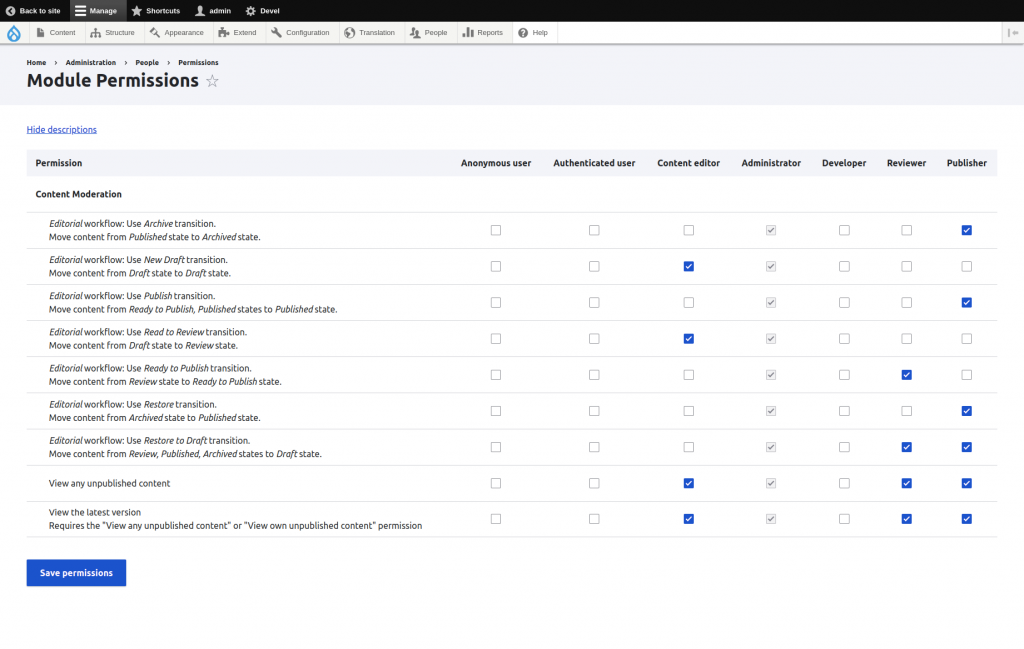
Permission control example for a Workflow content type
The schema in the image above is centered around three roles; Content Editor, Reviewer, and Publisher.
In this example,
* Content Editor can create, edit, and save content in the draft state or send for review in the review state, but not publish content.
* Reviewer can review content and have two options
1. Can change the state from Review state to Ready To Publish state
2 Can change state from Review state to Draft state for improvement
Now, if content in “Ready to Publish” state then Publisher will change its state to Published.
Be sure to grant ‘View the latest version’ and subsequently ‘View own unpublished content’ and ‘View any unpublished content’ to Content Editor, Reviewer, and Publisher. Otherwise, these roles will not be able to view their latest changes.
Email Notification
Now on each step or transition, you need an email notification. For that, we have to install contribute module “Content Moderation Notifications.”
https://www.drupal.org/project/content_moderation_notifications
Content Moderation Notifications modules allow notifications to be sent to all users of a particular role or to the content’s author when a piece of content is transitioned from one state to another via the core’s content_moderation module.
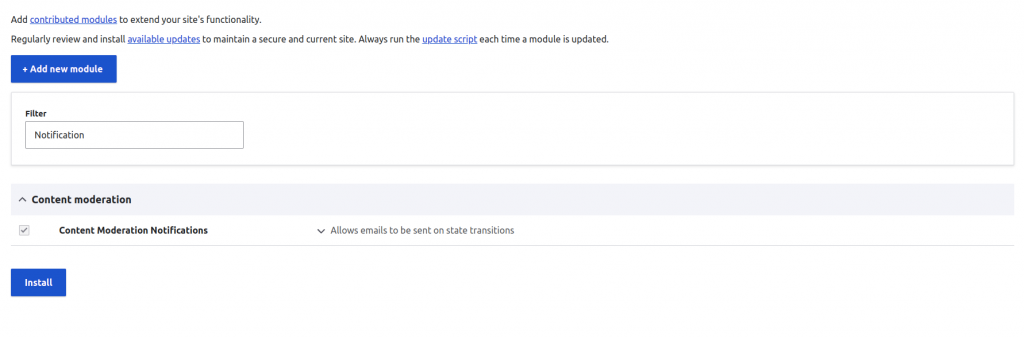
Enable the module and Go to the configuration link – /admin/config/workflow/notifications
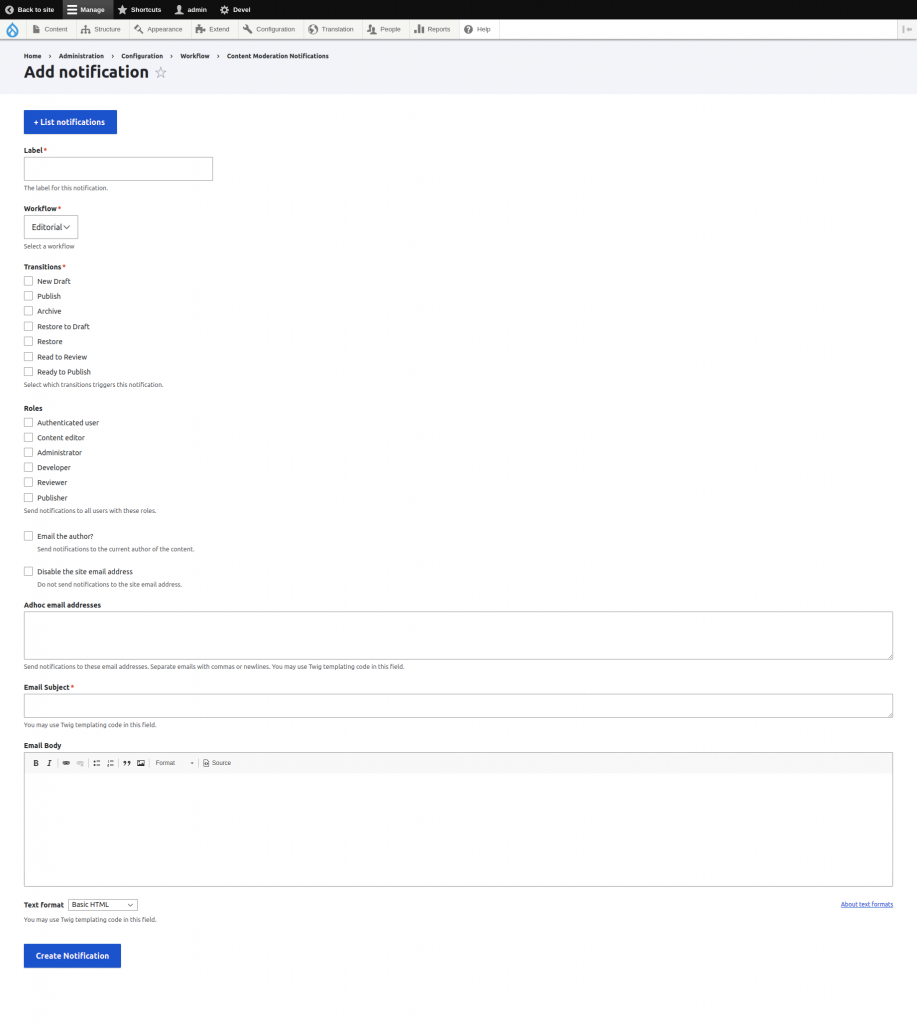
You can add notifications by following the steps:
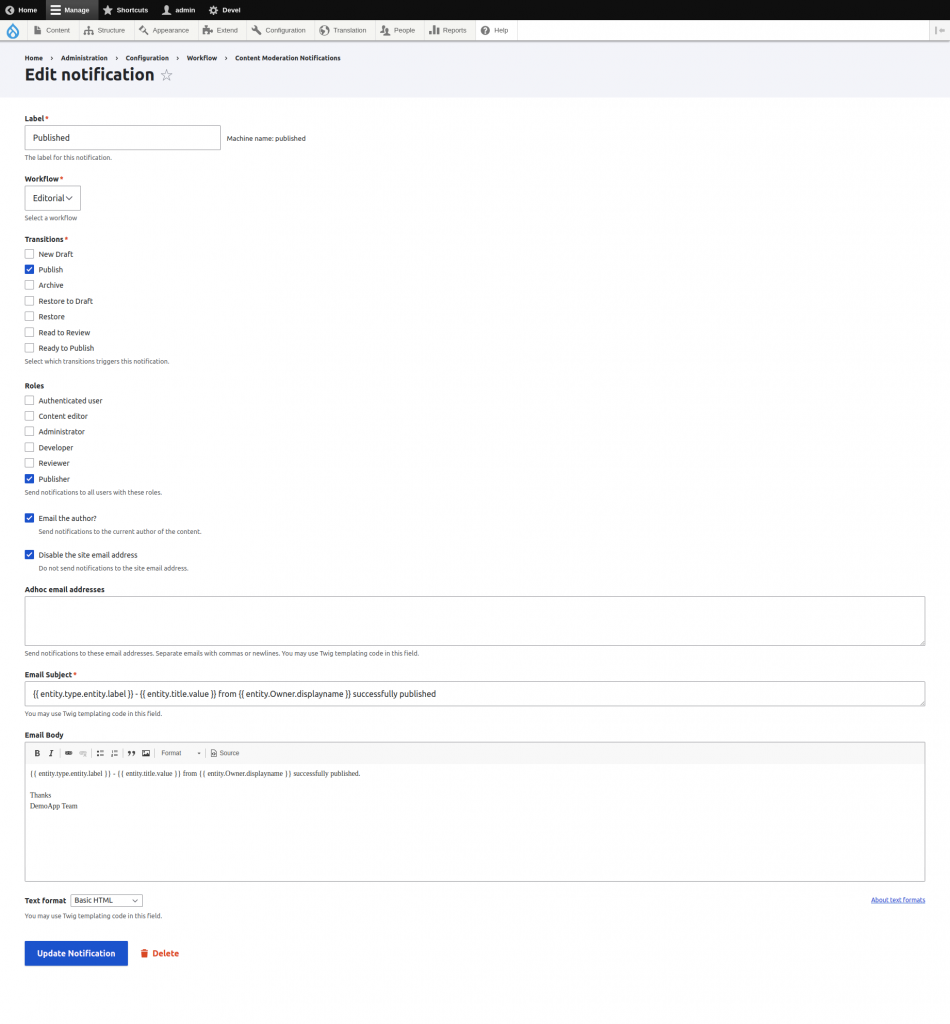
1. Label: The label for this notification.
2. Workflow: Select the workflow on which you want to apply notifications.
3. Transitions: Select transitions on which you need to trigger a notification.
4. Roles: Selecting roles will send notifications to all users with selected roles. This is not mandatory.
5. Email the author: Send notifications to the current author of the content. This is not mandatory.
6. Disable the site email address: Do not send notifications to the site email address. This is not mandatory.
7. Adhoc email addresses: Send notifications to these email addresses. Extra emails. This is not mandatory.
8. Email Subject: You can set the proper subjects of each mail by using Twig Templating codes.
9. Email Body: You can set the body of the email by using Twig Templating codes.
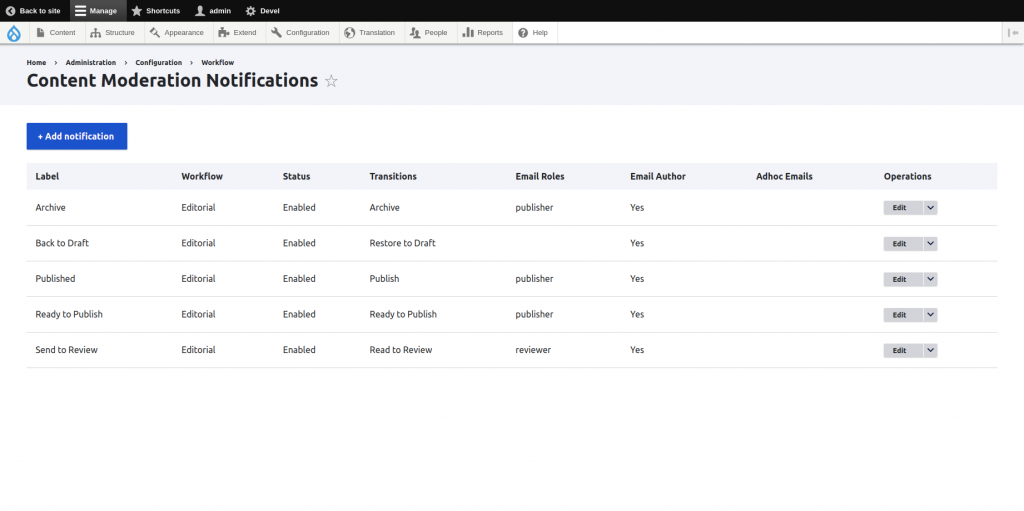
After setting notifications on each transition, your list will be like the below screenshot.
Example of Content Moderation through Workflow Content Type
The steps are as follows:
1. Author creates a new node of workflow content type.
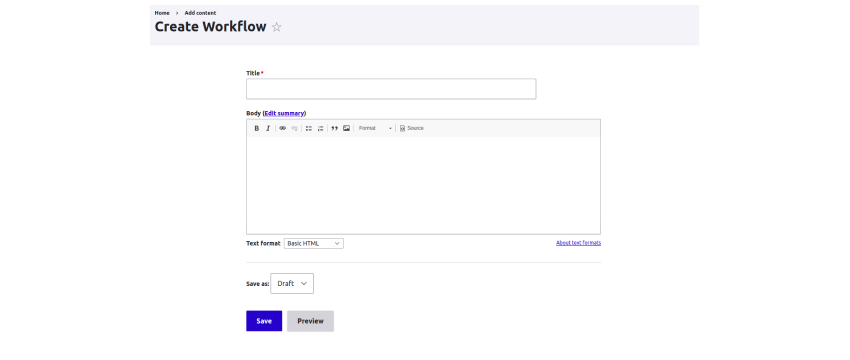
2. Author saves the content in Draft because the article is not ready to be published yet.
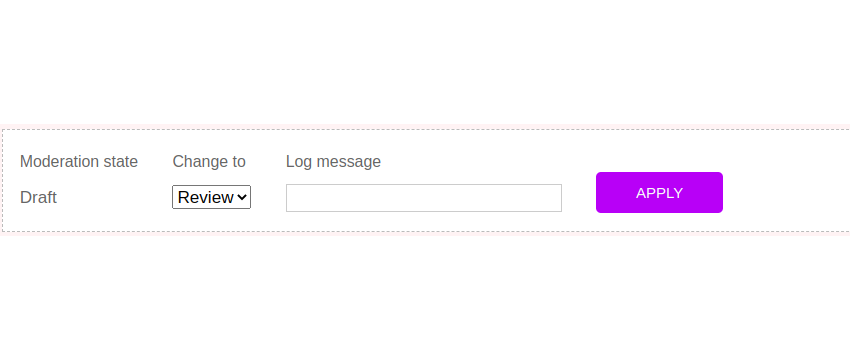
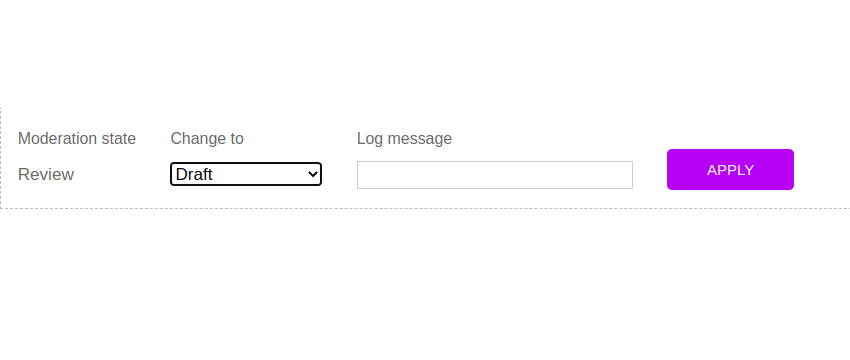
3. Once the Author completes writing the article, they will change the state from Draft to Review. Notification mail will be trigger.
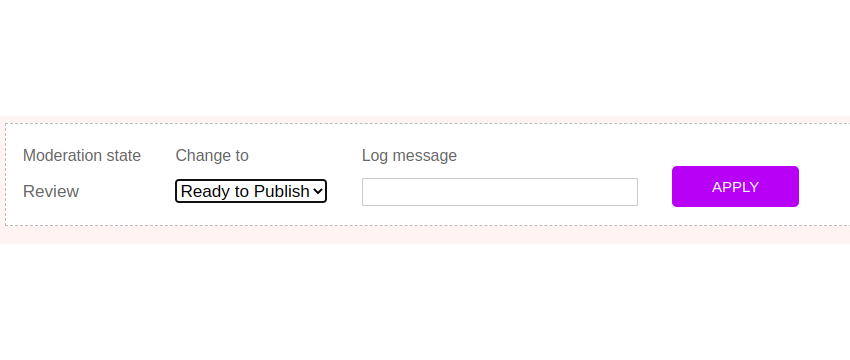
4. The Content Reviewer reviews the content; if everything is okay, they will change the state from “Ready for Review” to “Ready to Publish”. Notification mail will be triggered.
5. If the Content needs work and is not ready to be published, he will change the state from Review to Draft. Notification mail will be triggered.
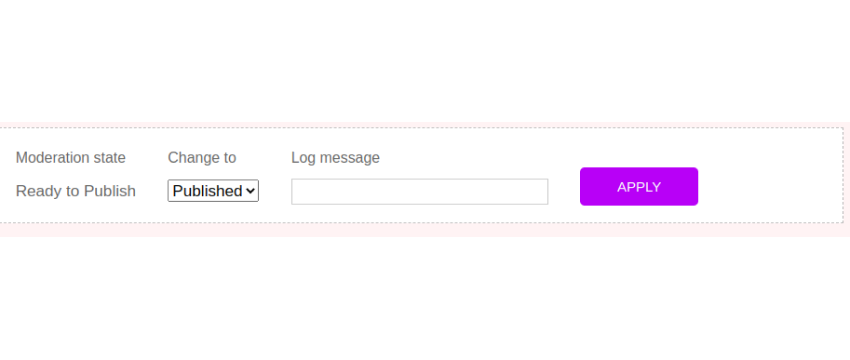
6. The Publisher publishes the content. They change the moderation state of the content from Ready To Publish to Published. Notification mail will be triggered.
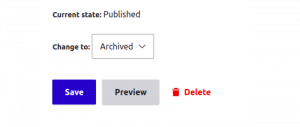
7. If the content is no longer to use, then the Publisher can also change the state of published content from Published state to Archive state. Notification mail will be triggered.
This example shows a simple editorial workflow of a workflow content type. You can also have a more complex and rich workflow based on your business requirements.