Elastic Beanstalk is a PaaS service (Platform as a Service) provided by Amazon. Elastic Beanstalk is gaining limelight as it enables you to setup a complete environment based on the framework you would look out for your application.
It supports almost all the known frameworks, as:
- IIS
- Node.js
- PHP
- Python
- Ruby
- Tomcat
The type of environment you can setup with this service can be Standalone (Single Instance) or a Load Balanced one supported with AutoScaling which automatically manages the server requirement in different traffic situations:
Increased Traffic: Whenever the traffic on your server increases it would on it’s own, scale up the application to increased number of servers in order to serve the load
Traffic is stable: When the traffic becomes stable it would automatically terminate the scaled up instances.
In this article, I would be emphasizing more on the PHP framework deployment & setting up the complete environment on Elastic Beanstalk & controlling future deployments via Git from your local server.
Before moving forward you need ensure whether you have the following packages installed on your local server.
1) Git
[shell]# yum install git[/shell]
2) Ruby
[shell]# yum install ruby[/shell]
3) JSON Gem
[shell]# gem install json[/shell]
Download the Elastic Beanstalk CLI tools from below link on your local server.
https://aws.amazon.com/developertools/6752709412171743
Get the AWSAccessKeyId and AWSSecretKeyfrom account dashboard on the AWS Management Console.
Now go the Elastic Beanstalk through your AWS Management Console.
Creating a PHP Application
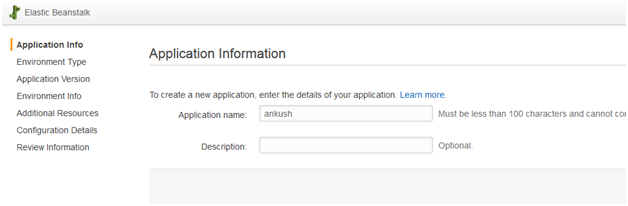
- You need to create a PHP Application on Elastic Beanstalk Console using Create New Application.

- Specify the Application Name e.g., ankush
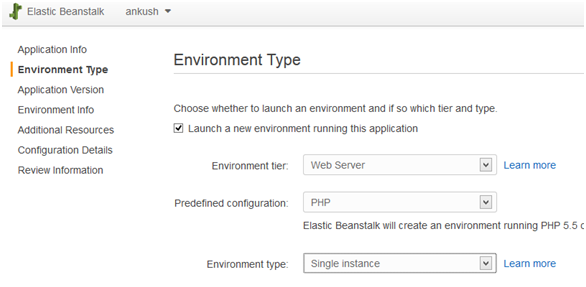
- Now select the Environment Tier & specify the framework you would like to use (PHP in this case) as I want to create a PHP Application & I want this application to be hosted on a Single instance.
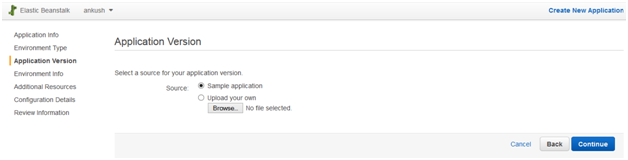
- On the next Console you have two options.
Either you can supply your Sample Application Code or upload your own Application Code. For this example, I would be using the Sample PHP Application Code provided by Amazon.
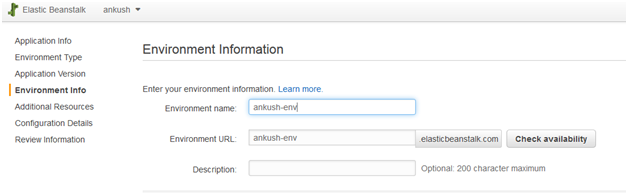
- Specify the Environment Name & Environment URL e.g., ankush-env
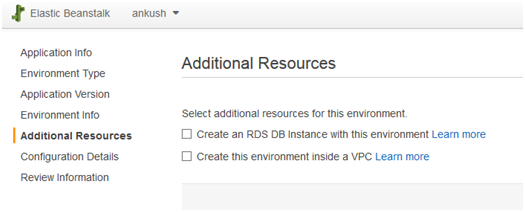
- You can configure Additional Resources for your application like use of RDS & placing the whole environment within a VPC but for this example I would be skipping these configurations by not checking the boxes.
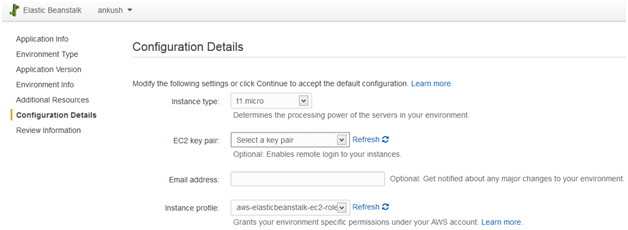
- Now you now need to specify the Instance Type for the server on which you would be setting up your environment. As an example I would be taking t1.micro the least configuration server into picture. You can also specify the Key Pair if created so before within that region in order to login into the EC2 server created by Beanstalk environment.
An Instance profile role is automatically created by Beanstalk which behaves like a Security Group for your complete environment.
- At last we have reached to the end of setting up our PHP Application, review the configuration changes you have made & if you are satisfied with the configuration setup of your environment you can launch the same.
- Wait until the environment gets created & turns Green
.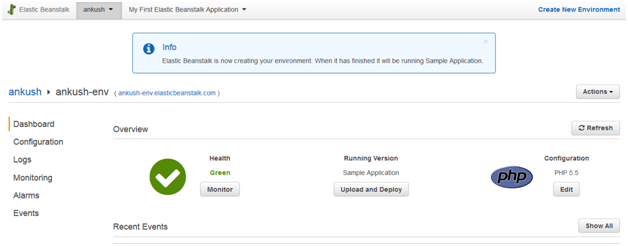
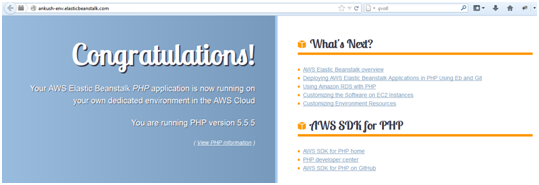
- Your environment is ready now. Verify the same by typing yourenvironmentname.elasticbeanstalk.com on browser.
Now we need to deploy the application present on your local server to Beanstalk & upload the same via Git to your configured environment.
- Login to your local server configured with the packages as mentioned before.
- Save the Elastic Beanstalk CLI tools on your local server directory say /opt/
- Unzip the downloaded file.
- Now create an index.php file under directory e.g/var/www/ankush
[shell]# vi index.php
<html>
<head>
<title>PHP Test</title>
</head>
<body>
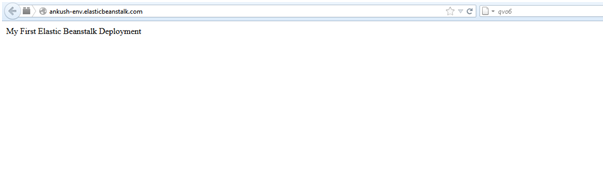
<?php echo ‘<p>My First Elastic Beanstalk Deployment</p>’; ?>
</body>
</html>[/shell]
- We need to initialize Git on our present directory.
[shell]# cd /var/www/ankush
# git init[/shell]
- Run AWSDevtools script present under below location
[shell]# sh /opt/AWS-ElasticBeanstalk-CLI-2.6.0/AWSDevTools/Linux/AWSDevTools-RepositorySetup.sh[/shell]
- Run the following command to set up AWS credentials for this application
[shell]# git aws.config[/shell]
This will prompt you to provide the following information.
1) AWS Access Key ID
2) AWS Secret Key
3) AWS Region (Region where your enviroment is configured, in my case it is ap-southeast-1)
4) AWS Elastic Beanstalk Application (Application Name of created environment, in my case ankush)
5) AWS Elastic Beanstalk Environment (Environment Nameof created environment, in my case ankush-env)
- Once you enter these details correctly, the application is ready to deploy using Git. Make the required changes to the application, commit it, and push, done!
[shell]# git add .
# git commit -m "First commit"
# git aws.push[/shell]
- Open yourenvironmentname.elasticbeanstalk.com on browser, you will see the content you have typed in your index.php file.
All is done now!!!!! So start hosting your applications on Elastic Beanstalk.
Great article, However, I would also like to suggest a Paas Service called Cloudways by which you can easily deploy your application on AWS server using git.
What would be the way to replace the sample application by another under git control in the present version of the aws eb cli?
In your blog above I believe these commands did it :-
“Run AWSDevtools script present under below location
1
# sh /opt/AWS-ElasticBeanstalk-CLI-2.6.0/AWSDevTools/Linux/AWSDevTools-RepositorySetup.sh”
Please suggest. Thanks