In continuation to my previous Blog on Elastic Beanstalk (Grails Application) , I would now tell you how to deploy a PHP application via Elastic Beanstalk. So, again, we will quickly go through what AWS Elastic Beanstalk does. It is deploying your application in the AWS Cloud without worrying about the infrastructure & making your application production ready within few minutes.
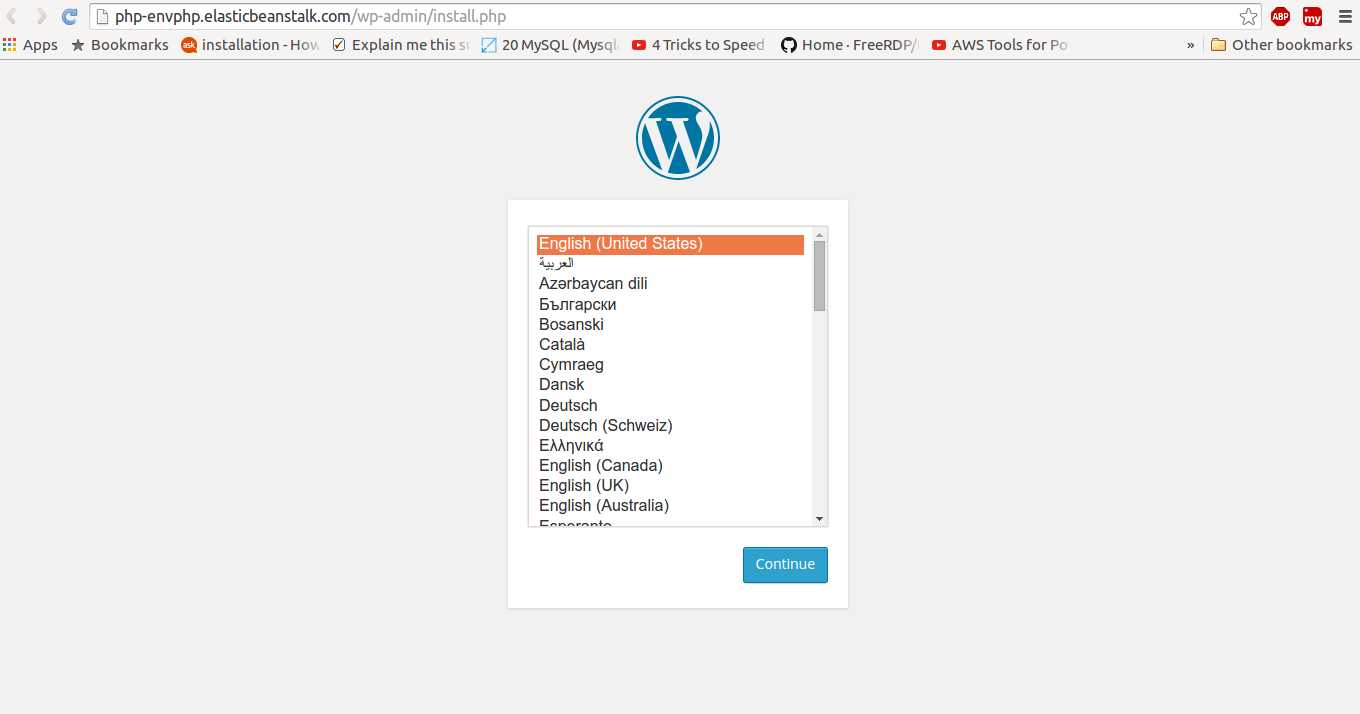
AWS Elastic Beanstalk supports PHP 5.3, 5.4, 5.5, 5.6 & will soon be supporting PHP 6.0. In this blog we will deploy a simple WordPress site & while going through all the necessary steps.
Steps to deploy a PHP application via Elastic Beanstalk :-
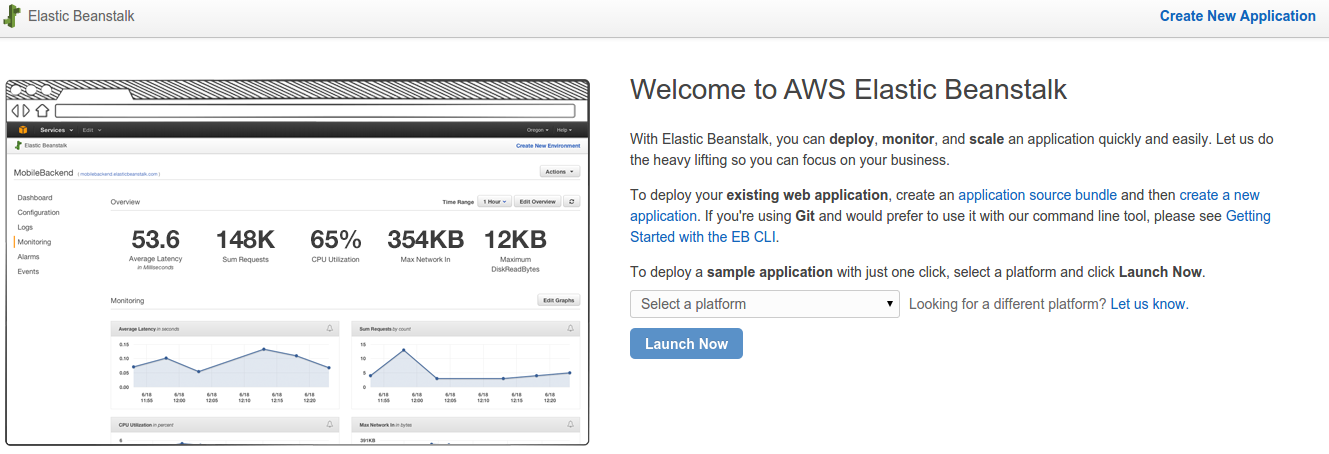
1. Go to your AWS Elastic Beanstalk console.
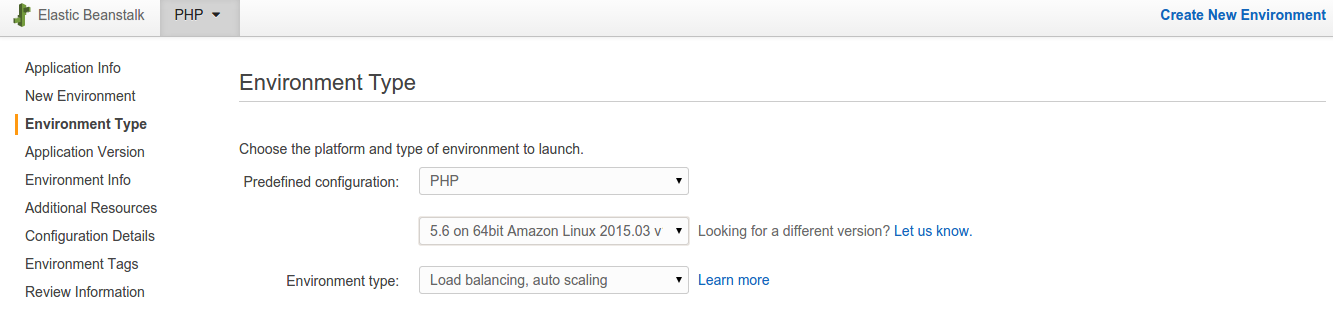
2.Create a New Application. Choose the Type of application. For now EB Supports Docker, PHP, Java Tomcat, Ruby etc. For this we will use PHP 5. We will deploy a basic WordPress application.
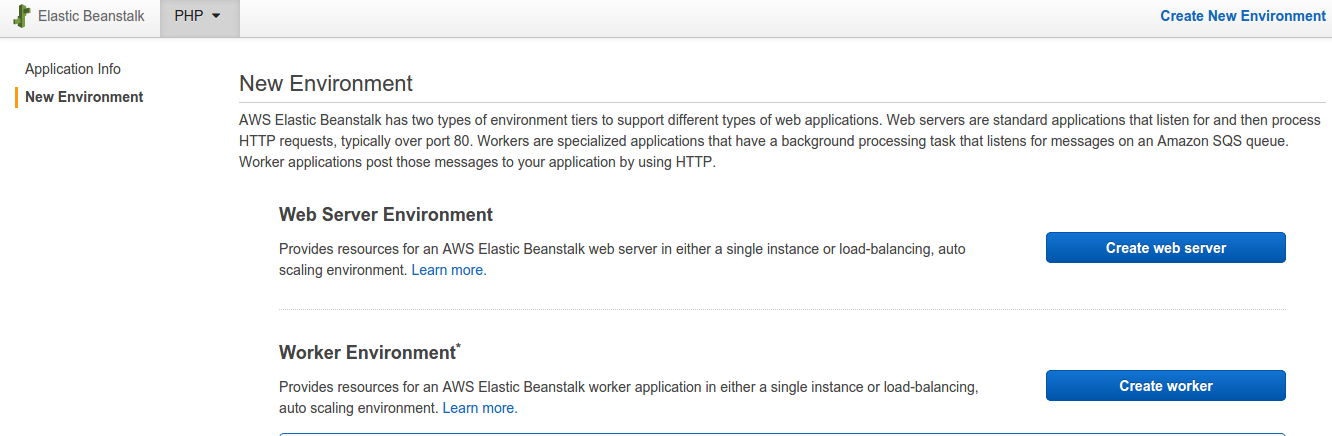
3. Now, Create a new Environment. Choose Web Server.
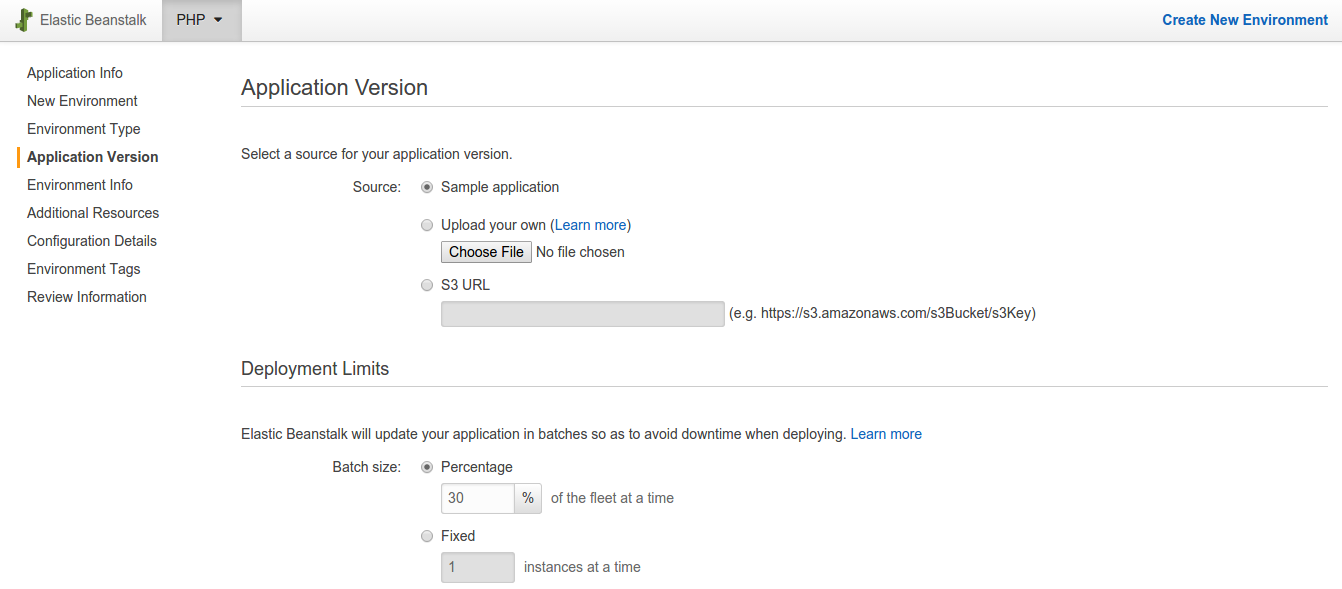
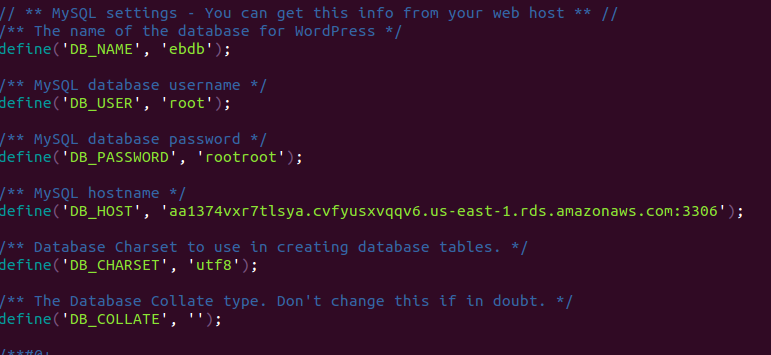
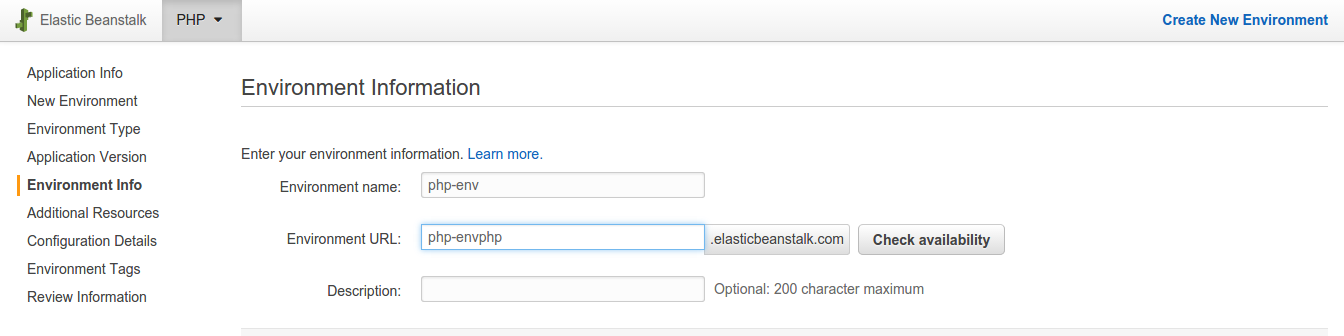
Since at this point of time we don’t know the RDS endpoint & the Elastic Beanstalk Environment URL we will choose sample application.
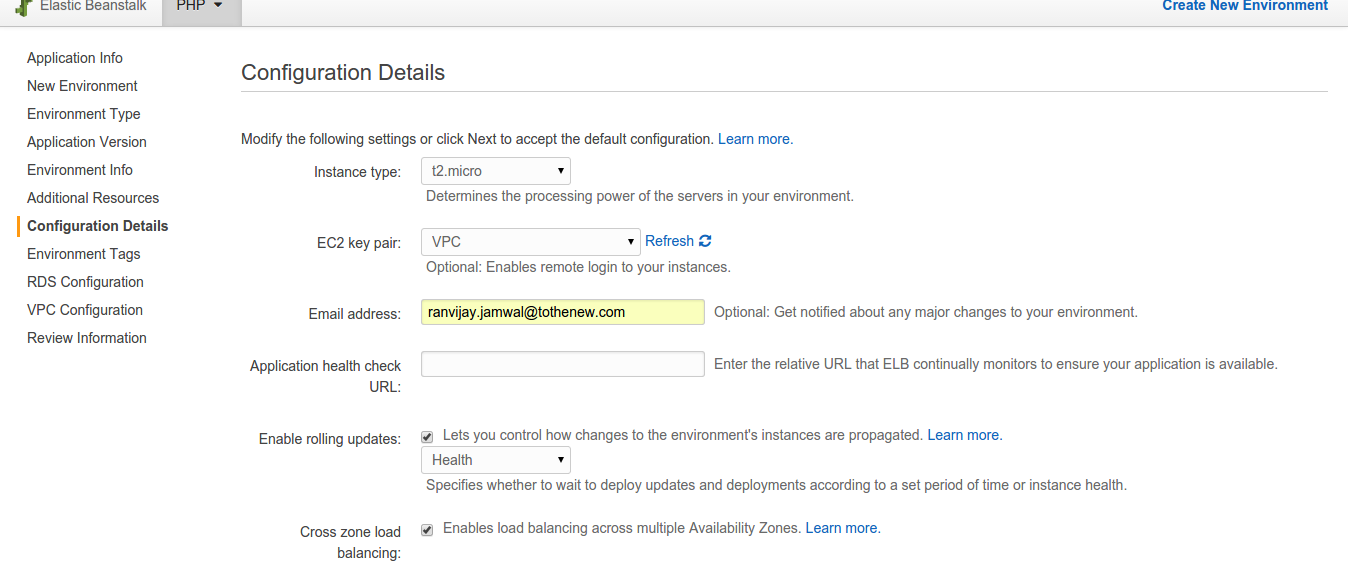
5. Select the required settings like Auto-scaled or single Instance Environment, VPC/EC2. You can also select an SNS for reporting changes to your environment. You will have to choose an existing database ( RDS ) or you can create a new one by choosing the DB option. Then if you have chosen to do all this inside a VPC, you need to select the VPC & the subnets.
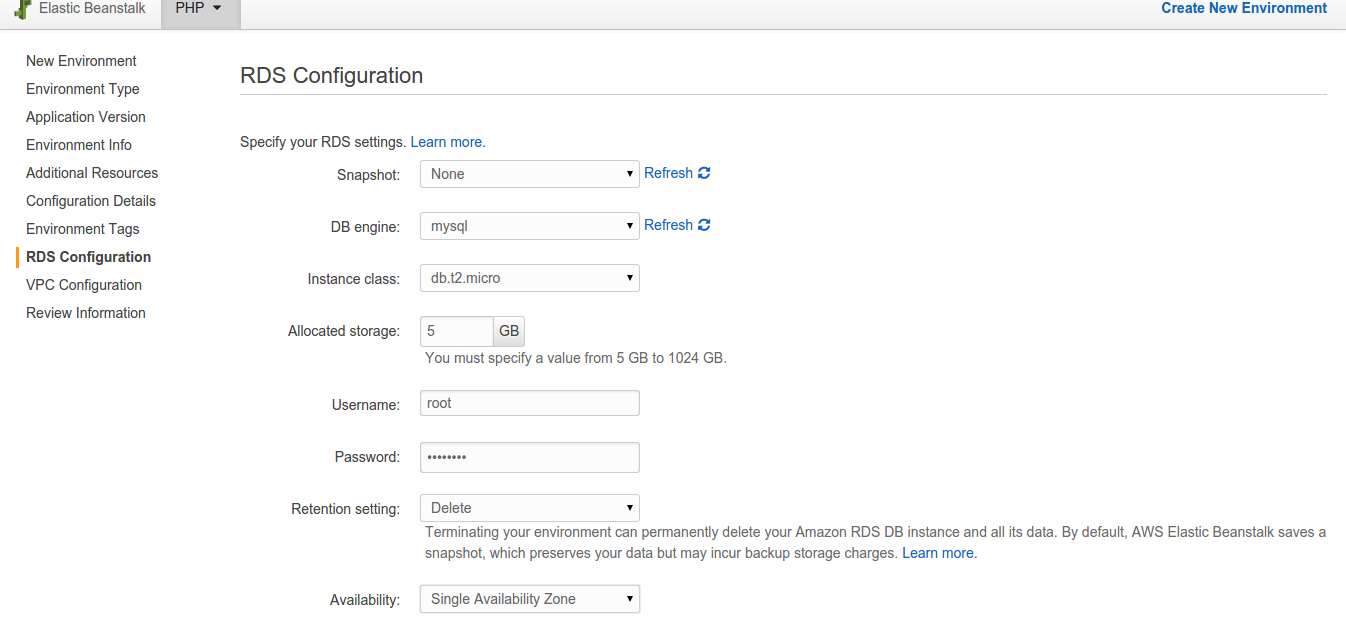
RDS options :–
- Snapshot : none
- DB Engine : mysql
- Instance Class: db.t2.micro (if you want to stay in the free tier)
- Allocated Storage: 5 to 20 Gb (if you want to stay in the free tier)
- Availability: Single Availability
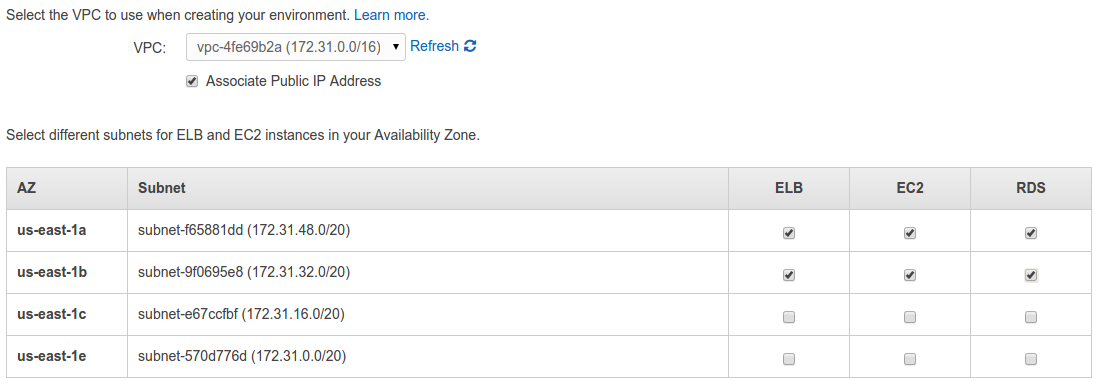
Now, VPC configurations for EC2 instances, ELB & RDS. Remember ELB & RDS would require two AZs.