Why Docker?
Has it ever happened to you that you create an application it runs successfully on your machine?
You share this application with your friends because it doesn’t work on their machines.
But it worked on my machine !!
What is Docker?
Docker is a tool for running applications in an isolated environment, it is very similar to a virtual machine but it is much faster and doesn’t require a lot of memory and an entire operating system to operate.
Also, it gives us the ability to ship our code faster and gives you control over your applications.
Docker-based applications can be seamlessly moved from local development machines to production deployments.
What is Container?
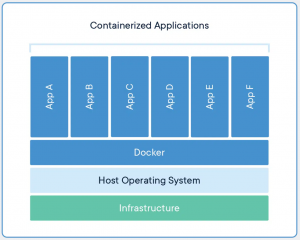
A container is an abstraction at the application layer that packages code and dependencies together. Instead of virtualizing the entire physical machine, containers virtualize the host operating system only.
Multiple containers can run on the same machine and share the OS kernel with other containers. Here containers don’t require a full operating system and it simply shares the same underlying operating system by running in isolation from other containers.
Docker image
A Docker image is a template for creating an environment of your choice. It could be a database, a web application pretty much it can be anything. Docker images are multi-layered read-only files carrying your application in the desired state inside them.
Image contains everything you need to run your application, it contains the operating system, any software required as well as the application code.
So once you have the image the container comes into play. In simplified terms, a container is a running instance of an image.
Docker Engine
The engine consists of three major components:
- Docker Daemon: The daemon (dockerd) is a process that keeps running in the background and waits for commands from the client. The daemon is capable of managing various Docker objects.
- Docker Client: The client (docker) is a command-line interface program mostly responsible for transporting commands issued by users.
- REST API: The REST API acts as a bridge between the daemon and the client. Any command issued using the client passes through the API to finally reach the daemon.
- You as a user will usually execute commands using the client component. The client then uses the REST API to reach out to the long-running daemon and get your work done.
Docker commands
Go to the terminal considering the docker daemon is running. And type docker ps (docker ps lists all containers that are up and running). whenever you are using docker make sure the actual docker daemon is running.
Let’s download an image from the docker hub and run a container from it.
Pull an existing image from the docker hub and run a container from it.
P.S: Docker hub is simply a registry. A registry is a place from where you can download all the public images that are shared by other people.
Link:- https://hub.docker.com/
** docker run hello-world
What happened when we ran docker run hello-world
run basically run a container from the image(here hello-world is the image name).
As you type this you will get unable to find the image locally. first, it will try finding the image locally if it doesn’t find then it goes to the docker hub and pull the image from there and run a container from the hello-world image.
Let’s pull a nginx image from the docker hub and performs some action on it.
** docker pull nginx
Docker pull command is used to fetch docker image from docker hub to your local machine.
Now let’s see what all images we have in our local machine for that
** docker images → It will list down all the images we have locally
nginx latest f493a2ff2935 2 weeks ago 135MB
hello-world latest 46331d942d63 5 months ago 9.14kB
P.S: while pulling an image sometimes you will see an image layer already exist, it is because images are made up of layers, and while pulling an image they are cached and that layer can be part of other images too, so if next time you try to download another image and if that layer is part of that image then it will not download it again.
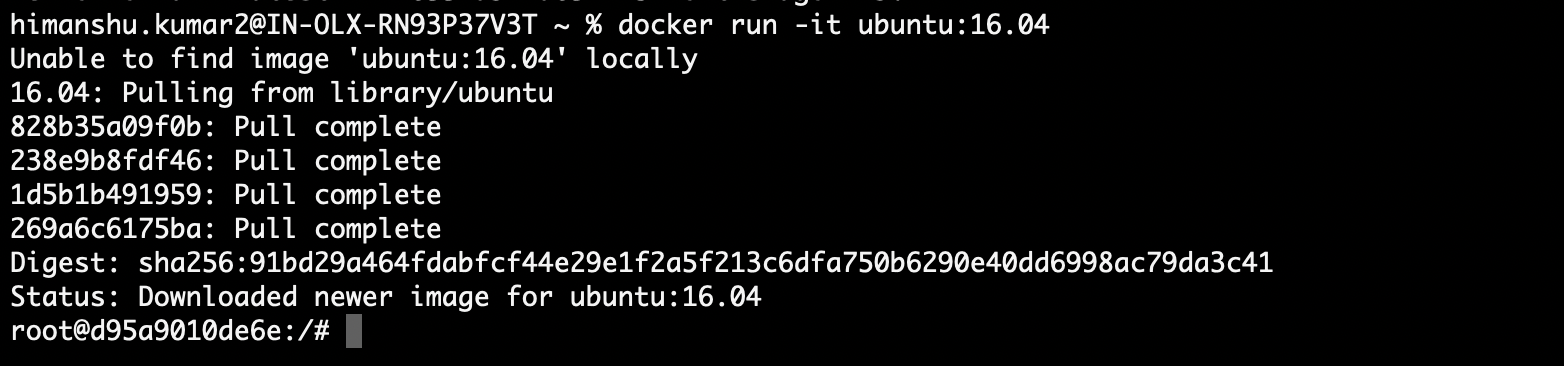
Running an ubuntu machine inside the container
** docker run -it ubuntu:16.04
Note: -it (interactive environment i.e don’t exit from it) ubuntu:16.04 here after colon 16.04 is known as tag here ubuntu version.
** docker run -it ubuntu (if you don’t provide a version it will pull the latest version)
Here we are running the ubuntu terminal inside the container
We can perform any operation on the ubuntu terminal as usual i.e running inside the container so cool, isn’t it?
Exposing port
Let’s run an nginx container.
nginx server by default runs on port 80,
** docker run -d nginx → upon running this command a nginx server will start on the port inside our container.
P.S: -d(detached mode i.e in the background)
Now let’s say we want to access port 80 running inside our container from our host machine. For that, we need to expose port 80 to our host machine.
Steps: –
List down all the containers running
** docker ps
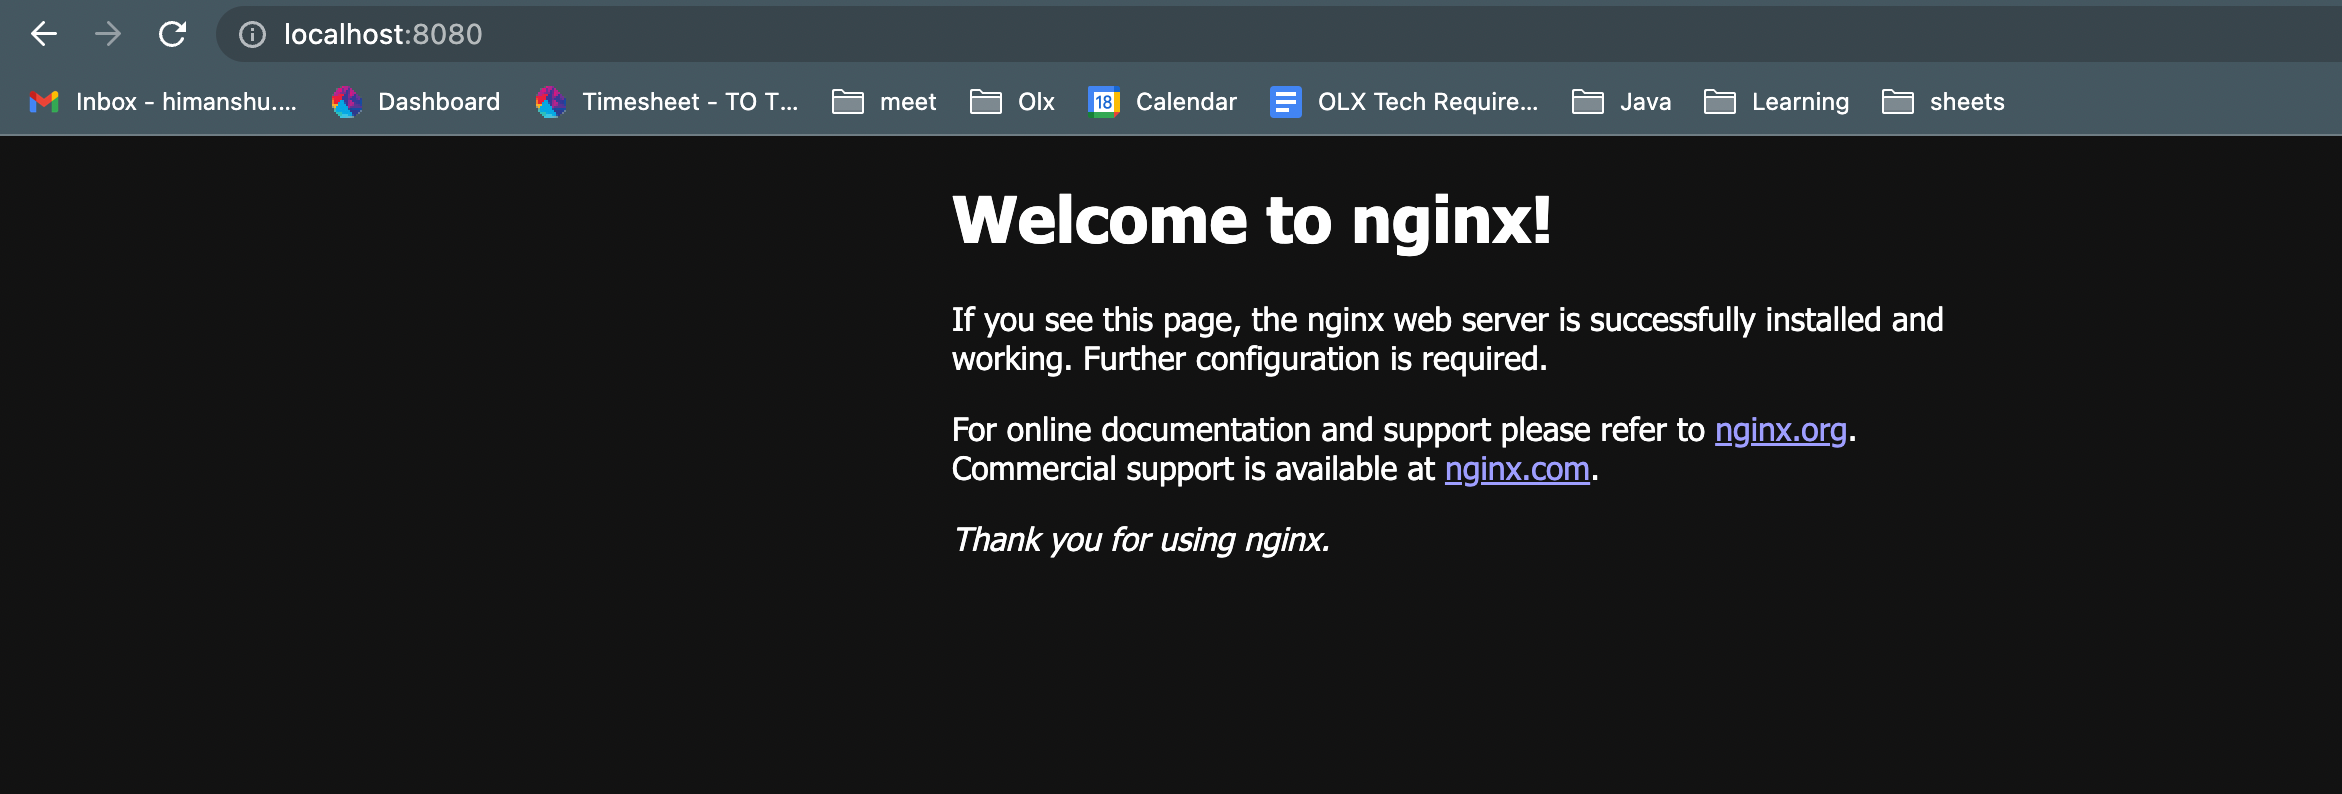
** docker run -d -p 8080:80 nginx

Exposed port 80 running inside the container to host 8080
We managed to access the application running inside our container from localhost, and also managed to map the host 8080 port to application port 80 running inside that container.
** Exposing multiple ports
** docker run -d -p 8080:80 -p 8081:80 nginx
Now from localhost:8080 and localhost:8081, we can access nginx server running inside the container.
Some additional commands
** docker ps (simply list the running container)
** docker ps -a (all running as well as an inactive container)
** docker start container_id (starts a container)
** docker stop container_id (stops a container)
** docker rm container_id (delete a container)
** docker rmi image_id (delete an image)
Deleting containers one by one can be a tedious task, there’s also a way to delete all the containers running or not in one go.
** docker ps -aq (List all the containers running or inactive with its id only)
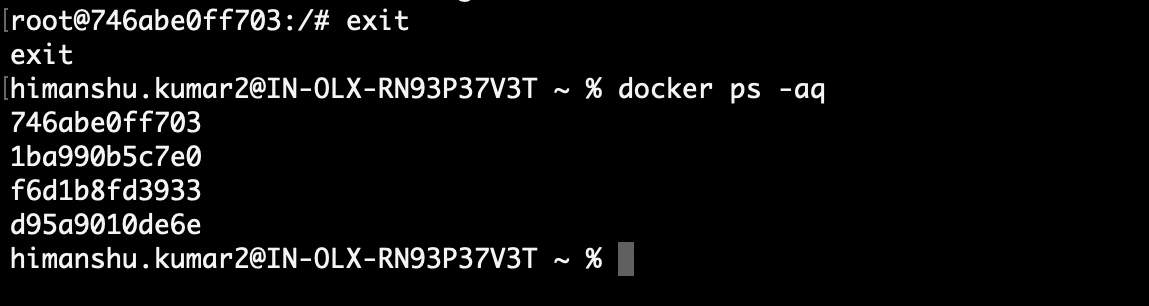
Now to delete all the containers and images in one go
** docker rm -f $(docker ps -aq)
In the case of images rm changes to rmi
** docker rmi -f $(docker images -aq)
Assigning names to containers
So far you must have noticed if you don’t provide a name to the container, by default docker provides random names to it.
In reality, when we create our own container we should give it a name so that we shouldn’t be relying on the container id or the random name

You can see the random names of the container like reverent_banach and so on given by the docker.
Let’s provide custom names to our containers
** docker run –name nginx_custom -d nginx

Docker commit
Use to create a new image from a container’s change
Let’s say I have pulled an image name alpine (Lightweight Linux-based os) and installed software in it, and if by mistake we exit or stop the container, the container will not remember the new software we recently installed.
So to create a modified container as an image we commit the changes, so that we can use that image to spin up a container in the future.
** docker pull alpine
** docker run -it alpine
** apk add tree (downloading the tree software inside our alpine container)
** tree . (checks if the software running)
** exit
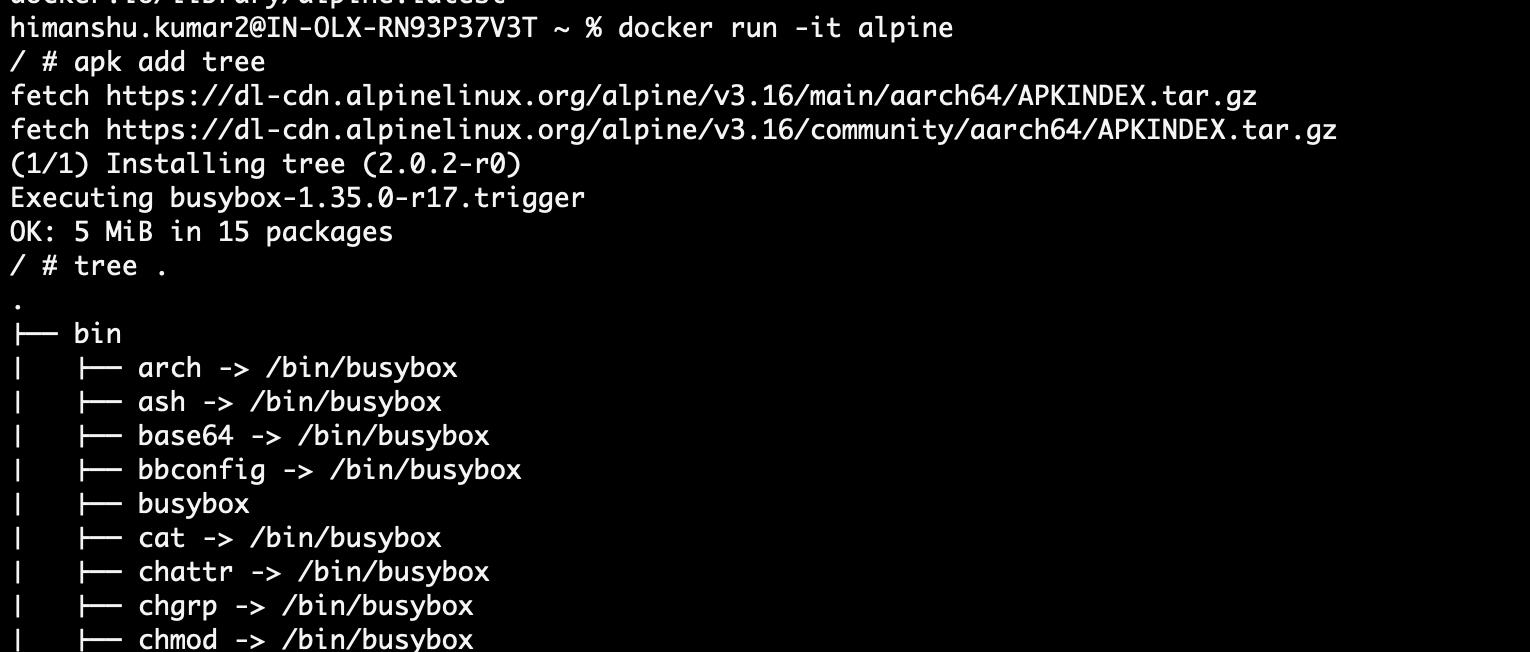
tree software is working properly inside the container.
Let’s commit these changes so that we can spin this customized container in future
To commit
docker commit container_id himanshurepository/alpinetree
** docker commit 1b0b36766d06 himanshurepository/alpinetree (new image)
Run a container from this new alpine image
** docker images
** docker run -it himanshurepository/alpinetree
Docker export
Useful when we want to share our container with our peers or friends with any of the medium. Let’s export the new alpinetree image we recently created.
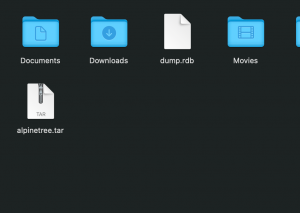
** docker export –output alpinetree.tar container_id
Now if you go to your home directory you will find alpinetree.tar file there which you can share with our friends.
Docker volumes
Docker volumes allow us to share data, it could be files or folders between host and container or between containers.
Folders in the physical host file system are mounted into the virtual file system of docker. So when a container writes to its file system, it gets replicated or automatically written on the host file system directory or vice versa.
Volumes between host and container.
I have my nginx server running on port 80 inside the container that is mapped to localhost:8080, if you go to localhost:8080 you will find these default webpage that gets served by nginx server.
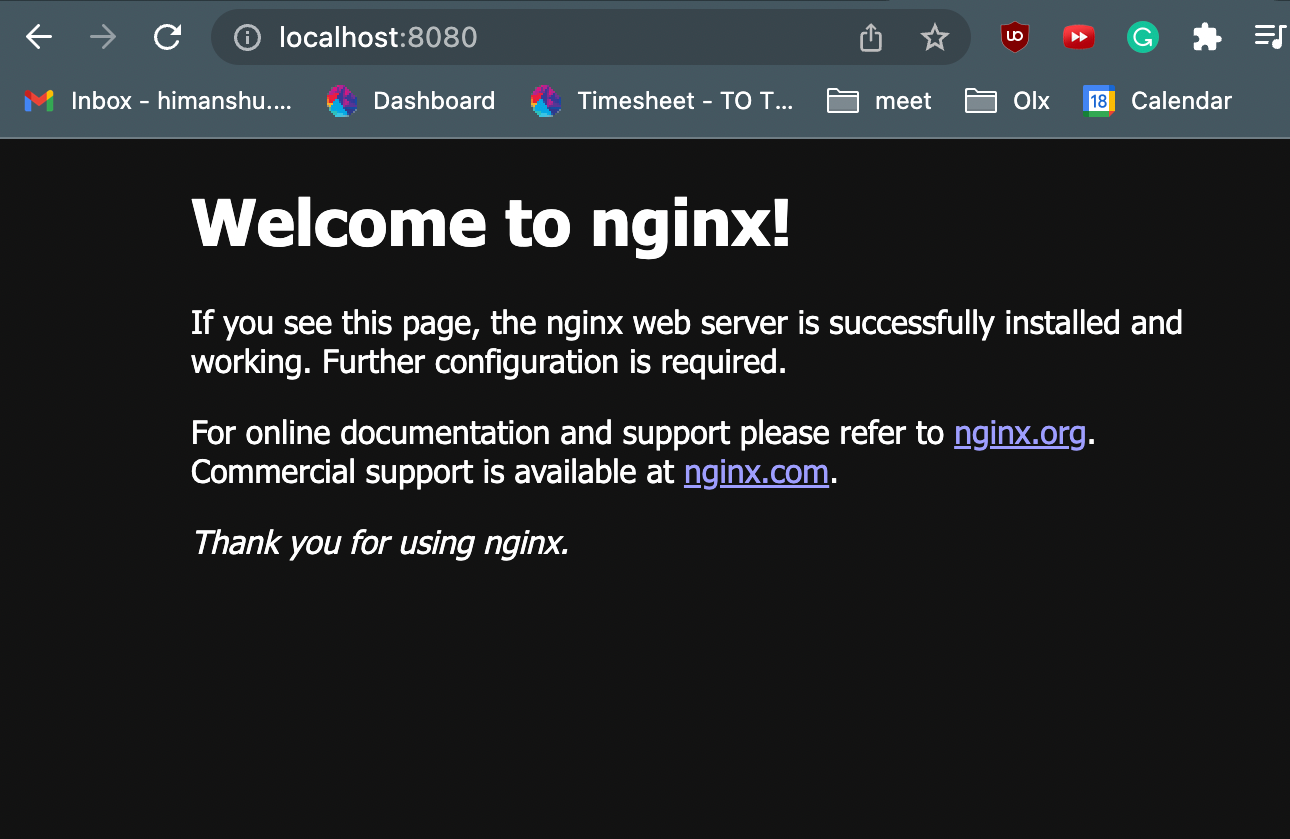
All the static files served from nginx lie in /usr/share/nginx/html directory. On my host machine inside the volume directory, I have this index.html file. Let’s mount this entire directory to nginx static file directory.
** docker run -v $(pwd):/usr/share/nginx/html -d -p 8080:80 nginx

We mounted the entire pwd (present working directory i.e volume) to nginx static file directory. Now if we go to localhost:8080 the index.html file i.e present on the host machine will get served.

In the same way, we can mount container files/folders to the host machine. Attach a bash terminal to nginx container, go to the static file directory create a new file, this newly created file will be reflected on the host machine.
Volumes (Between containers)
Sharing the content of one container whether it’s a folder or file with another container.
Let’s create another container name website-copy and share the website container static file data to this new container.
** docker run –name website-copy –volumes-from website -d -p 8081:80 nginx
Now we have two different websites and website containers running because we have copied the entire same content, now if you hit localhost:8081 you will be served the same content there too.
In this way, we managed to share data across these containers.