Software engineers and organisations lookout for effective ways to create new applications that save time and money. We can easily do this by using third-party APIs and SDKs.
This blog talks about a useful Google Map API. I am working on a project based on Routing and live tracking of a driver’s vehicle.
Consider a scenario where a driver can pick up multiple passengers from different locations, where we need to put markers on every pickup. A route needs to be created between two locations. Google Maps API allows you to display maps, draw routes and create Markers on your website.
Following are the steps to use Google Map APIs:
Step1: Add script to your HTML page.
<script src="https://maps.googleapis.com/maps/api/js?key=[YOUR_API_KEY]&libraries=places"></script
Step2: Get your API key. Click the Get A Key button from here. It will tell you how to register projects in the Google API Console. It can also activate the Directions API automatically to generate a generic and unrestricted API key.
Step3: Now we can use multiple Google API’s in our controller to fulfil our requirements:
- Draw a route between two locations either by location name or location lat-long:
[js]
var directionsDisplay;
var directionsService = new google.maps.DirectionsService();
var map;
var mapCenter = new google.maps.LatLng(28.535891, 77.345700);
var myOptions =
{
zoom: 12,
mapTypeId: google.maps.MapTypeId.ROADMAP,
center: mapCenter
};
map = new google.maps.Map(document.getElementById("map_canvas"), myOptions);
//There should be a div with id ‘map_canvas’ in your html.
//It can be done in angular directive if you are using angularvar request = {.
origin: ‘Sector 127, Noida’,
destination: ‘Sector 18, Noida’,
travelMode: ‘DRIVING’
}OR
var request = {
origin: new google.maps.LatLng(28.535891, 77.345700),
destination: new google.maps.LatLng(28.570317, 77.321820),
travelMode: ‘DRIVING’
}directionsService.route(request, function(response, status) {
if (status === ‘OK’) {
directionsDisplay = new google.maps.DirectionsRenderer();
directionsDisplay.setMap(map);
directionsDisplay.setDirections(response);
// For each route, display summary information.
} else {
console.log(‘Directions request failed due to ‘ + status, response);
}
});[/js]
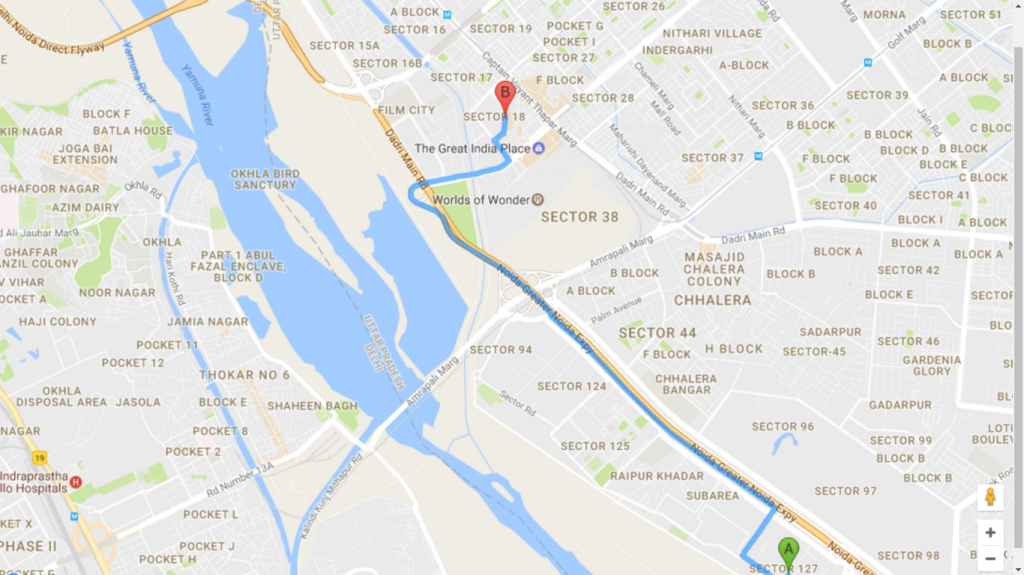
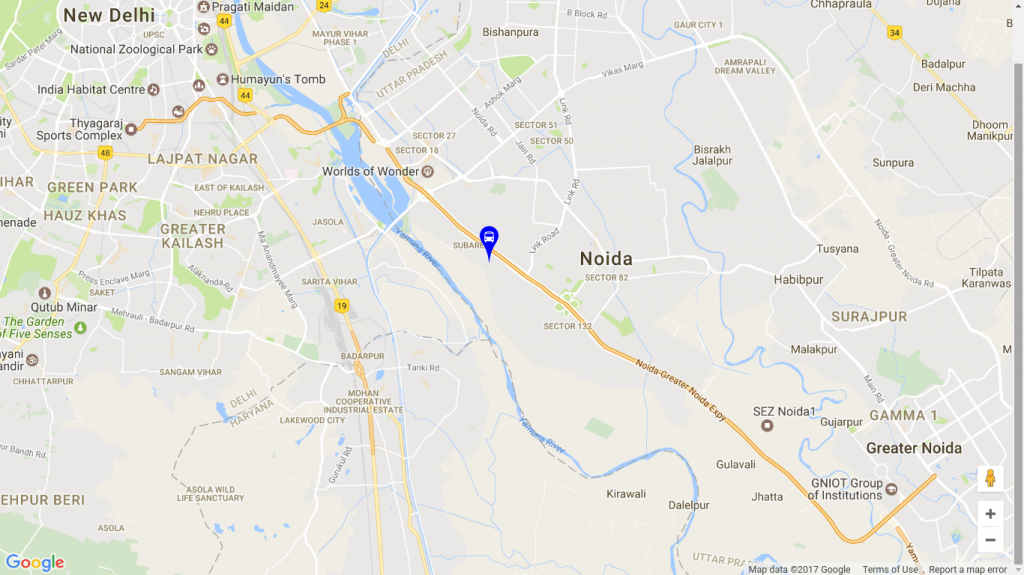
In the above image, the polyline is the default polyline of directionService to draw the route.
- We can also change polyline configurations like colour and line style by specifying polylineOptions while creating the directionsDisplay object. See the code below:
[js]
// we can specify even small dot-dot and any other kind of polyline according to requirement
var lineSymbol = {
path: ‘M 0,-1 0,1’,
strokeOpacity: 1,
scale: 4
};var polylineOptionsActual = {
strokeColor: ‘#FB802E’,
strokeOpacity:0,
strokeWeight: 0,
icons: [{
icon: lineSymbol,
offset: ‘0’,
repeat: ’20px’
}]
};
//specify polylineOption in DirectionRenderer constructor
directionsDisplay = new google.maps.DirectionsRenderer({polylineOptions: polylineOptionsActual});[/js]
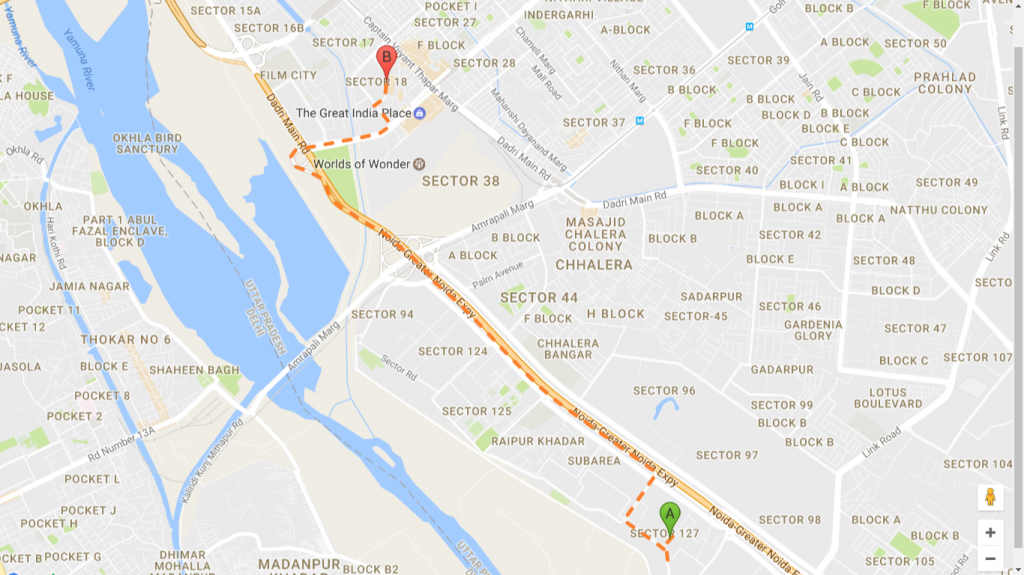
In this image, Google detects the smallest route between location A and B by default. However, if we want to find a route covering some specific locations like that in the “Travelling Salesman Problem” then, we can define waypoints array for those places while drawing the route.
- Creating Waypoints while Drawing Route:
[js]
function drawRouteByWaypoints() {
//covering Location Arrayvar otherLocations = [
{latitude: 28.535618, longitude: 77.348914},
{latitude: 28.555861, longitude: 77.329794},
{latitude: 28.561299, longitude: 77.336473}
];
var wayPoints = [];
angular.forEach(otherLocations, function (waypoint) {
wayPoints.push({
location: new google.maps.LatLng(waypoint.latitude, waypoint.longitude),
stopover: true
});
});
var request = {
origin: ‘Sector 127, Noida’,
destination: ‘Sector 18, Noida’,
waypoints: wayPoints,
optimizeWaypoints: true,
travelMode: ‘DRIVING’
};
directionsService.route(request, function(response, status) {
if (status === ‘OK’) {
directionsDisplay = new google.maps.DirectionsRenderer();
directionsDisplay.setMap(map);
directionsDisplay.setDirections(response);
// For each route, display summary information.
} else {
console.log(‘Directions request failed due to ‘ + status, response);
}
});
}
[/js]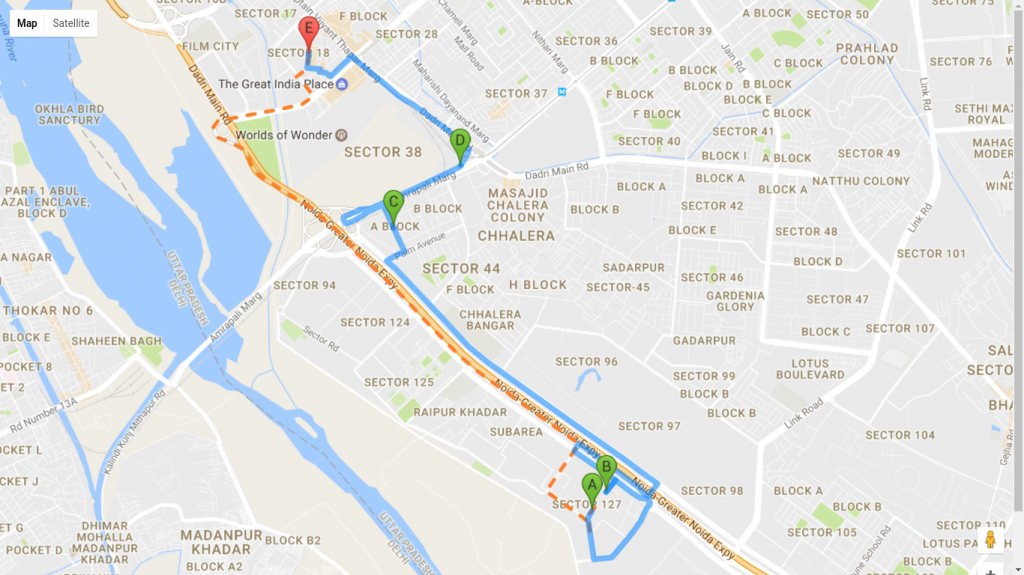
In the image above, B, C and D are the locations that we need to cover between Location A (Sector 127, Noida) and Location B (Sector 18, Noida).
We can also avoid displaying B, C, and D markers for waypoints by passing {suppressMarkers: true} in the DirectionRenderer constructor while creating a directionsDisplay object as given below:
[js]
directionsDisplay = new google.maps.DirectionsRenderer({suppressMarkers: true});
[/js] - Creating Markers on the map: Here we will discuss different types of markers that we can create by using Google APIs:
a. Default Google Marker[js]
var marker = new google.maps.Marker({
map: map,
position: {lat: 28.533938, lng: 77.348235}
});[/js]
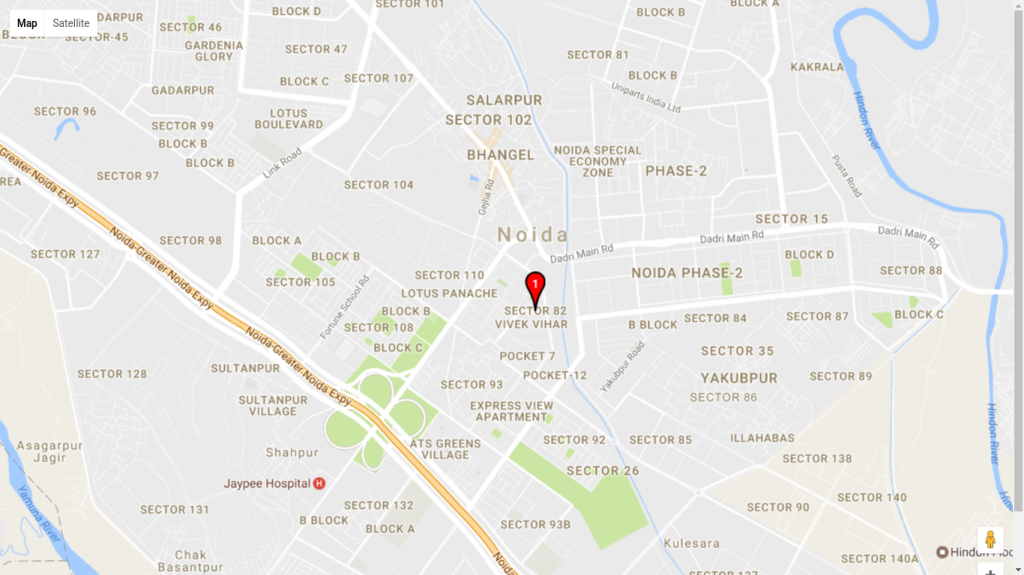
b. Marker with Label
[js]
var marker = new google.maps.Marker({
map: map,
label: ‘1’,
position: {lat: 28.543792, lng: 77.331007}
});[/js]
c. Marker with Custom colour
[js]
var marker = new google.maps.Marker({
map: map,
position: {lat: 28.570317, lng: 77.321820},
icon: pinSymbol("#FFF")
});function pinSymbol(color) {
return {
path: ‘M 0,0 C -2,-20 -10,-22 -10,-30 A 10,10 0 1,1 10,-30 C 10,-22 2,-20 0,0 z’,
fillColor: color,
fillOpacity: 1,
strokeColor: ‘#000’,
strokeWeight: 2,
scale: 1,
};
}[/js]
d. Marker with Custom Image
[js]
var marker = new google.maps.Marker({
map: map,
position: {lat: 28.573405, lng: 77.371203},
icon: ‘https://developers.google.com/maps/documentation/javascript/examples/full/images/beachflag.png’
});[/js]

As we can see, all the markers are those which we created by using Google API. Nevertheless, we can create markers with a different look and feel by using some external JS.
1. markerwithlabel.js: We can create marker of any colour with any label.
[js]
var marker = new MarkerWithLabel({
position: {lat: 28.529377, lng: 77.391295},
map: map,
labelContent: 1,
labelAnchor: new google.maps.Point(7, 35),
labelClass: "labels", // the CSS class for the label
labelInBackground: false,
icon: pinSymbol(‘red’)//it is function that is given in above code
});
//the CSS class for label
.labels {
color: white;
background-color: transparent;
font-size: 12px;
text-align: center;
width: 15px;
white-space: nowrap;
font-weight: 600;
top: 121px;
}
[/js]
Click here to explore more about it.
2. map-icons.js: By using Map Icons, we can change Google Maps Marker according to our requirements and we can have control over the shape, color, and size of Marker. We can also extend Google Map Marker object by placing an icon on top of Marker as a label.
Include the following things from here to create markers with icons:
a. fonts given in dist/font
b. dist/css/map-icons.css
c. dist/js/map-icons.js
Icon Classes: icon Class names are to be used with the map-icon class prefix.
[js]
<span class="map-icon map-icon-point-of-interest"></span>
[/js]
You should be creating an instance of Marker rather than google.maps.Marker.
[js]
var marker = new Marker({
position: {lat: 28.533938, lng: 77.348235},
map: map,
icon: {
path: ‘M 0,0 C -2,-20 -10,-22 -10,-30 A 10,10 0 1,1 10,-30 C 10,-22 2,-20 0,0 z’,
fillColor: ‘#0000FF’,
fillOpacity: 1,
strokeColor: ”,
strokeWeight: 0
},
map_icon_label: "<span class=’map-icon map-icon-bus-station’></span>"
});
[/js]
Explicit styles to icons used on a Google marker should be applied with .map-icon-label .map-icon CSS selector.
[js]
.map-icon-label .map-icon {
display: block;
font-size: 12px;
color: white;
width: 49px;
line-height: 39px;
text-align: center;
white-space: nowrap;
}
[/js]
To explore Google Map API, please visit here.
You can also visit code on GitHub repo
In this way, you can easily create routes and markers on Map with just a few steps. Hope this blog was helpful to you.