
Introduction and Setup in Roku TV
What is Roku TV?
Roku is one of the fastest and most powerful streaming player available. It allows more than 1500+ streaming channels which further access to 200,000+ movies, TV episodes, games, music, sports and much more entertainment. It allows data to be accessed via Internet connection, be it wired or wireless.
Its easy to connect Roku device with any system with HDMI port. Few famous roku channels available in market are as follows,
1. Amazon Video
2. Crunchyroll
3. Hulu Plus
4. MLB.TV
5. Netflix
6. Sling TV
7. WWE Network
8. YouTube and much more.
There are different Roku player models like,
1. Roku Streaming Stick
2. Roku4
3. Roku3
4. Roku2
5. Roku1 SE
6. Roku LT
With new Roku models releasing in market, it provides upto 1080p HD video, dual-band wireless performance for increased speed. Its remote includes headphone jack, One-stop search, famous apps like hulu, rdio, NETFLIX, amazon on its remote button for easy access.
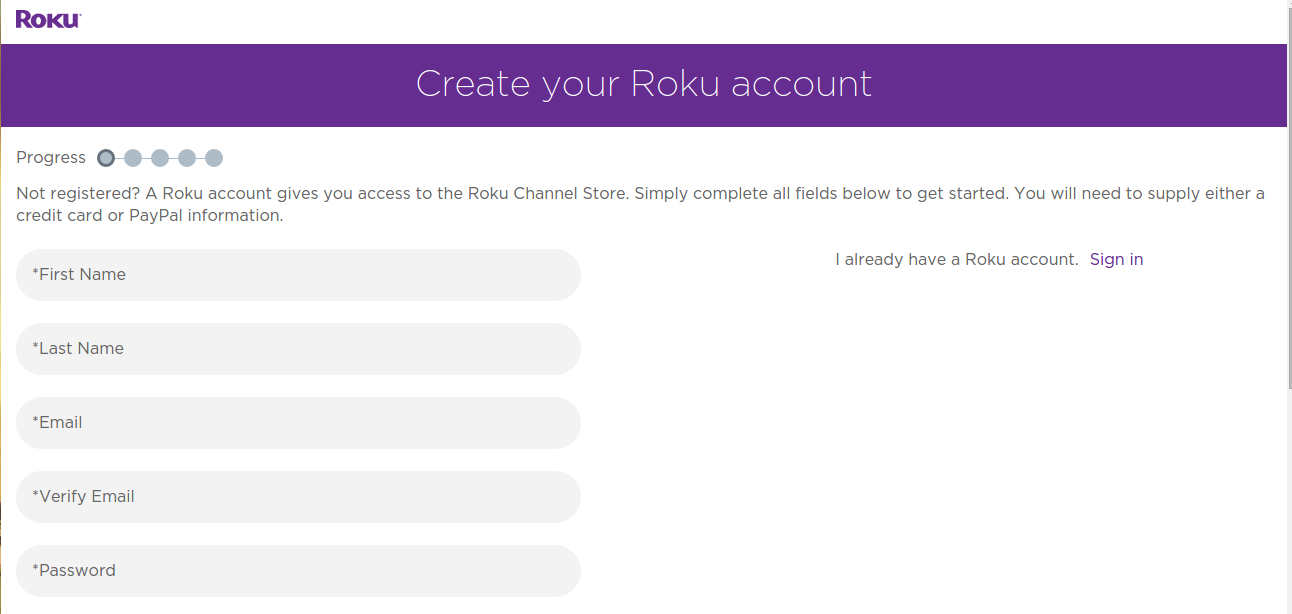
To access Roku device one has to create the Roku account first, which is free, however, payment information is required during setup to provide the convenience of making purchases from the Roku Channel Store on your TV. You will only be charged if you choose to make a purchase.
Setup for Roku TV
Setting up a roku TV requires Roku Set top box and HDMI cable of the device to which it is needed to be connected.
Step 1 – As soon as you connect your Roku Box with TV, the first screen that appears is
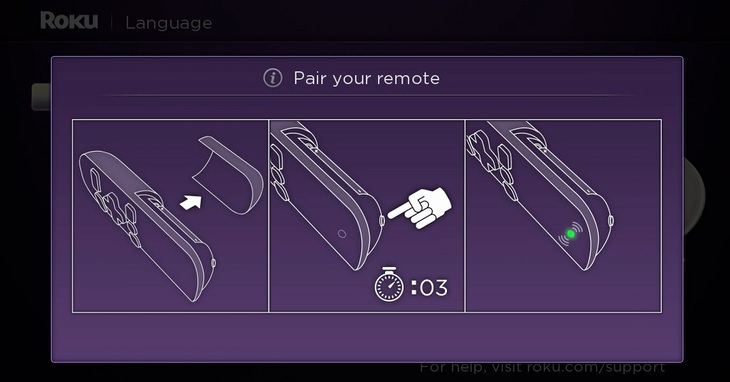
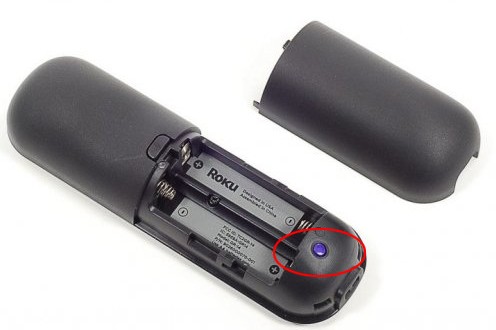
Press the small button behind the remote and here we are the remote is connected.
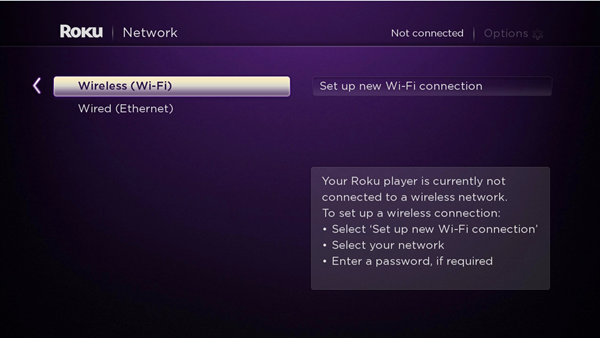
Step 2 – Set internet connection settings, you can choose it from Wireless or Wired connection.
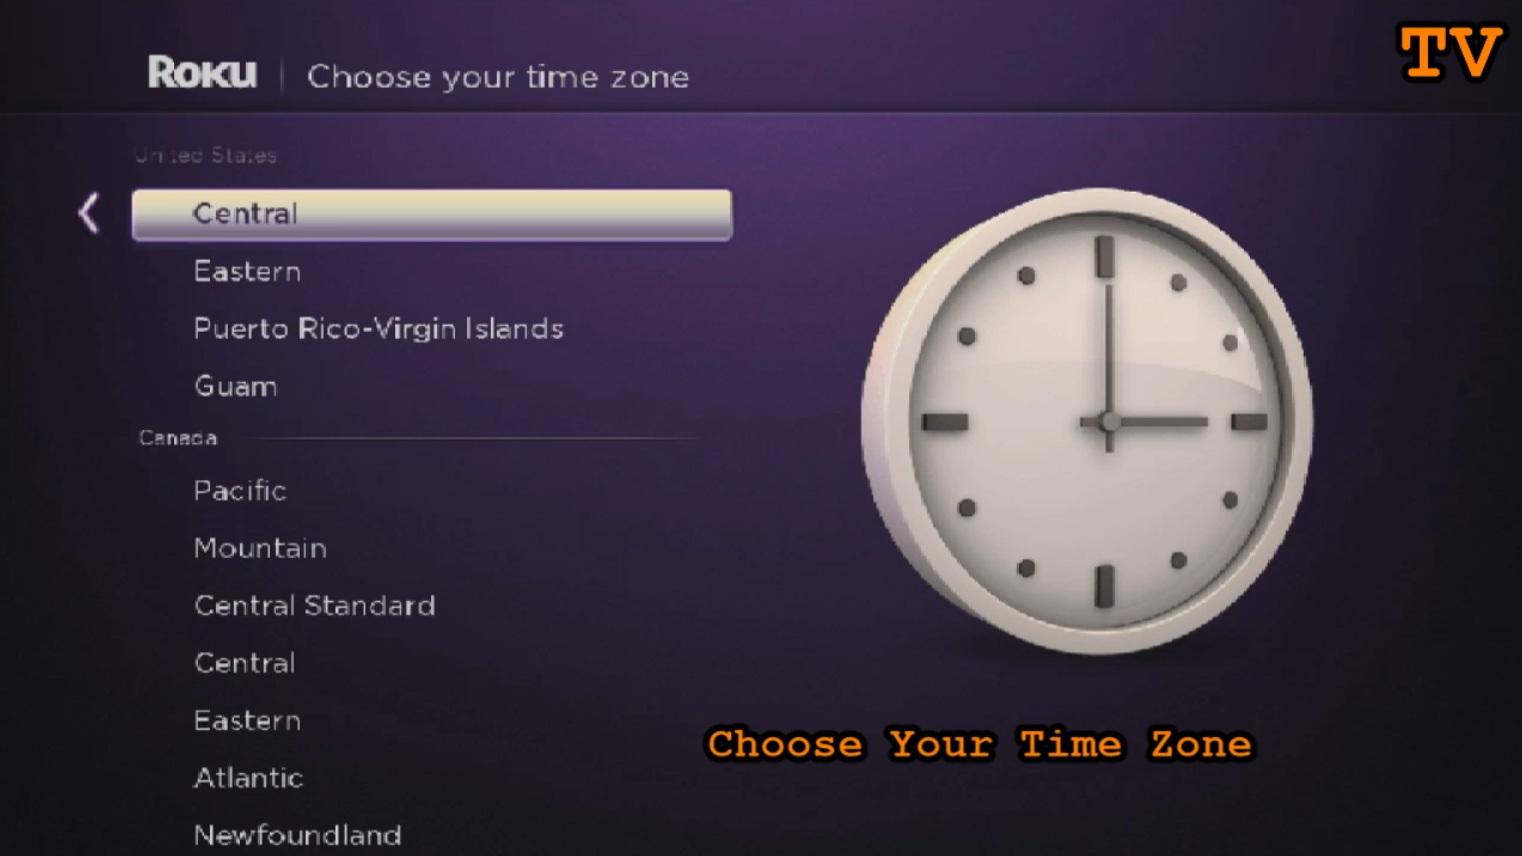
Step 3 – Set up timezone.
Step 4 – You need to activate your Roku by linking to its website.
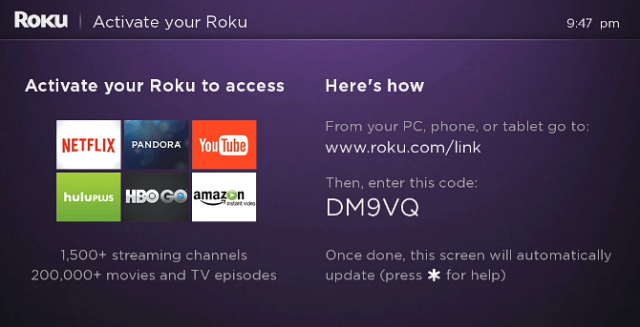
This step is very neccessary to import all of your favorites channel at one place. You need to create a account if not created earlier, providing your payment details.
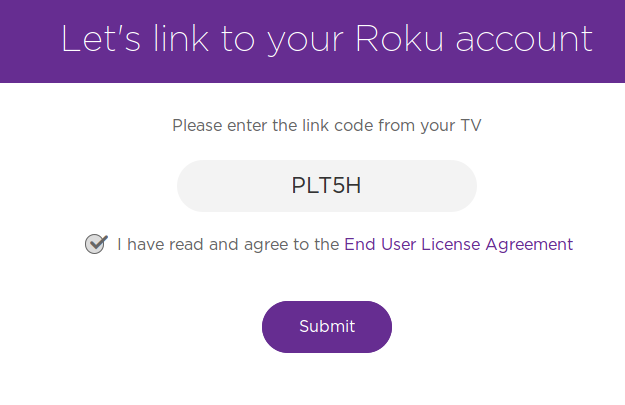
Here, you need to enter the Code to link your account with Roku.
PIN is important to verify authenticate installation of channels on your Roku.

Step 5 – As soon as the linking is completed, the Roku box set up is complete on the TV.
For Developers, there is way around to enable Developers mode by pressing Home 3x, Up 2x, Right, Left, Right, Left, Right. The entire sequence must be entered within 10 seconds.
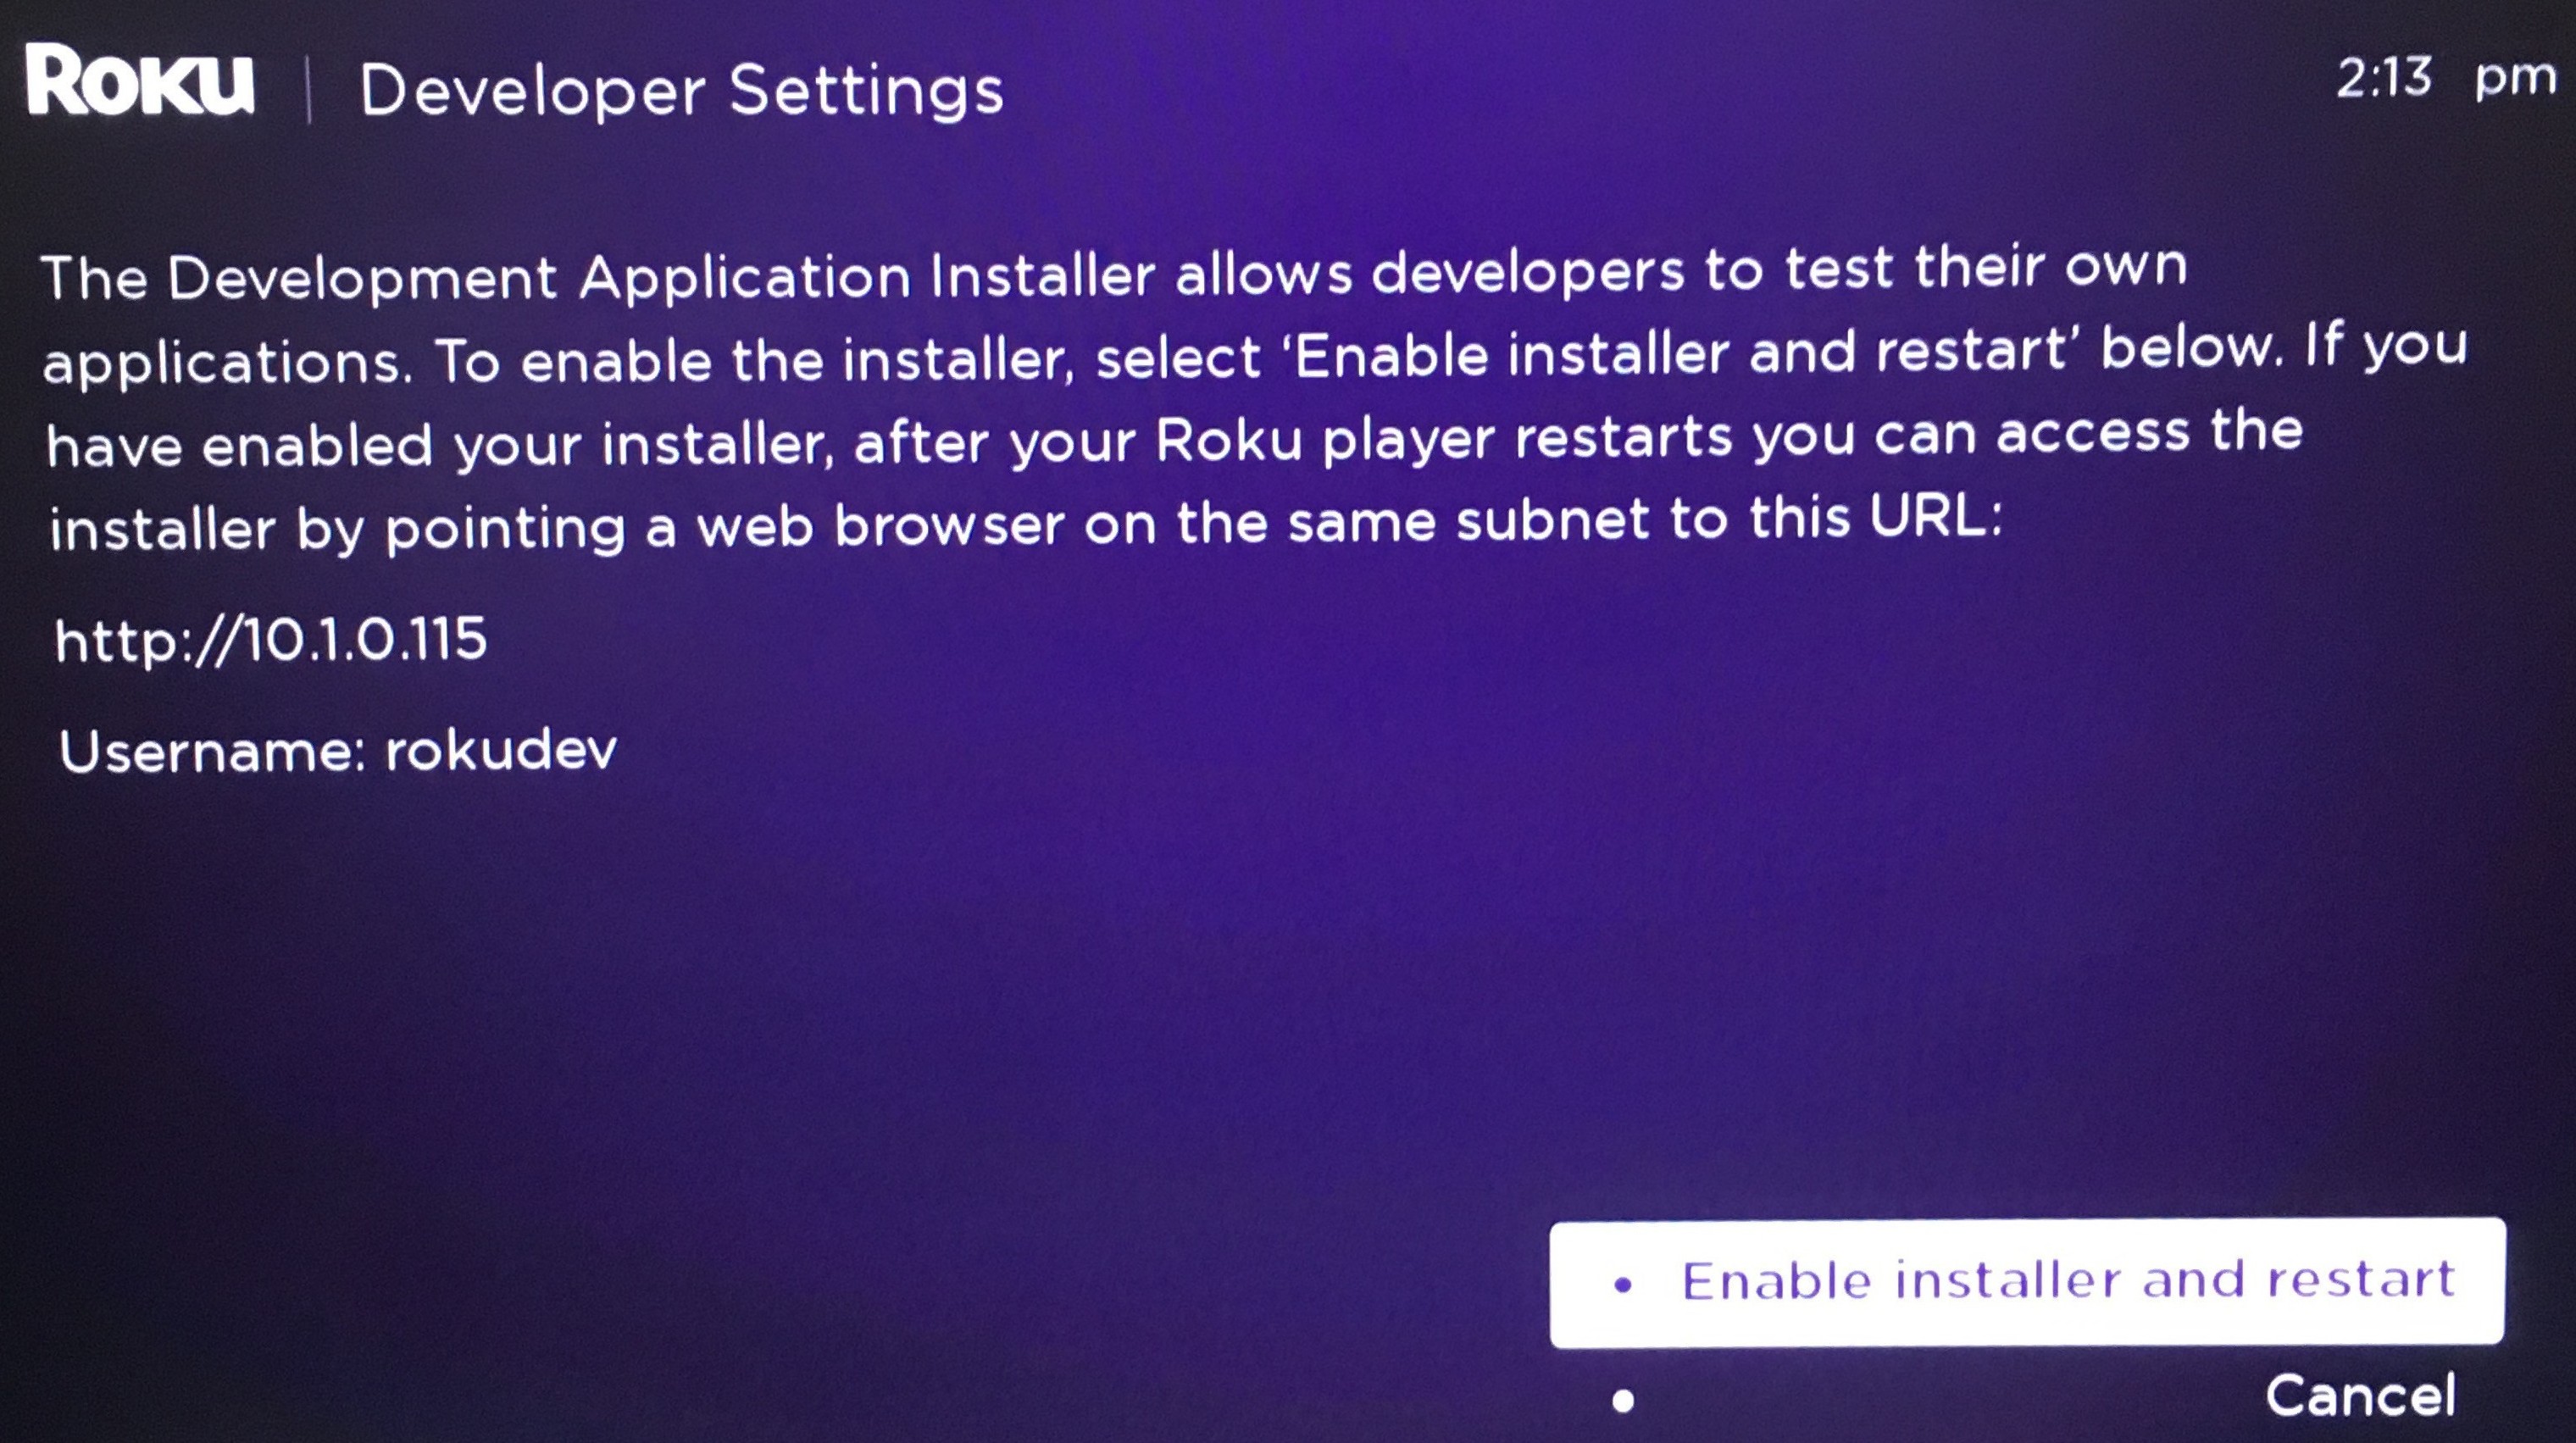
The link is further opened from Web browser to install channels in Roku except downloading them from Store.
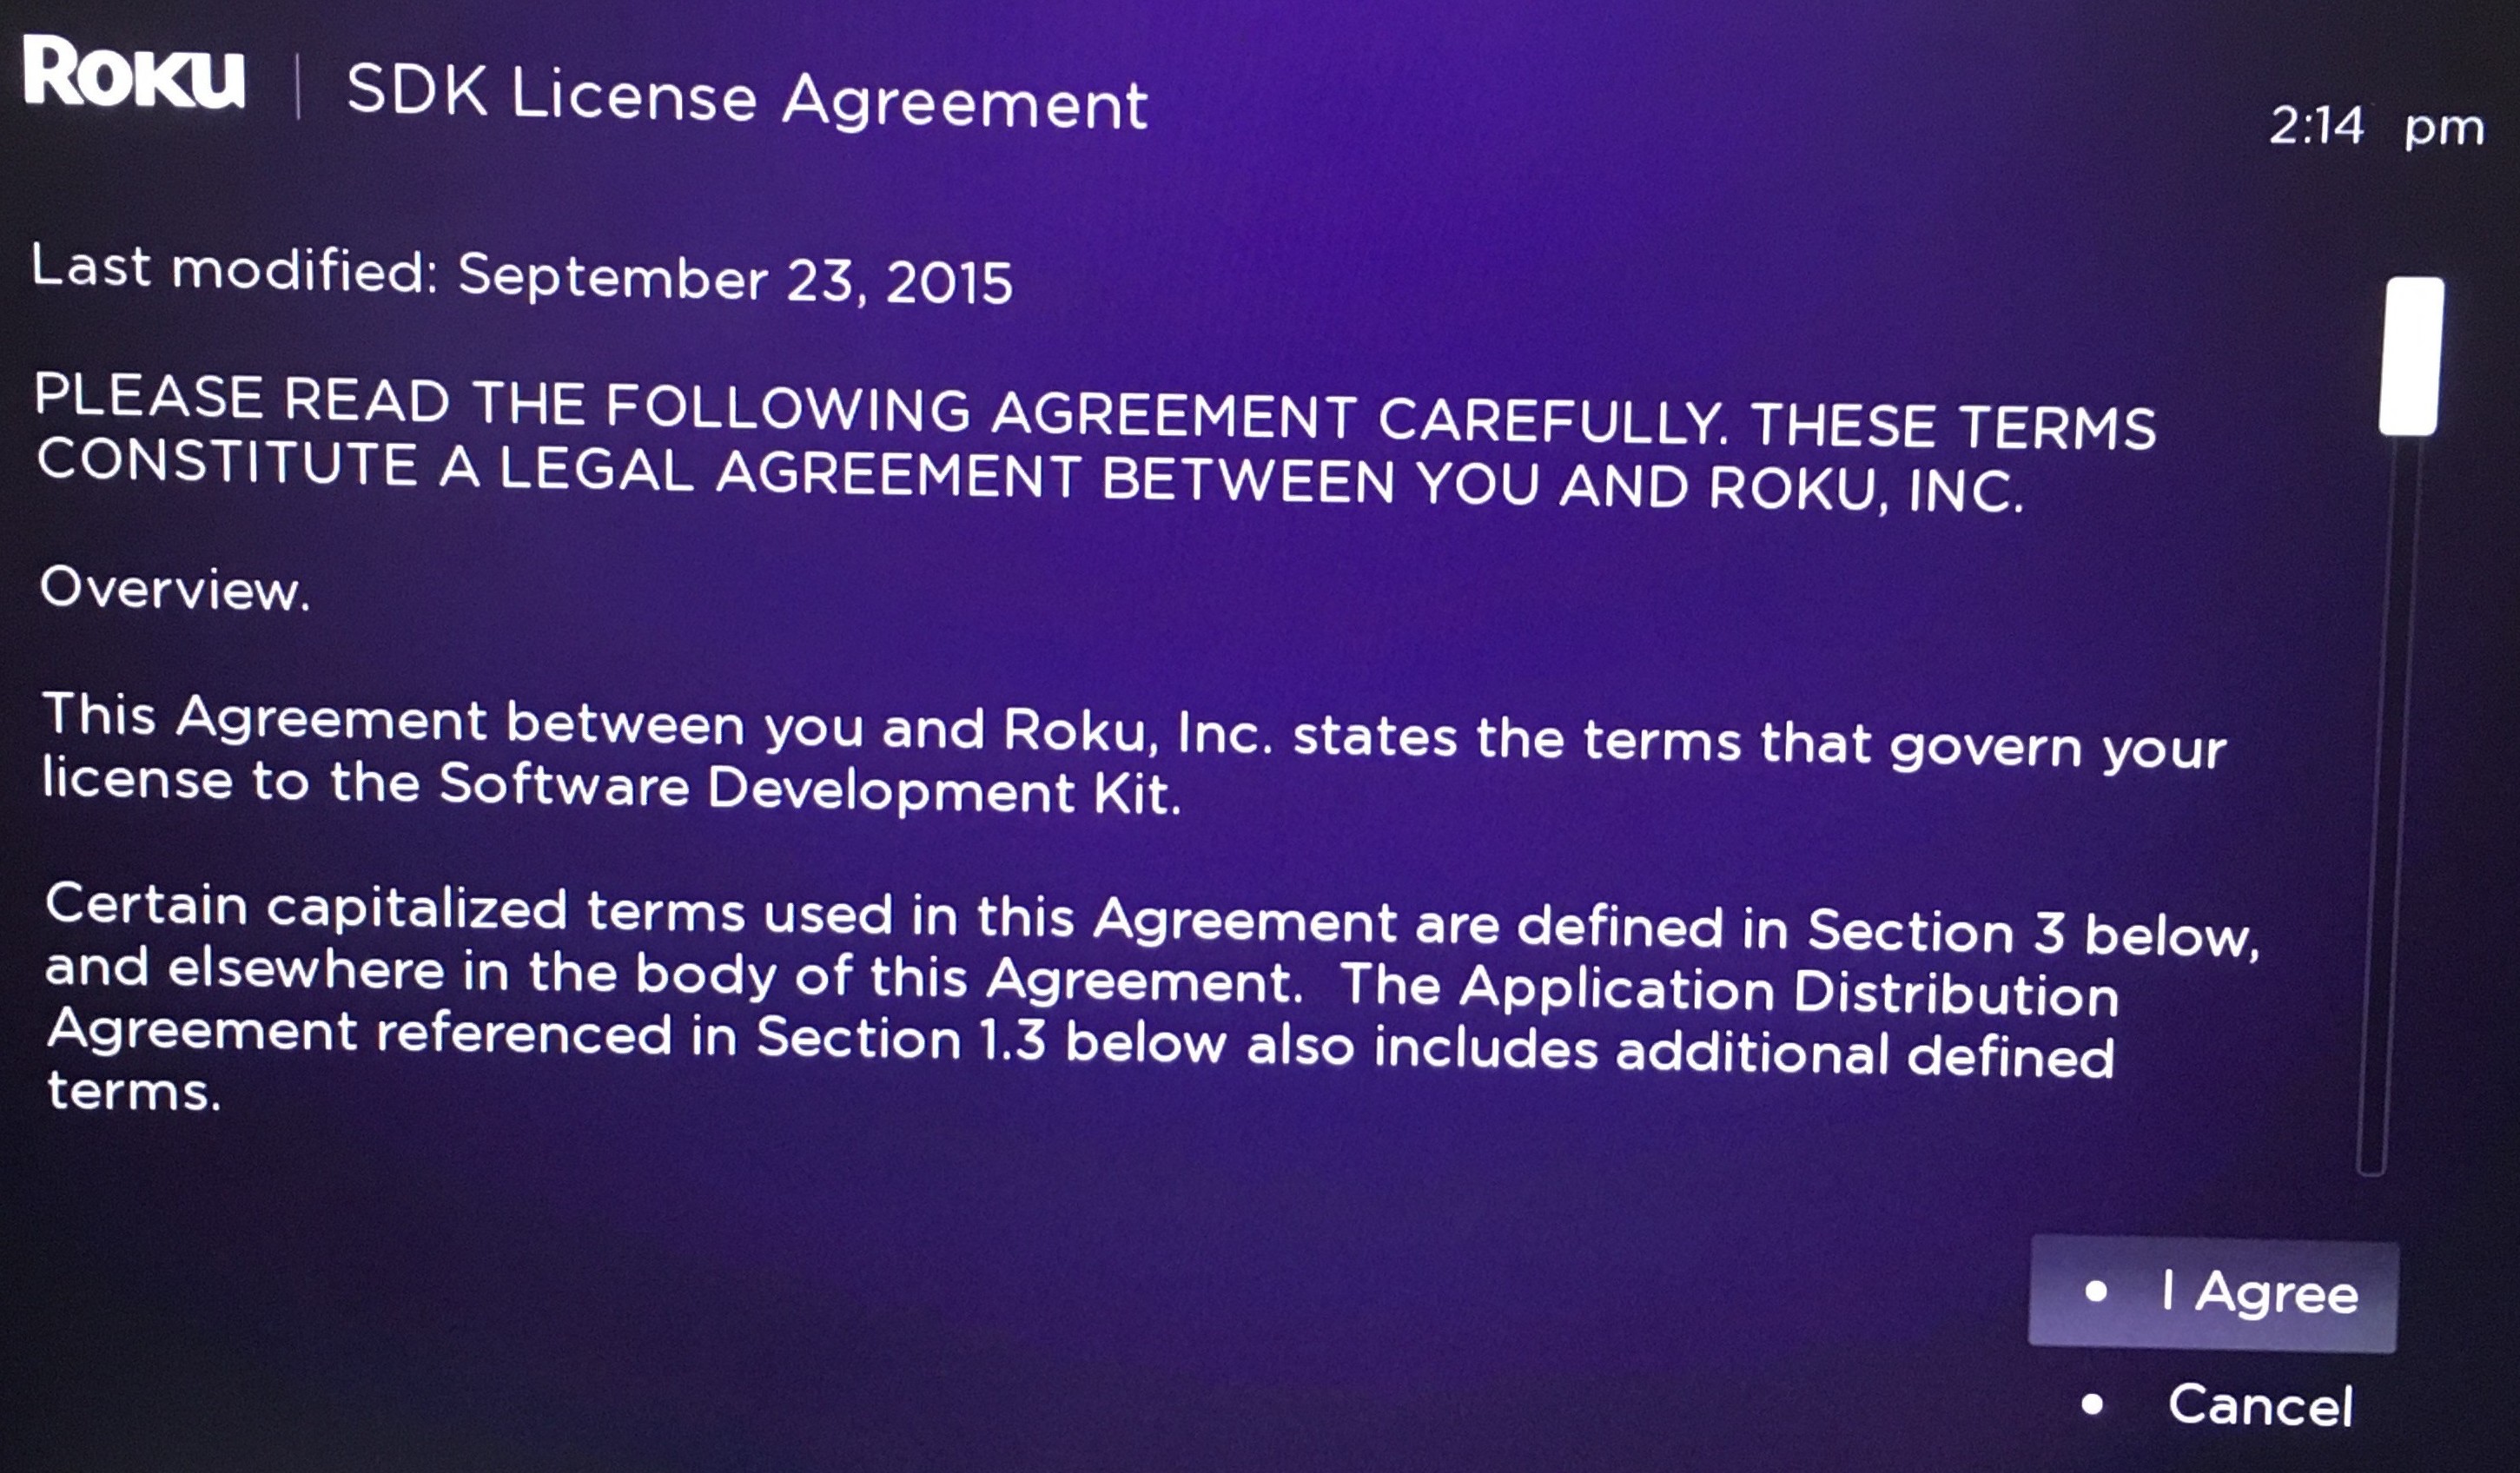
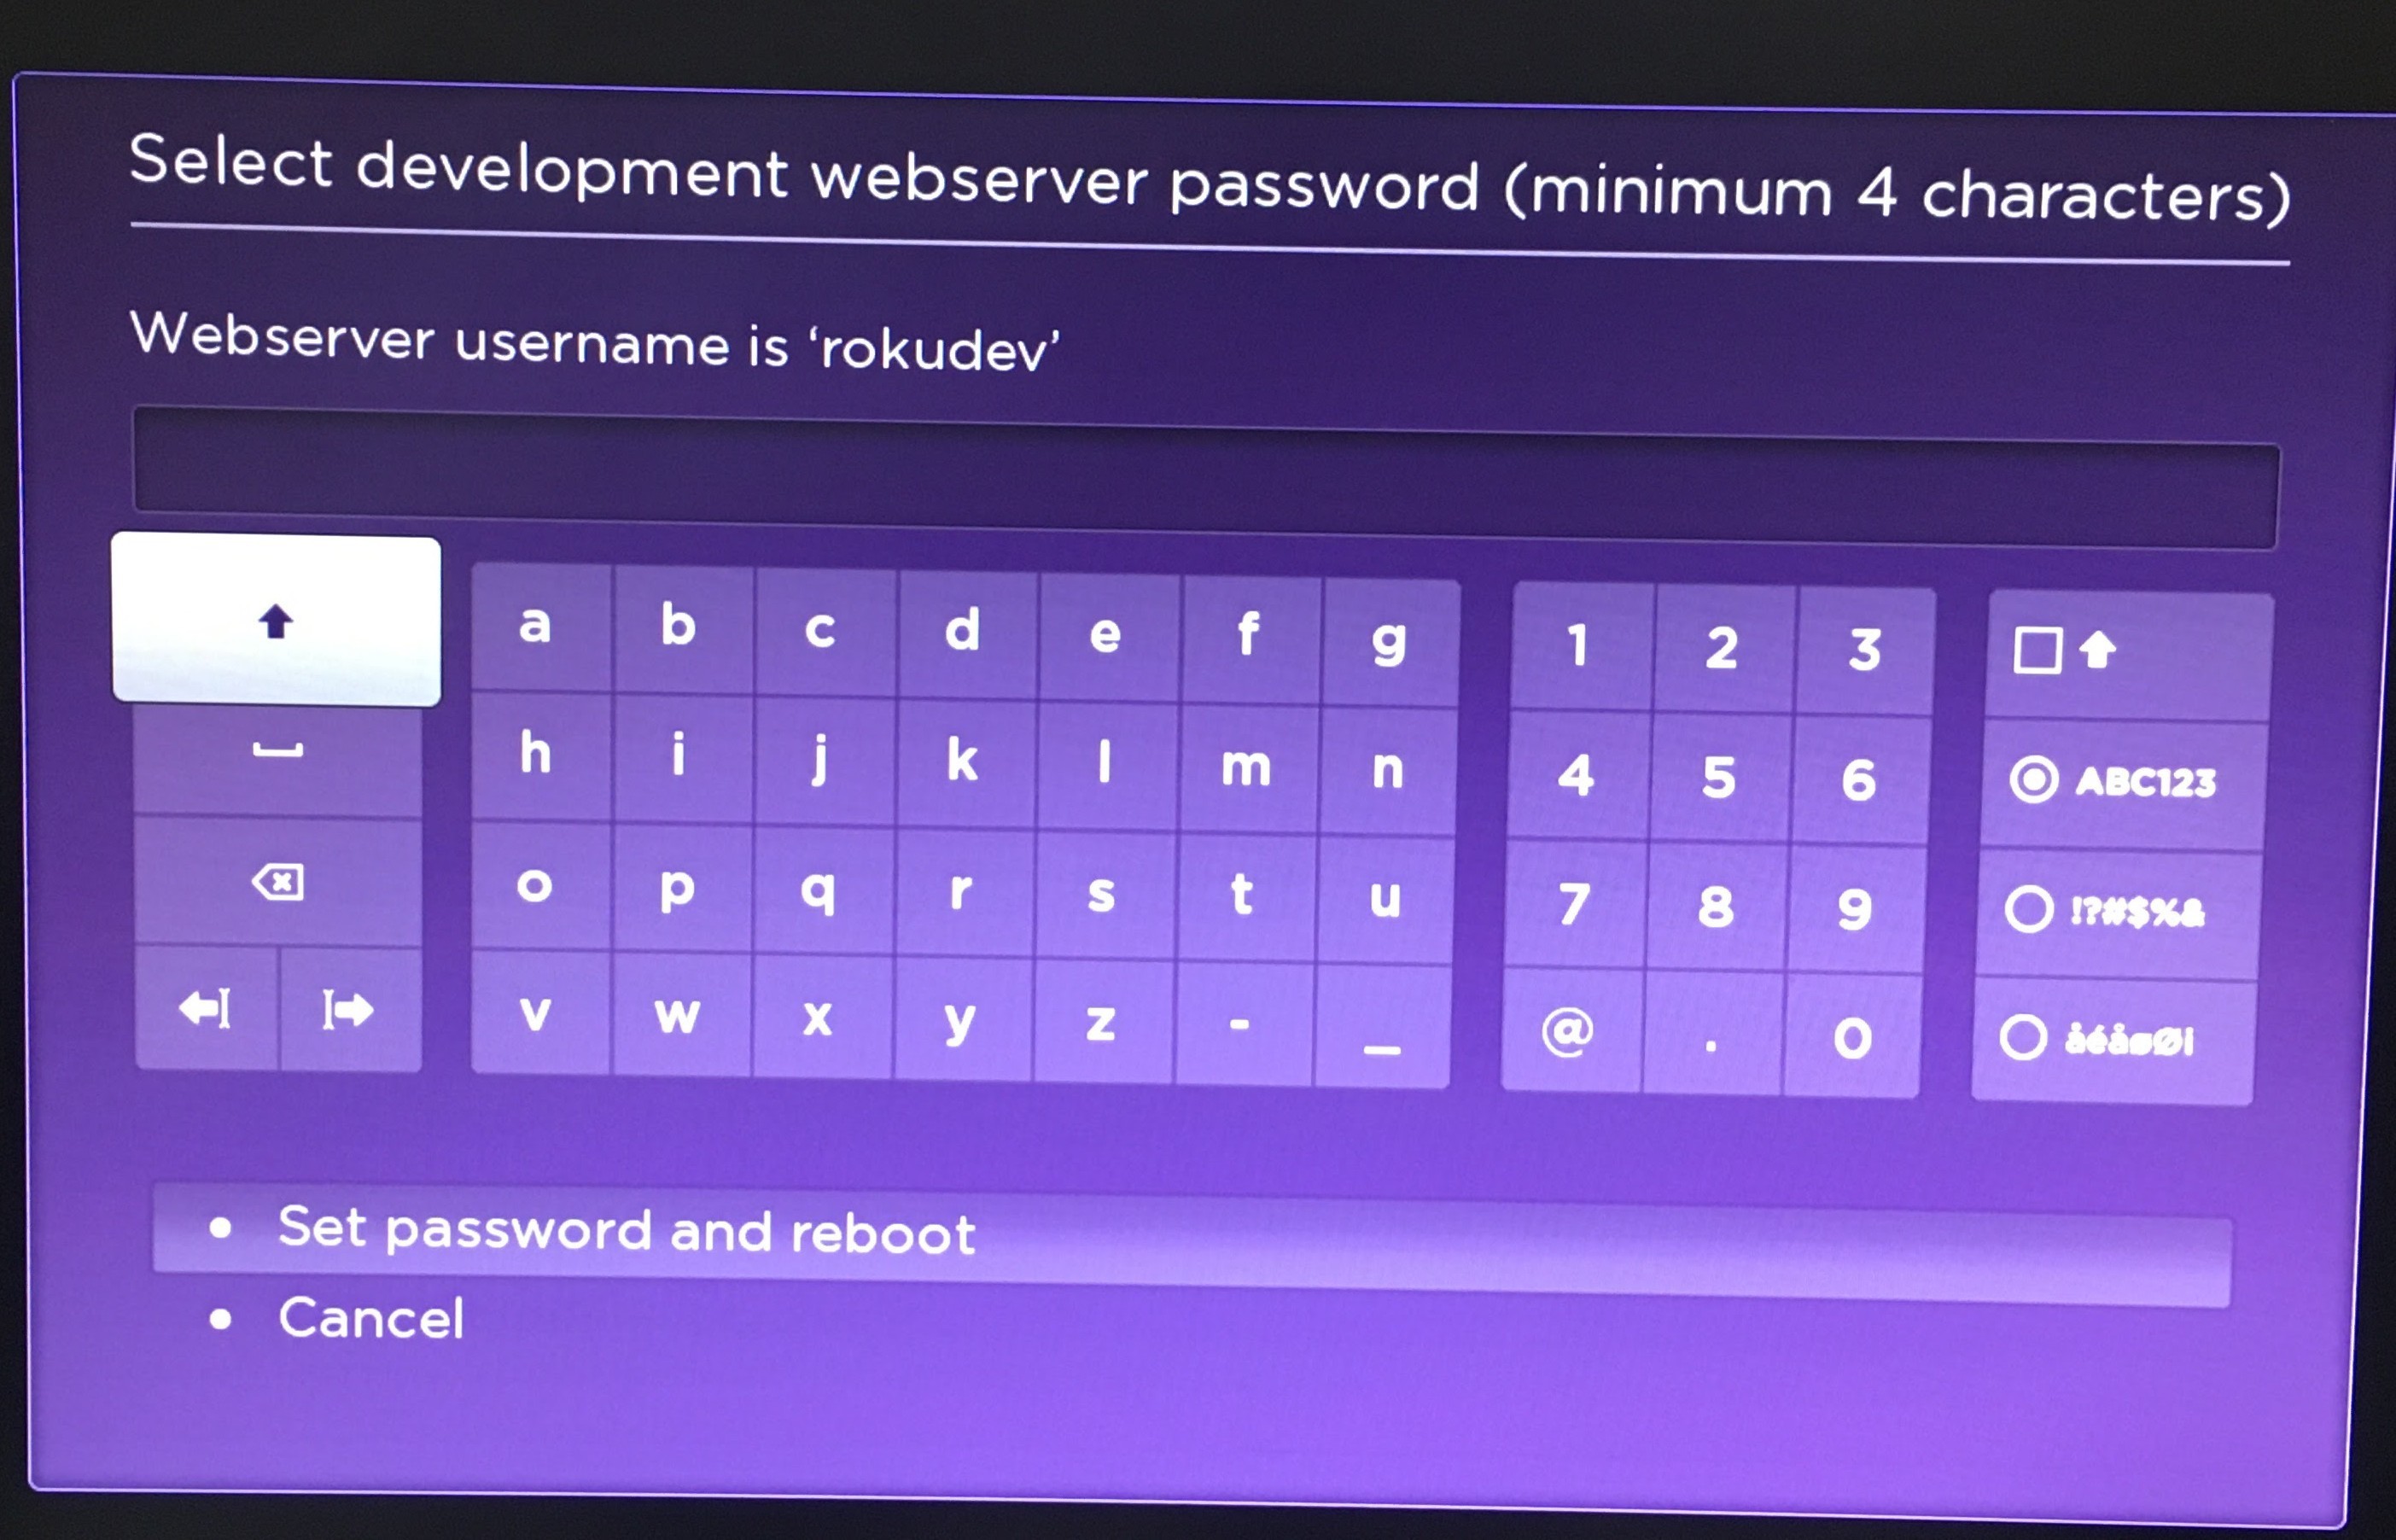
This link is based on your IP address generated after connecting to Internet. Changes from time to time. You need to setup password to run your build on Roku via IDE.
Step 6 – Final step, open Web browser with link, the following pop up appears, fills in the username which is by default rokudev.
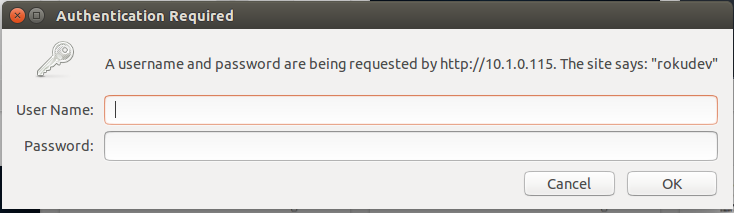
This screen helps in installing channels in Roku for Developers. In next blog will talk about Roku BrightScript Language, till then happy coding 🙂

Thanks for this blog to enjoy it.
I have a Roku 2 streaming device. I’ve added the channel Photo View for Google Photos. I seem to have a problem streaming some of my photo albums. Finally realized that the channel cannot handle an album with too many pix in it—streaming freezes or goes blank. Problem solved by limiting the number of pix in a single album–I’ve gone as high as 70 pix/album without a problem. But shouldn’t Roku streaming be able to handle any number of pix in a single album????