In this blog, we are going to learn about public key pinning and how we can achieve it with URLSession. Before that, let’s briefly discuss SSL certificate pinning.
SSL pinning is a security technique used in mobile and web applications to ensure that the client only communicates with servers via a specific SSL certificate or public key, which prevents man-in-the-middle attacks where an attacker intercepts communication between the client and the server.
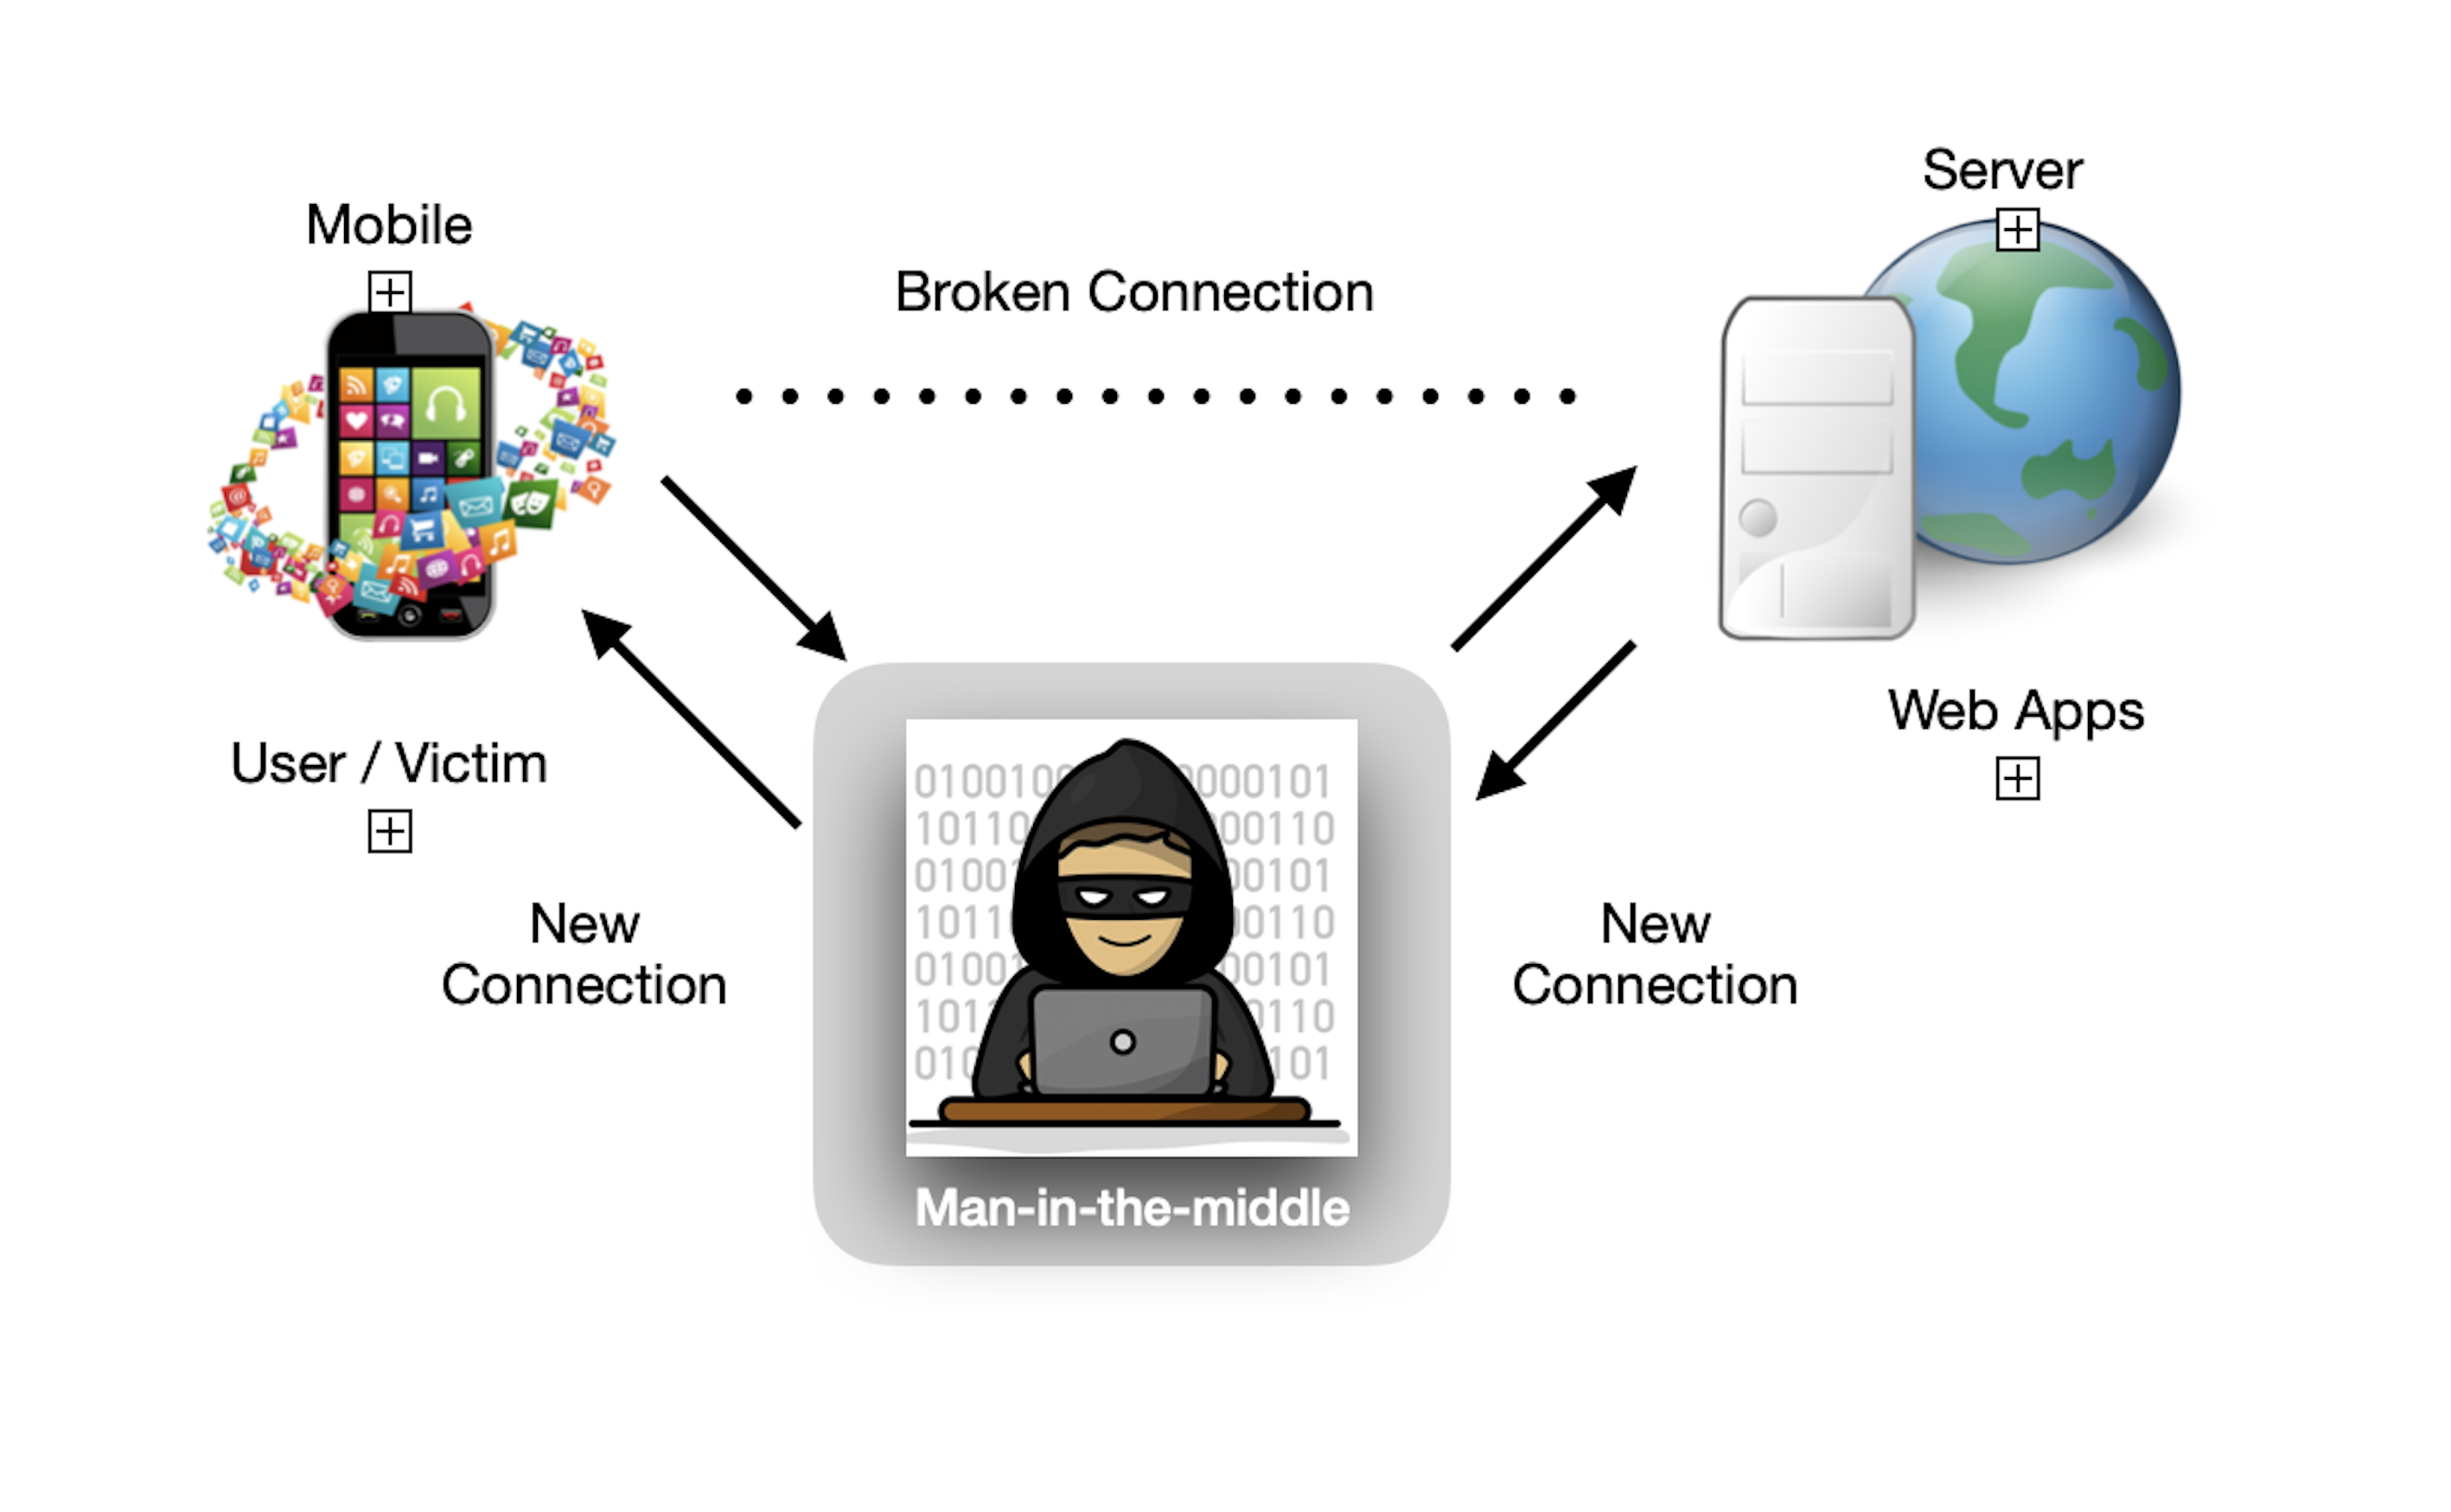
How does MITM work?
Hackers use MITM attacks to access confidential personal information by pretending to be known users or webpages. They spy on users’ private meetings or confidential data and extract useful information.
Real-life Instances of MITM Attack
In previous blog, we performed certificate pinning (Check out this link for more.), here are the differences and benefits:
Benefits:
- Certificate Pinning : Add an SSL certificate to your app bundle and bind this certificate to your application.
- Public Key Pinning: In this pinning method, we are going to generate a public key, which we are going to use in our application. In this method, we don’t have to change the certificate if it expires.
Certificate pinning is easy to implement but has some limitations:
- When the certificate expires, we need to update it, and then we can release the app with the newer one, which results in less flexibility when we are using it.
- The app will not work when the backend or server changes the certificate on their end, unless we replace the certificate with a new one.
Let’s start:
Now, we are going to download the certificate using OpenSSL command:
- We need a copy of the certificate from the server, isro.vercel.app. Now we are going to use the terminal using OpenSSL commands.
- It is safer to use public key pinning because it will not affect the application’s working if there is any change from the server side until the server maintains the same public key.
Let’s check out these steps:
◙ We can fetch the local certificate’s public key, which has been downloaded and will be included in your code as a string. The app is going to compare the remote public key, which will be received during a network request at run time, with the local one, which is stored somewhere in the project as a string.
◙ Use this command to download this to the project bundle.
openssl s_client -connect isro.vercel.app:443 -showcerts < /dev/null | openssl x509 -outform der > vercel.der
Use the above command on the terminal.

◙ Then, we need to create .pem from the downloaded vercel.der and convert it to the vercel_public_key.pem format by extracting and saving its public key. Use the below commands to get it done.
openssl x509 -inform der -in vercel.der -pubkey -noout > vercel_public_key.pem
Or,
openssl x509 -inform der -in vercel.cer -pubkey -noout > vercel_public_key.pem
◙ After saving the .pem file, generate a hash and encode it using base64 encoding. Here, we can use this command, which is much easier to save and more readable. For hashing, I’m going to use SHA256. Use the command below to generate the hash
cat vercel_public_key.pem | openssl rsa -pubin -outform der | openssl dgst -sha256 -binary | openssl enc -base64
Use the above command on the terminal.

Your public key will be something like this
u/joKCLcfT2khmv/jPpWcsbUx1mBQ1PY0QXYg5cHonE=
Or,
We can use the below command to do all these processes in one command (I have used isro.vercel.app for this sample project). It will generate the hash code from the certificate, which we will use in our demo project.
openssl s_client -servername isro.vercel.app -connect isro.vercel.app:443 | openssl x509 -pubkey -noout | openssl pkey -pubin -outform der | openssl dgst -sha256 -binary | openssl enc -base64
Use the above command on the terminal.

Now we are ready with a hash key. It’s time to write some code now. Put the code below in our NetworkManagerWithPublicKey.swift class.

Here, localPublicKey is the hash key that we get from our certificate.
- An array of unsigned integers, which indicates the algorithm and any algorithm parameters with which the public key is to be used, is represented by rsa2048Asn1Header.
- Let’s check this method; we used the OpenSSL-sdgst function with sha256 hashing to create our hashes. To recreate the same hashes in our code, the rsa2048Asn1Header bytes are needed.
- This function will create a hash from the received Data using the sha256 algorithm and return the base64 encoded representation of the hash.
And now, we have to implement the URLSessionDelegate function. Please see the code below. Please check out the screenshots attached.


Summary:
Nowadays, it is mandatory to implement SSL/TLS while communicating with the server. We rely on a chain of trust to verify the identity of the client or server, which is not enough; MITM (Man in the Middle) attacks may still be a possibility. So what we do is add layer of protection by adding a certificate or public key, which is needed on the other side as well. We’ve learned how to extract a server key and implement pinning on iOS.
I have written the code in Swift language. Feel free to comment below with any queries. You can access the complete code at GitHub. You can check this URL:
Part-1 Certificate Pinning: https://github.com/Vibhashkumar2022/SSLPinningUsingURLSession.
Part-2 Public Key Pinning: https://github.com/Vibhashkumar2022/MITM-Project-Part-2
Note: The certificate added in my repository can expire, so if you are not able to get a response from API, then check for the certificate and get a new one by following the above steps