
Cassandra Authentication and Create User
Introduction :
The Apache Cassandra database is the right choice when you need scalability and high availability without compromising performance. Not having to distinguish between a Master and a Slave node allows you to add any number of machines to any cluster in any datacenter, without having to worry about what type of machine you need at the moment. Every server accepts requests from any client. There are no single points of failure. There are no network bottlenecks. Every node in the cluster is identical.
By default when we install cassandra on a machine it do not has any username and password authentication. We can directly use cassandra console by just a simple command cqlsh. Therefore this blog post is regarding to enable the authentication in cassandra and to create a user with different access permissions to databases.
Basic Key Points :
- cassandra.yaml file location:
- Cassandra Packaged installs: /etc/cassandra/conf
- Cassandra Binary installs (tarball): <install_location>/conf
- DataStax Enterprise Packaged installs: /etc/dse/cassandra
- DataStax Enterprise Binary installs (tarball): <install_location>/resources/cassandra/conf
- OpsCenter : A tool to create and manage cassandra clusters.
Steps to Enable Authentication :
- Edit the cassandra.yaml file in all the servers in cassandra cluster and change the following properties
- authorizer : CassandraAuthorizer
- authenticator : PasswordAuthenticator
- Now Restart the cassandra servers as
- If Cassandra Packaged installs (installed as a service) then run the command : sudo service cassandra restart
- If Cassandra binary Installs (installed manually) then run following commands
- ps -eaf | grep cassandra (note the pid of cassandra)
- kill -9 <pid>
- <install location>/bin/cassandra
- If you are having OpsCenter installed in machine the you can change the above config properties form Opscenter UI.
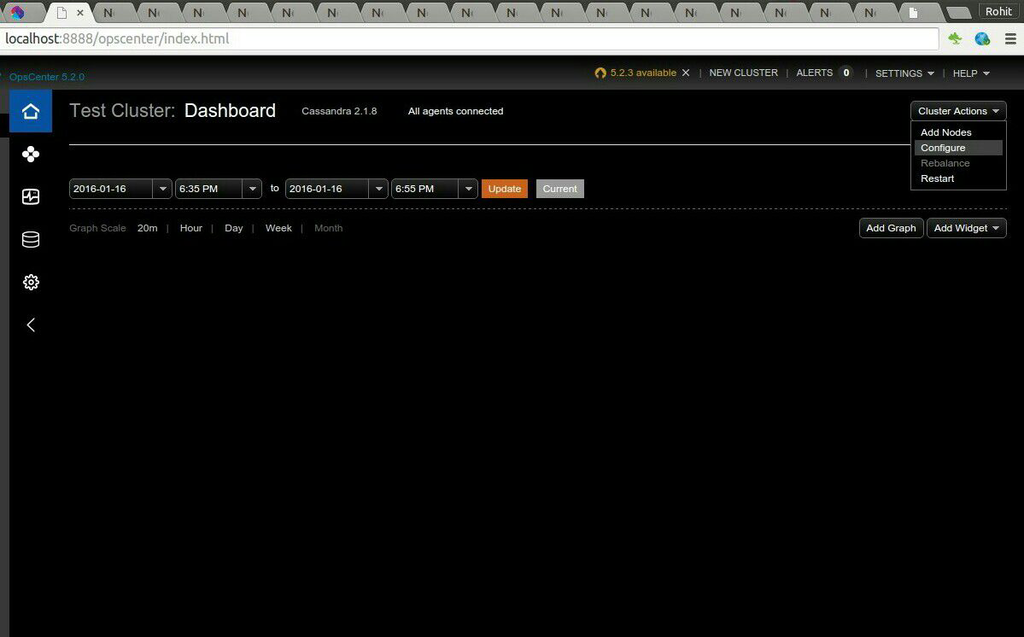
- Go to OpsCenter UI in browser as <serverIp>/8888
- On the upper right corner click on Cluster Actions dropdown and then click configure
- Now Configure the above properties from UI as
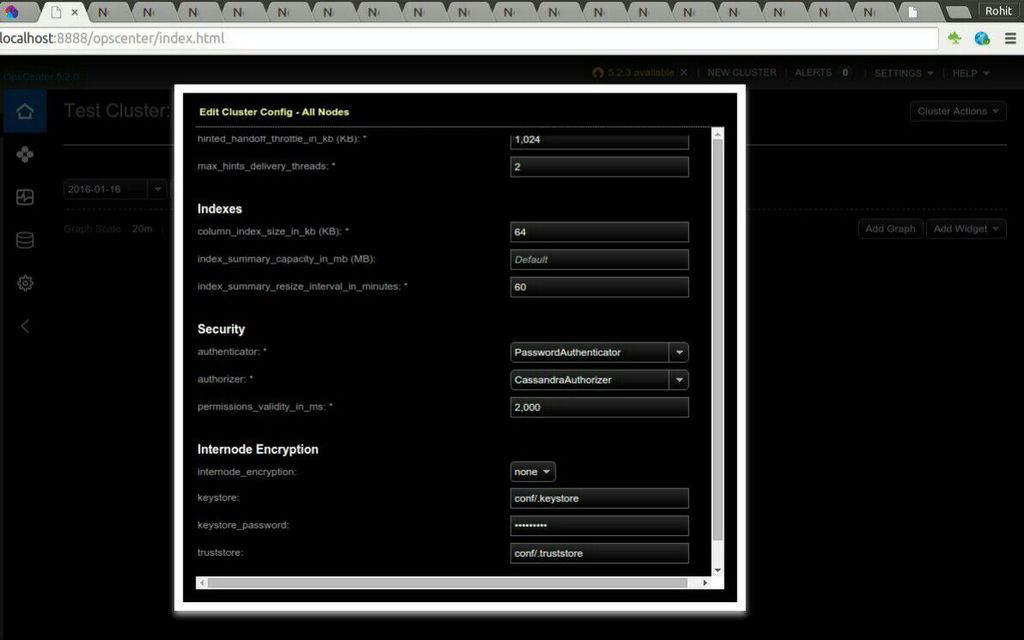
- Change the properties and click the Save Configuration at the end of configuration popup.
- Now restart the cluster from the same right upper corner dropdown menu by clicking restart.
- Ahoy You are done.
- Now time to access cassandra console by using default username and password.
- Run the command : cqlsh <localhost or server Ip> -u cassandra -p cassandra
- Now You can create user as
- CREATE USER ‘user_name’ WITH PASSWORD ‘<password>’;
- CREATE USER ‘user_name’ WITH PASSWORD ‘<password>’ SUPERUSER; <to create super user>
- Now you can give the access of individual Keyspaces to specific users as
- GRANT SELECT ON KEYSPACE <keyspace_name> TO ‘<user_name>’; <gives only read only access to user>
- GRANT ALL ON KEYSPACE <keyspace_name> TO ‘<user_name>’; <gives all access to user>
Conclusion :
So this is the way to enable the authentication is cassandra and to create users with different permissions. Hope you all will like the post. I will be back soon with some new topic, till then stay happy and keep exploring 🙂
