Azure Container Service (ACS) provided by Azure helps to simplify the management of Docker clusters for running containerized applications. ACS supports 3 Orchestrators: DC/OS with Marathon, Docker Swarm, and Kubernetes. We are using Docker Swarm in this article for the demonstration and assuming that readers of this blog are familiar with containerization technologies such as Docker Swarm and a basic understanding of Azure portal.
Creating Docker cluster with ACS:
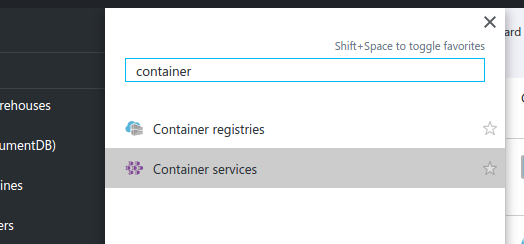
1. Create a container service:
In the Azure portal, go to the Azure container services.
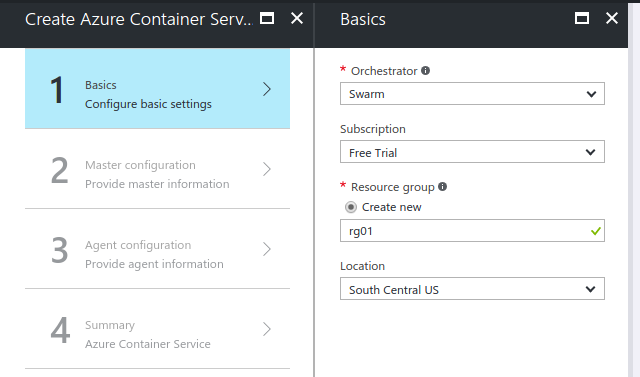
2. Basic Settings:
Add a new container service and provide the basic settings. Choose Swarm for Orchestrator. Chose your subscription and, create a new resource group. You can also change location, but make sure that ACS is available in the region of your choice.
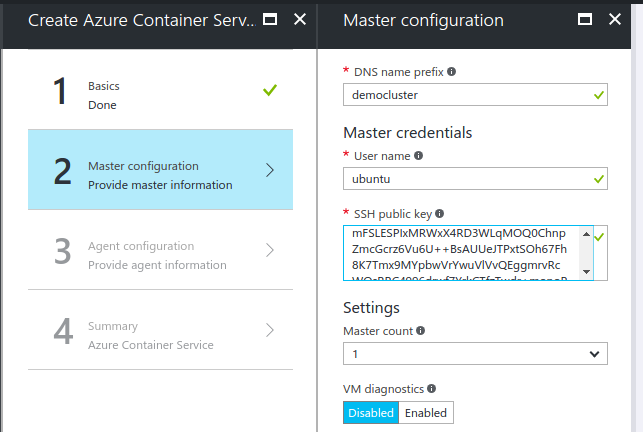
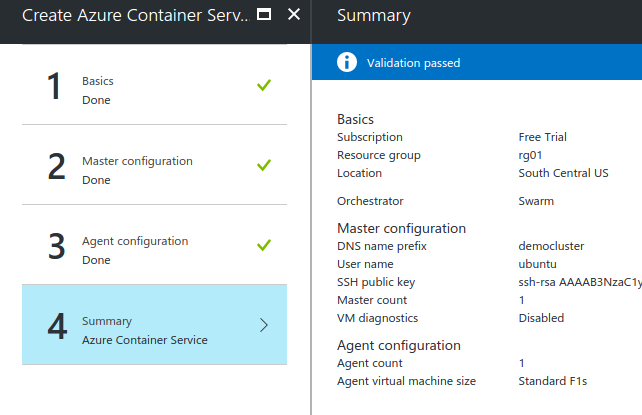
3. Master Configuration:
For master configuration, chose a DNS name, master credentials such as username, public key, and the master count i.e. the number of masters for the cluster.
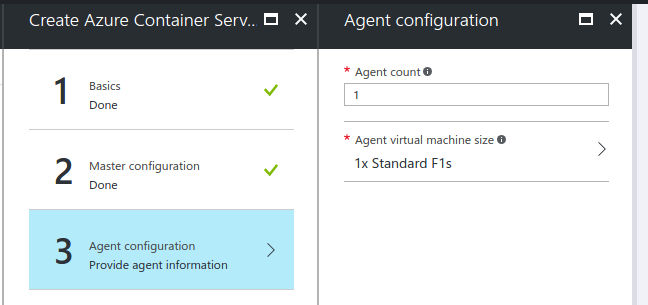
4. Agent Configuration:
Chose the agent count and select the machine size for Agent instance.
You can review the settings before launching the container service.
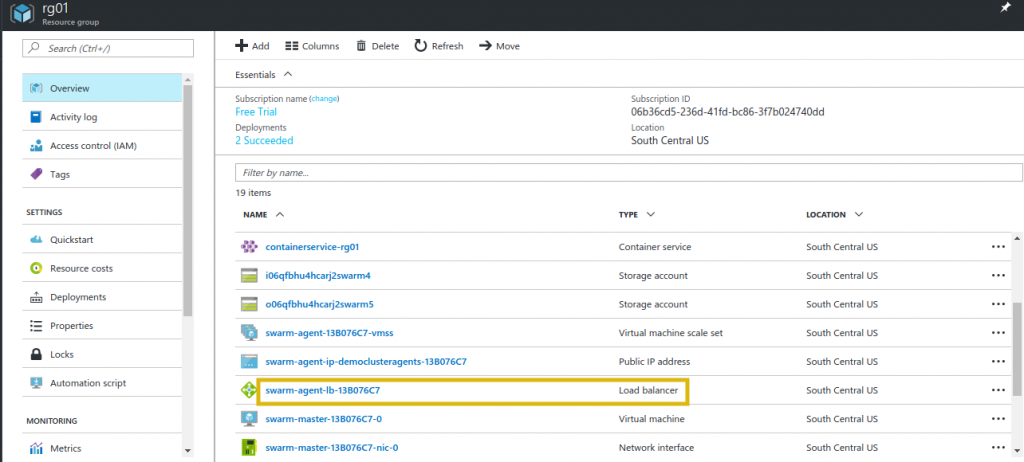
The resource group created with this container service will have many items such as the master, agent, storage accounts, load balancer, public IP addresses, virtual network, and virtual interfaces.
Out of these resources created by the container service, we are interested in the container service “containerservice-rg01”. Click on it to see the overview of service. Note down the master FQDN, which will be used to connect to the container service.
5. Create SSH Tunnel:
Create an SSH tunnel to the container master by executing the following command:
![]()
Here, “demoazure” is the key file name that we have used for launching the container service. Going forward, export the DOCKER_HOST variable with the following command:
![]()
This command will ensure that the docker container that you create will be managed by the tunneled ACS master. The swarm cluster that ACS has created for us uses consul for service discovery.
6. Create Nginx Container:
Now that the setup is complete, we can proceed and create a container. As a demo, we will create a Nginx container. However, it is advisable to check if any container is already running in the cluster.

Create the Nginx container with port 80 exposed:

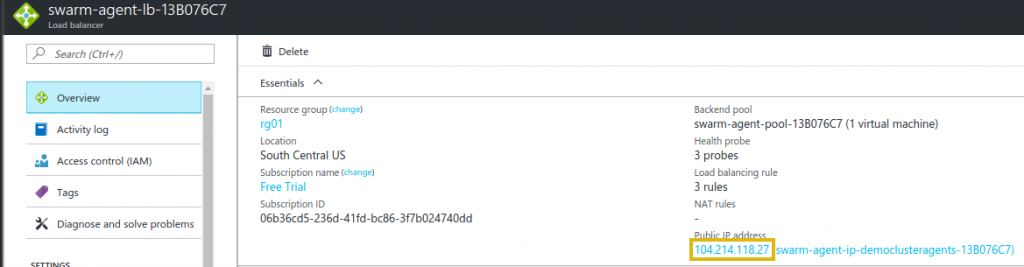
7. Test Application:
Now that our container is running, we need the endpoint for our application (Nginx here). In the Azure console, select the agent load balancer:
Note down the public IP address for this load balancer:
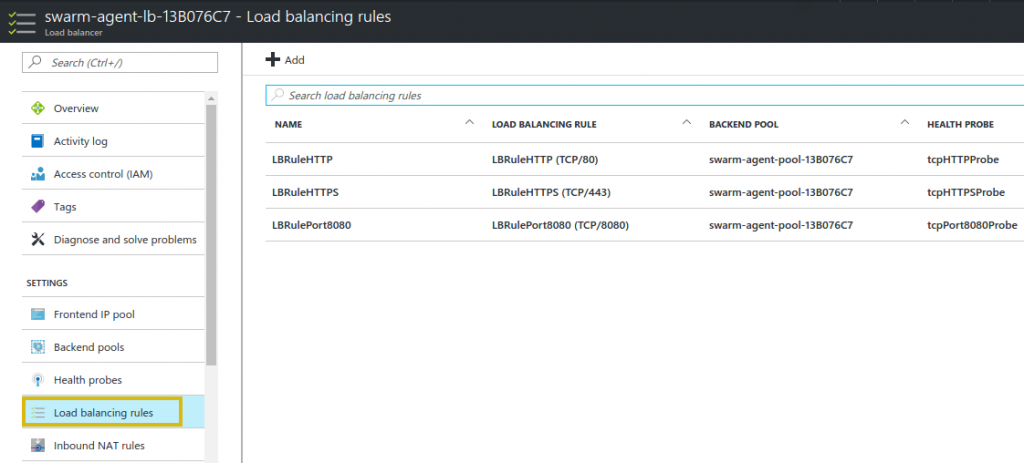
This load balancer created by ACS already consists of three rules corresponding to port 80, 443 and 8080. In case you have deployed an application which uses any other port, you will need to add the required rule manually.
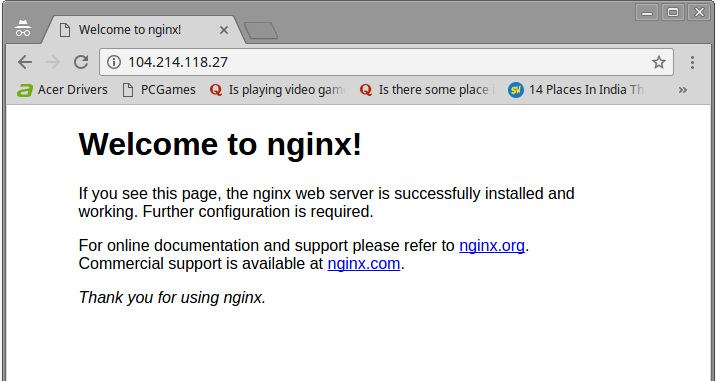
Now hit the IP address, and you will have your Nginx application running on the ACS cluster.
Hope this blog was helpful. Do let us know if the comments below if you are able to follow the mentioned steps and use Microsoft Azure container service to deploy your stack.