Introduction
When we are working with multiple Node.js and React.js projects, managing different Node versions will be very challenging. There is a tool that is simple and powerful that saves us from version-related problems which is the .nvmrc file. This tool ensures that every React.js and node.js project uses the right node version. Here we will discuss how to create and use of .nvmrc file.
Before going to create a .nvmrc file, Please make sure nvm should be installed in the system
What is nvm
NVM stands for Node Version Manager it’s an open-source version manager for Node.js. With the help of the nvm tool, we manage multiple installations of Node.js on a single machine, and it allows developers to switch between different versions of Node.js.
How to install nvm in Ubuntu
Step 1:-
Please make sure the system is updated by running the below command
sudo apt update
Step 2:-
Download and install NVM using curl
curl -o- https://raw.githubusercontent.com/nvm-sh/nvm/v0.35.3/install.sh | bash
Step 3:-
Here, we will check whether NVM is installed or not
nvm --version
Step 4:-
Once Installation of the NVM is done, we can install a specific node version.
nvm install <nodeverion>
Step 5:-
Below the command, we can all install the node Version.
Step 6:-
Here, we can switch to the Node.js version based on the requirements.
nvm use v16.02.0
What is a .nvmrc File?
The .nvmrc file is a simple text file that configuration file for nvm (Node Version Manager). It’s used to install and manage the node.js versions. The .nvmrc will be available on your project’s root directory. Here, we can instruct nvm to switch to the specific Node.js version required for that project
Creating and Using .nvmrc
Step 1:-
Go to the terminal and navigate to the root directory of your project; after that, create a new file, and the name will be .nvmrc
Step 2:-
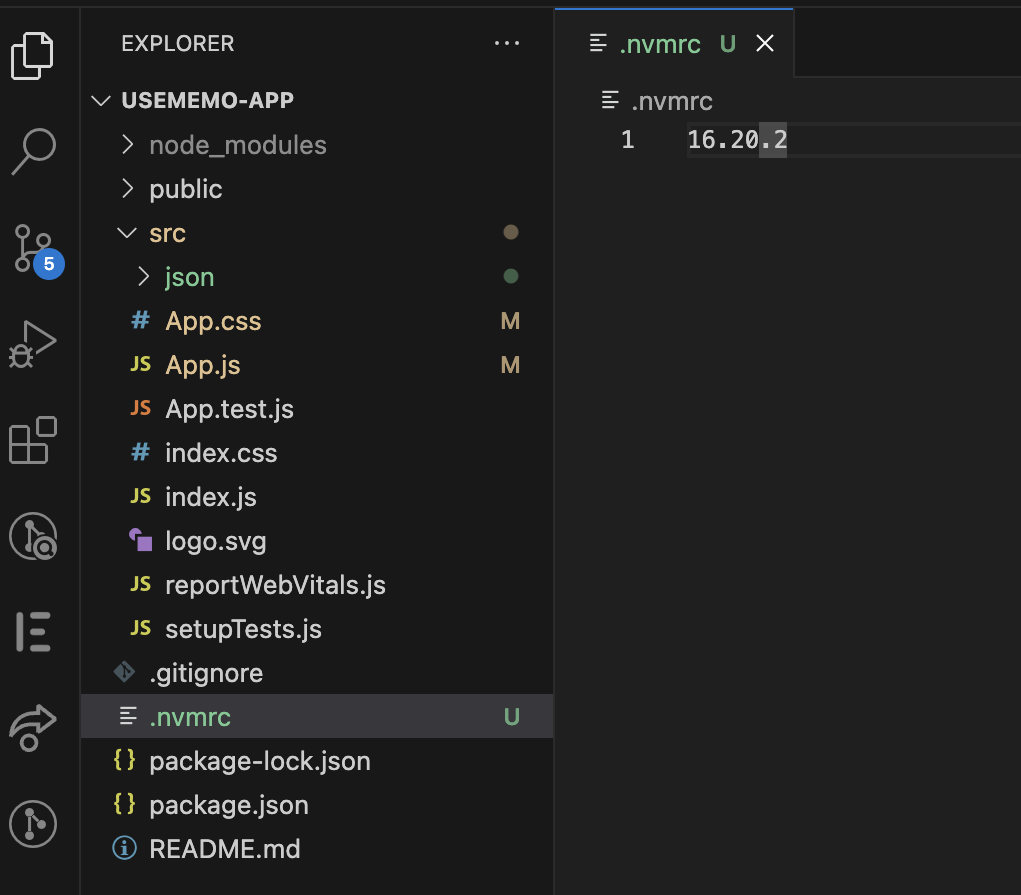
Open the .nvmrc; whatever node version is required in your project, you can put it here and save it. eg:- here we have node 16.20.2 require in our project

As you can see in the above pic, our default node version is v16.15.0, but the requirement is 16.20.2. So here we will create a .nvmrc root directory of the project, and Inside the .nvmrc file, simply write 16.20.2, After that, we will use the nvm use command.

In the above image, you can see a specific node version if the node version is not available then; with the help of nvm install v16.20.2, we can install a specific node version

You can see in the above pic, Now with the help of the nvm use command, we can switch the specific node version
Conclusion
First, you have installed the nvm and learned to manage the node version with the .nvmrc file. The .nvmrc file is an effective and powerful tool that can manage the Node.js versions. With the help of the above steps, you and your team member can use the same node.js version
Thanks for reading! Check out our other blog posts for more insights.