Adobe Commerce is an enterprise-level eCommerce platform that is flexible and scalable. It lets businesses create personalized B2B and B2C online stores. But before businesses can set up their online store on Adobe Commerce, it has to be set up first!
In this two-part blog series, we’ll delve into the setup of Adobe Commerce on Cloud infrastructure. Additionally, we’ll also explore the development process on a high level. This very blog will exclusively cover the setup part, and the development process will be covered in the next part of the same series, hence stay tuned.
Prerequisites
- To set up Adobe Commerce, the essential requirement is configuring the SSH keys. For that, create an SSH key and configure it in the Account Settings tab in your Magento Account.
- The next important step is to clone the project; you can find the clone command below, or you can refer screenshot,
git clone –branch master <project_id>@<git_repo_name>.git dev
GIT Clone command
Setup Master Environment
When you access your project from the Projects tab, the default environment is Master. Installing Magento on this environment involves SSHing into the Master. You can install it from this source if you don’t have Cloud CLI.
To SSH into the Master environment, copy the command from the Project console, which should look like this,
magento-cloud ssh --project <project-code>--environment master --app mymagento
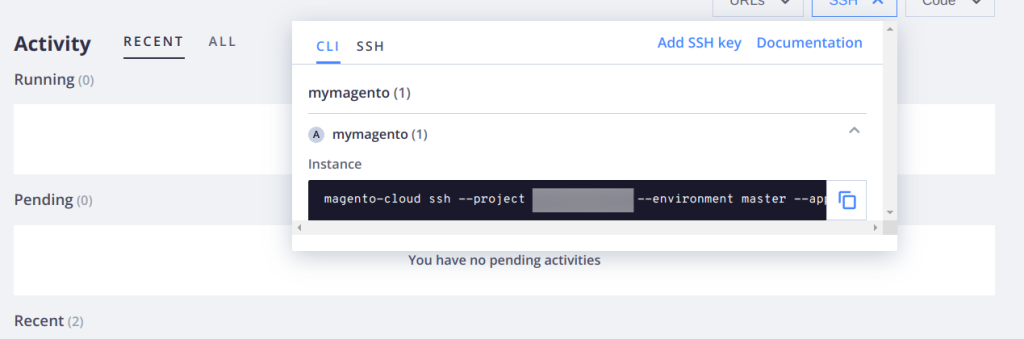
Cloud SSH Command
Now that we’ve accessed the Master environment, it’s time to install Magento. We’ve previously covered Magento installation in one of our earlier blog posts, where we had also set up the Venia store. Here, I’ll share the command; feel free to customize it with your details and execute it.
NOTE: Make sure you update the base-url value with the HTTP URL of your Master env, which can be found here (see screenshot),
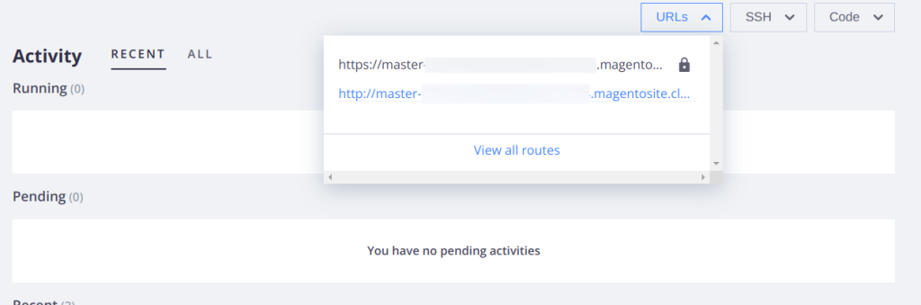
Environment URLs
php bin/magento setup:install \
   --admin-firstname=admin \
   --admin-lastname=admin \
   --admin-email=admin@abc.com \
   --admin-user=admin \
   --admin-password=12345 \
   --base-url=<http URL> \
   --db-host=database.internal \
   --db-name=dbName \
   --db-user=ttn \
   --currency=USD \
   --timezone=America/Chicago \
   --language=en_US \
   --use-rewrites=1
Verify the installation by visiting the website.
Creating Lower environments
We’ll establish a staging environment for conducting production-level testing and a Development environment for development purposes. The Staging environment will be generated based on the Master environment. Navigate to the dev directory inside the /var/www directory and checkout a new staging branch,
git checkout -b Staging
Push the same change to the staging branch,
git push origin Staging
The environment is not active yet. To activate it, run the following command,
magento-cloud environment:activate Staging
You can check its activation status from the console,
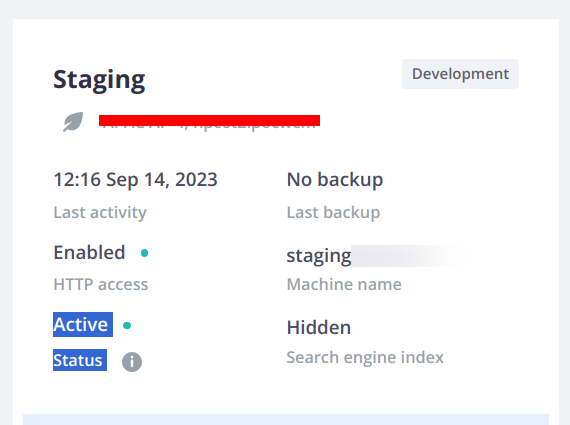
Environment Info
One good thing is, that we do not have to install Magento again in this environment. Similarly, follow the steps above to create a Dev environment.
Setup Local Magento
For our code development, we would need Magento on our local server and in a separate directory; you can name the folder anything. Some dependencies can be used to install Magento on local servers, such as Apache, MySQL, and PHP. We have already covered in detail how to install those in our previous blog; you can refer to that.
To summarize, this blog covered the setup of Adobe Commerce on Cloud, addressing SSH key configuration, Magento installation on the Master environment, and the establishment of lower environments for staging and development. Expect more insights in the upcoming part of the series.
Stay tuned for the next part of this blog, in which we will delve into the development processes!