Meta tags are the extract of the page’s content. These HTML tags play a pivotal role in search engine optimization. They do not appear on the page but definitely do on the page’s source code. Drupal provides a metatag module (https://www.drupal.org/project/metatag) to generate meta keywords for your Drupal website. It can be done at the global level, content type level, and node level.
Installing the meta tag module:-
1. Install the module using composer.
![]()
2. Enable the module using the drush command.
![]()
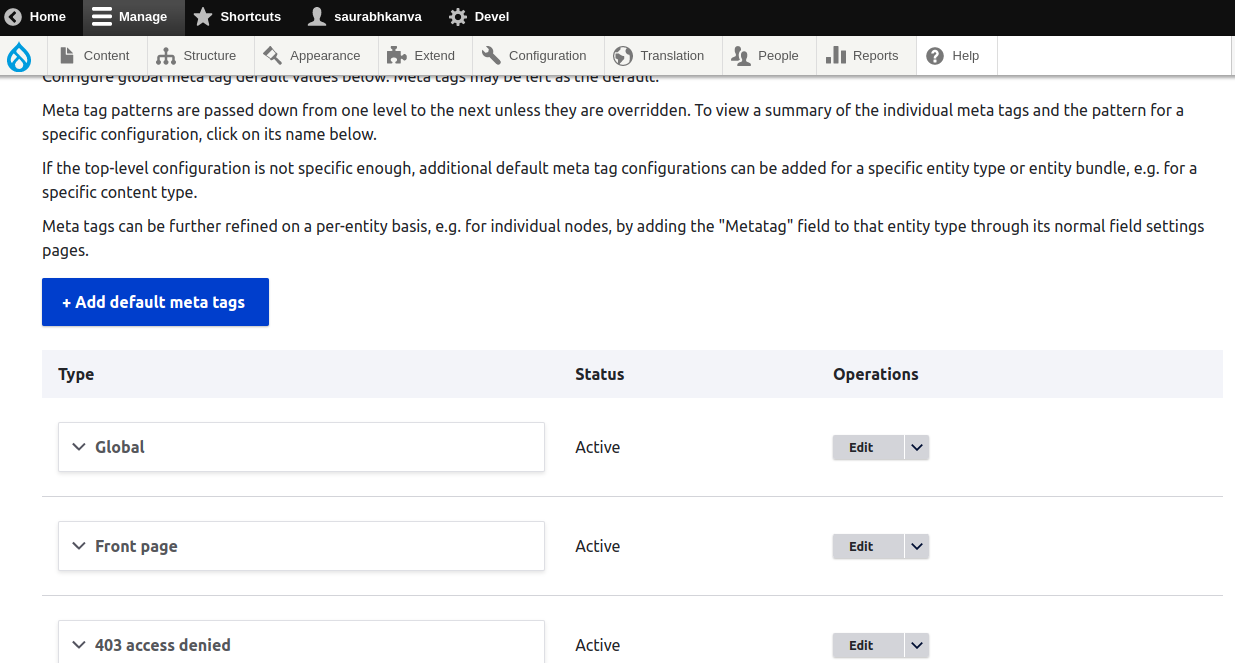
3. After the successful installation of the meta tag module, go to the configuration page (/admin/config/search/metatag) of the metatag module where you can spot the configurations for content types, default error pages, etc.
Configuring meta tags for a content type:-
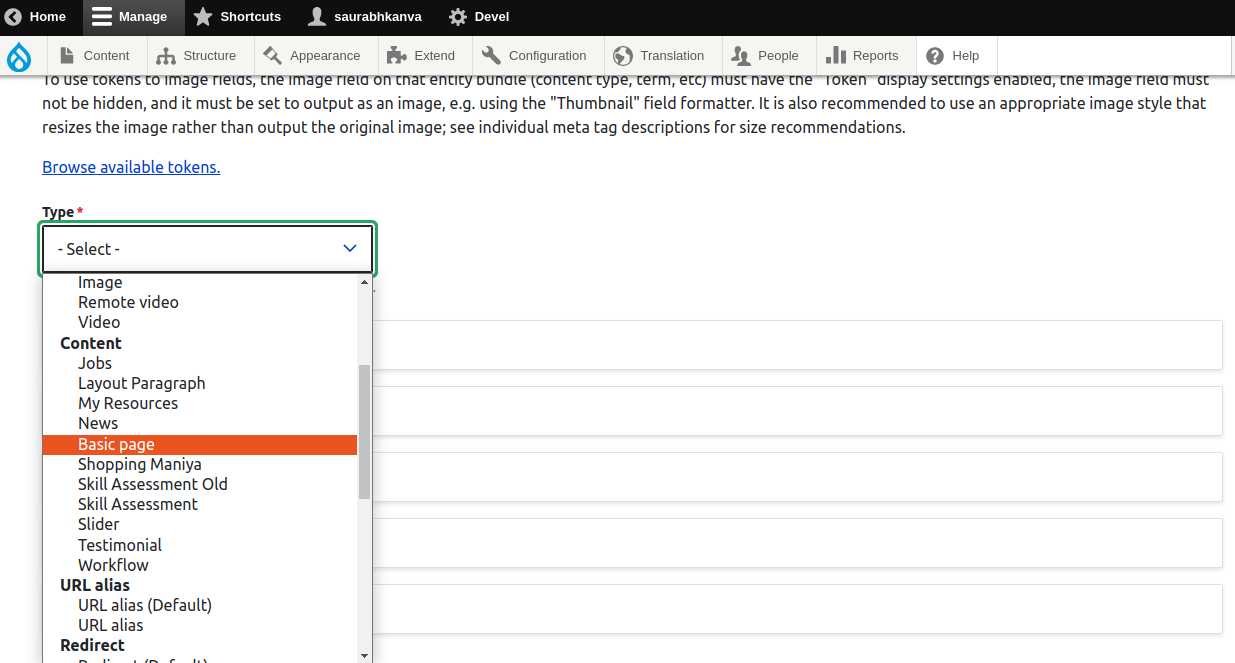
1. On the meta tag configuration page, first click on “add default meta tags”. Then you can find the content types listed on your website in the type dropdown. Select the content type of your choice. In our case, we have chosen the “basic page” content type.
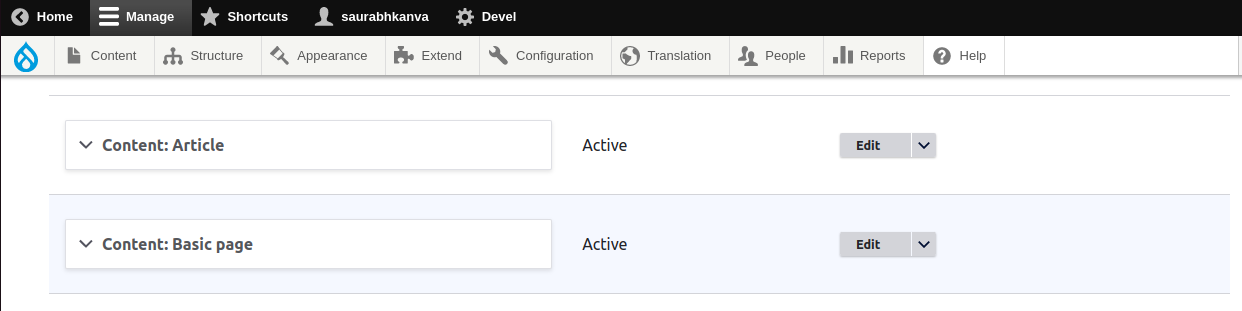
2. After saving, you can find another field set for your selected content type (i.e. basic page)
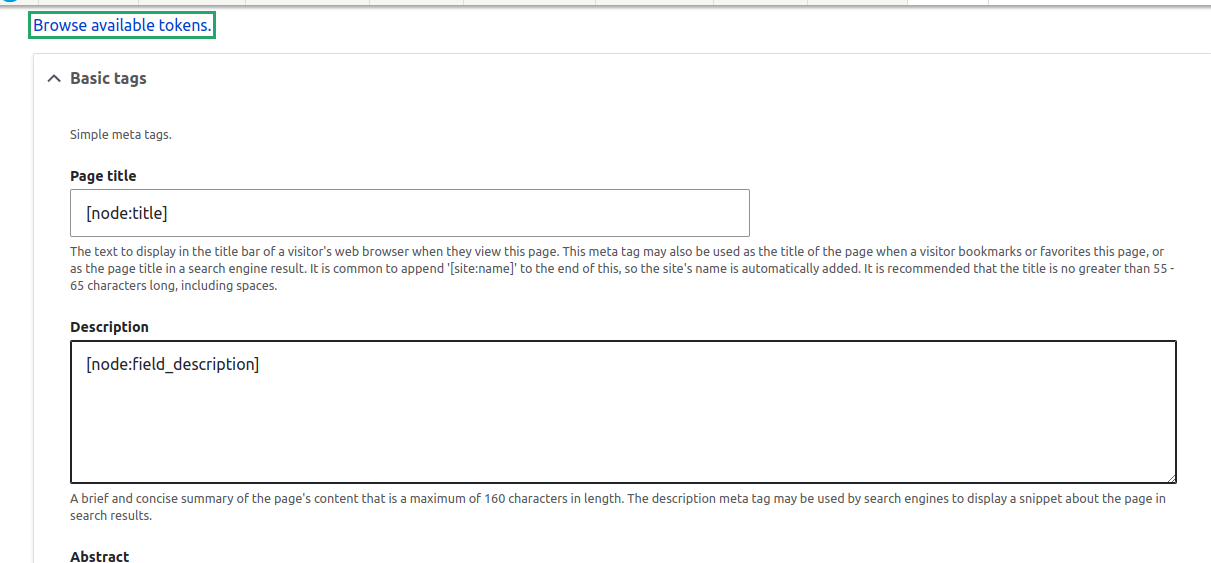
3. Edit your desired content type’s metatag, then click “browse available token”. You can find multiple tokens available, but we need to choose from “nodes” for content types.
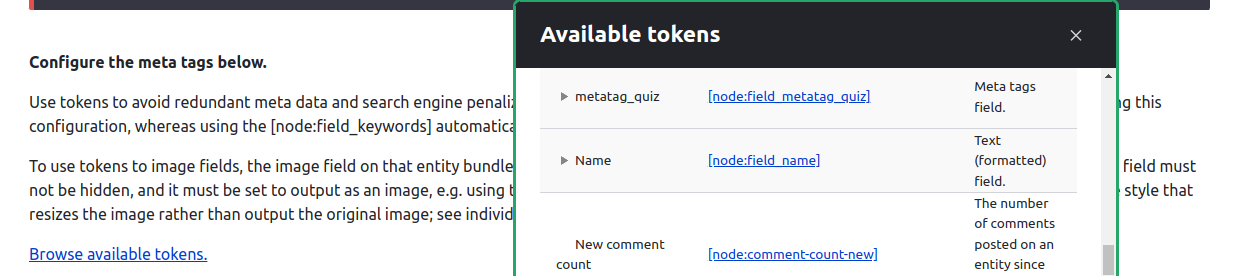
4. From the tokens available for nodes, fill in the fields as per your choice.
5. To validate this, create/edit a node of the configured content type. Go to that particular node and inspect the source code; you can find the meta tags you have configured are already prefilled.
Overriding meta tags for specific nodes:-
In the above example, we have configured meta tags for a content type that covers all its nodes. But what if you require meta tags on a node per basis? Well, there is a solution for it. To do this, you have to add a meta tag field to your desired content type, as shown in the screenshot below:-
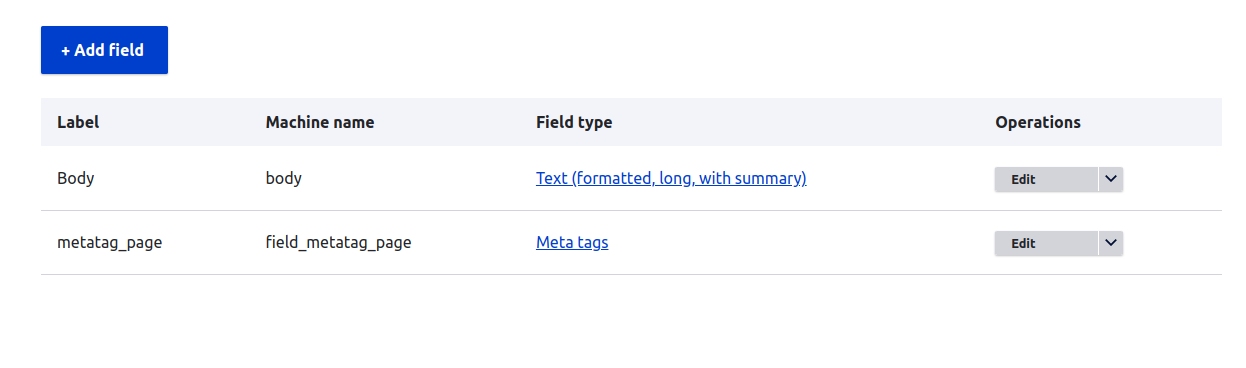
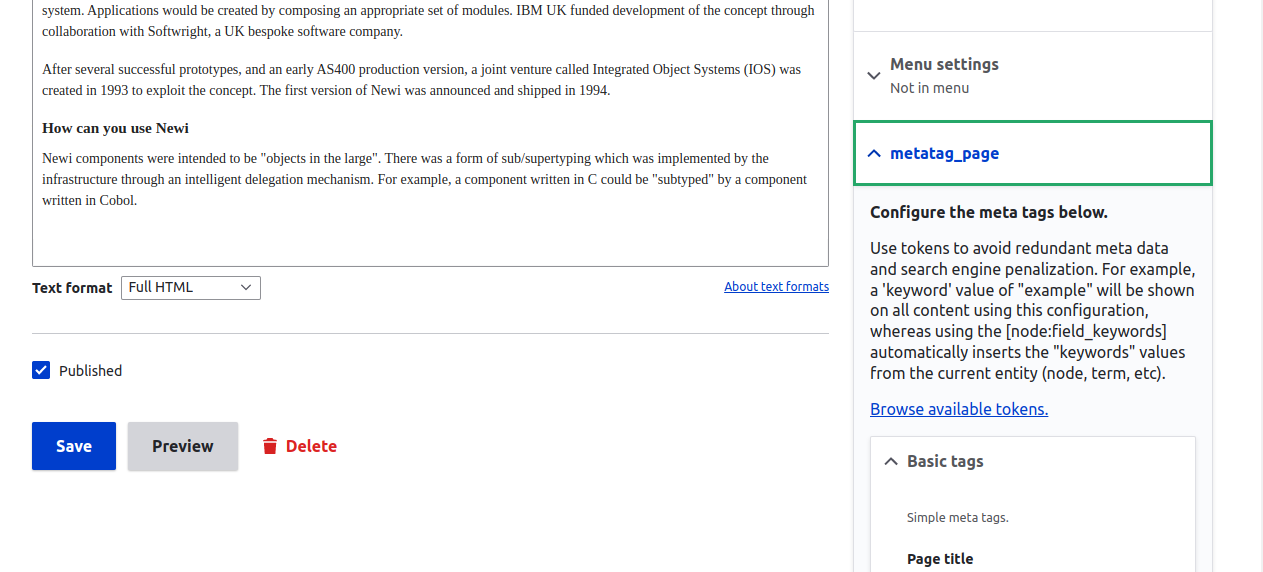
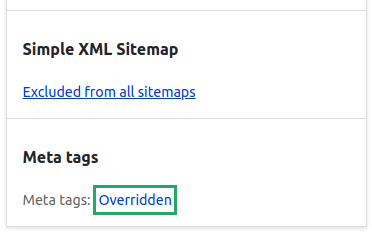
Edit any node of that particular content type, and you will notice that a new meta tag field is added to the right sidebar of the page. You can override the meta tags for this node here.
Configuring the meta tag for views:-
1. Enable the meta tag view module(a sub-module of metatag) using drush.
![]()
2. Edit any view as per your requirement. In our case, we have opted for “/blogs” view. After clicking on edit, you can find a new page setting with the name “meta tags”.
3. Click on this page setting and configure the meta tags for this view page.
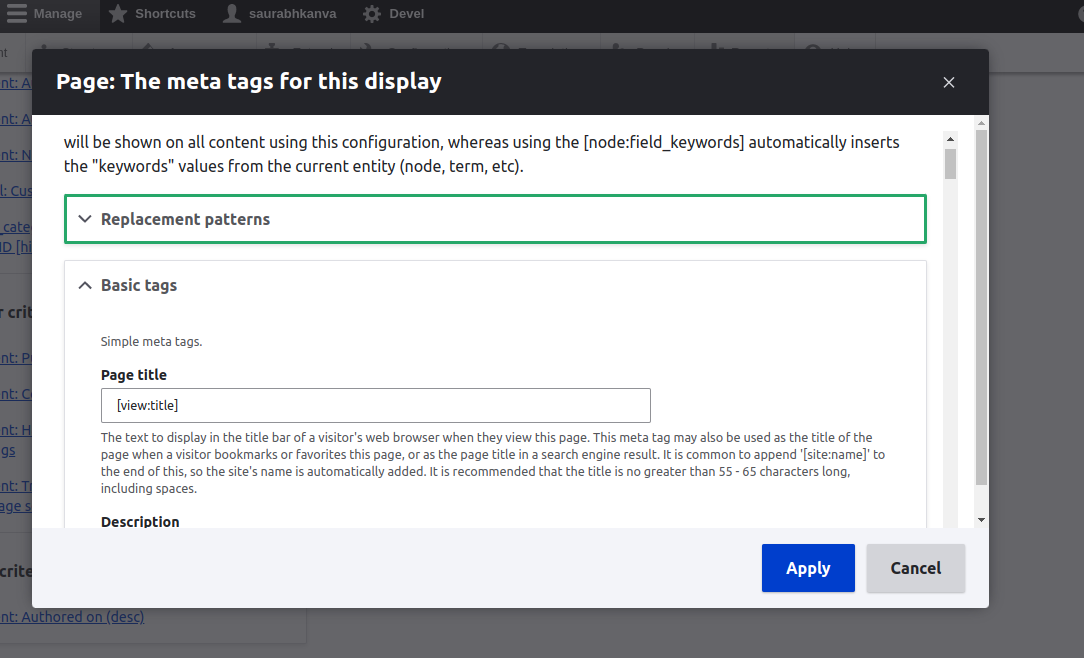
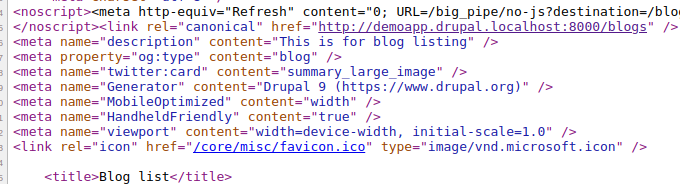
4. To validate this, click on the “view page source” of the output page of that particular content type and you can find the configured metatags.
Few highly sub-modules of meta tags are open graphs and Twitter cards. Their implementation can be found below.
Configuring Open graph meta tags for Facebook using metatags:-
1. Enable the “Metatag: Open Graph” module using the drush command as shown below.
![]()
2. Edit the “content:blog” (choose content type as per your requirement) present on the metatag’s configuration page. Click on “Open Graph” and configure the tokens available in “browse available token’s node section”.
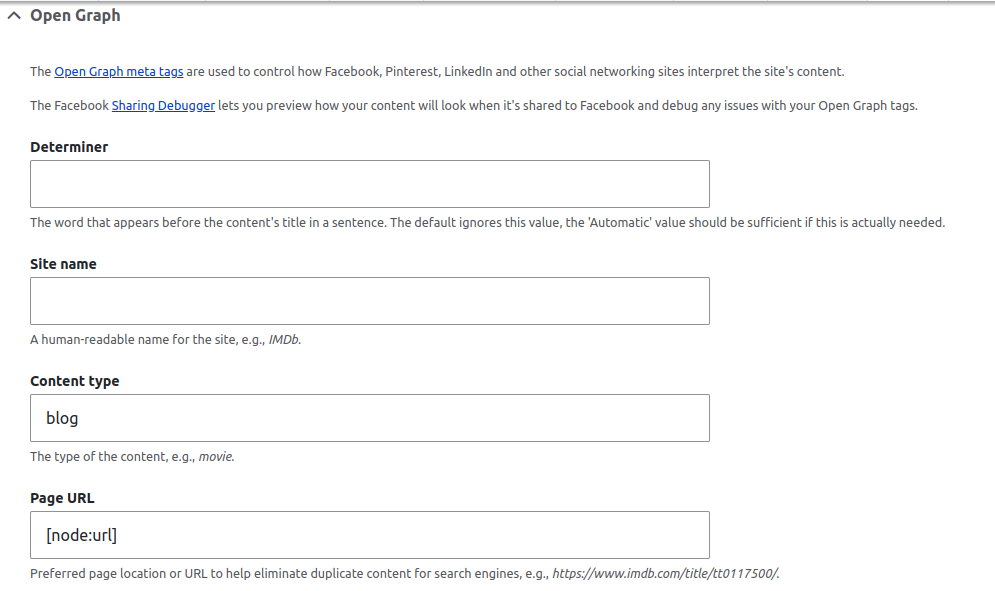
The most commonly used tokens are stated below:-
- Content type: desired_CT
- Page URL: [node:url]
- Title: [node:title]
- Description: [node:summary]
- Image URL
3. To test it, paste the URL in Facebook sharing debugger tool (https://developers.facebook.com/tools/debug/) . The output should look as shown below:

Twitter cards are used to add minimal information, i.e. photos, description, titles, about content of your link. The way you have configured open graph meta tags, you can also configure metatag for Twitter by enabling the metatag:twitter cards sub-module and configuring the desired metatags.