
AWS Elastic Beanstalk ( Grails Application )
Ever wondered what to do if you have to make a very quick deployment of an application on the AWS Cloud ? You would launch servers, make an infrastructure and then Install applications which is somewhat a tedious process. How would it sound if the deployments are made in seconds ?
Here is an AWS service for all the developers and the people who do the deployments. AWS Elastic Beanstalk is what we will be talking about in this blog. With Elastic Beanstalk, you can quickly deploy and manage applications in the AWS cloud without worrying about the infrastructure that runs those applications.
Have the code ? Need a quick deployment to be done ? Just make a few configuration changes, do a few clicks & you are up and running !
In Elastic Beanstalk an application can be created and under that many environments can be created. The main configuration file of EB is .ebextensions which Elastic Beanstalk creates on its own on the server.
The steps to deploy a Grails app are as follows :-
1. Go to the AWS Elastic Beanstalk Console.
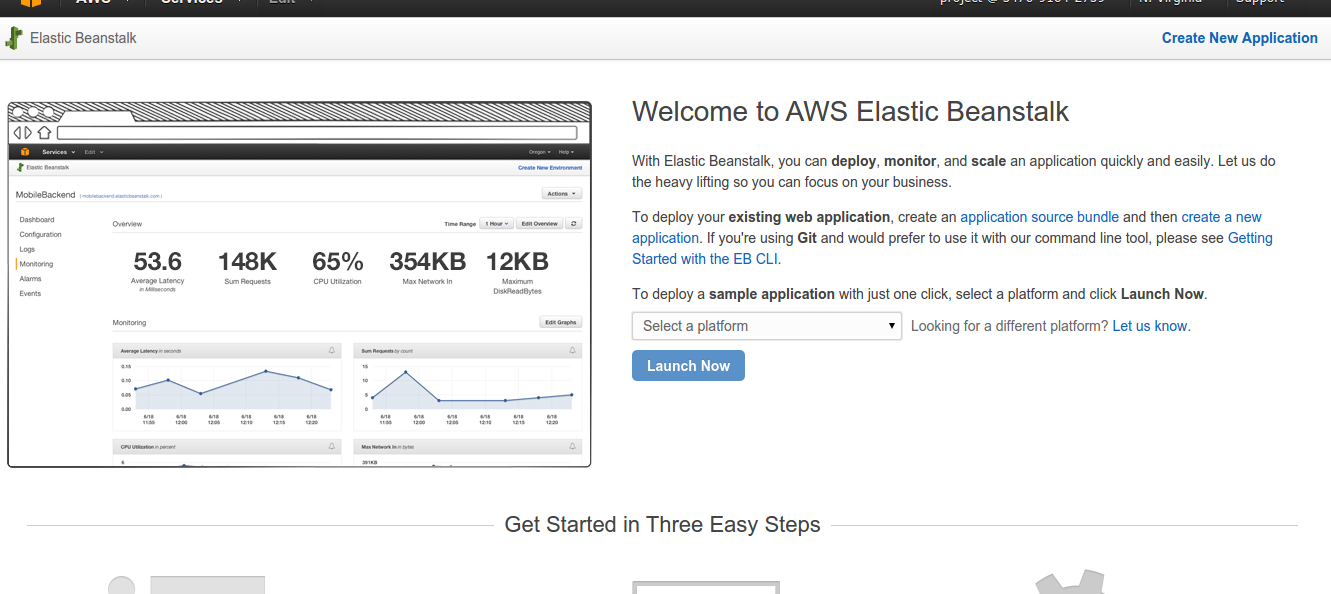
2. Create a New Application. Choose the Type of application. For now, EB Supports Docker, PHP, Java Tomcat, Ruby etc. For this demo we will choose Tomcat 7 Java 7.

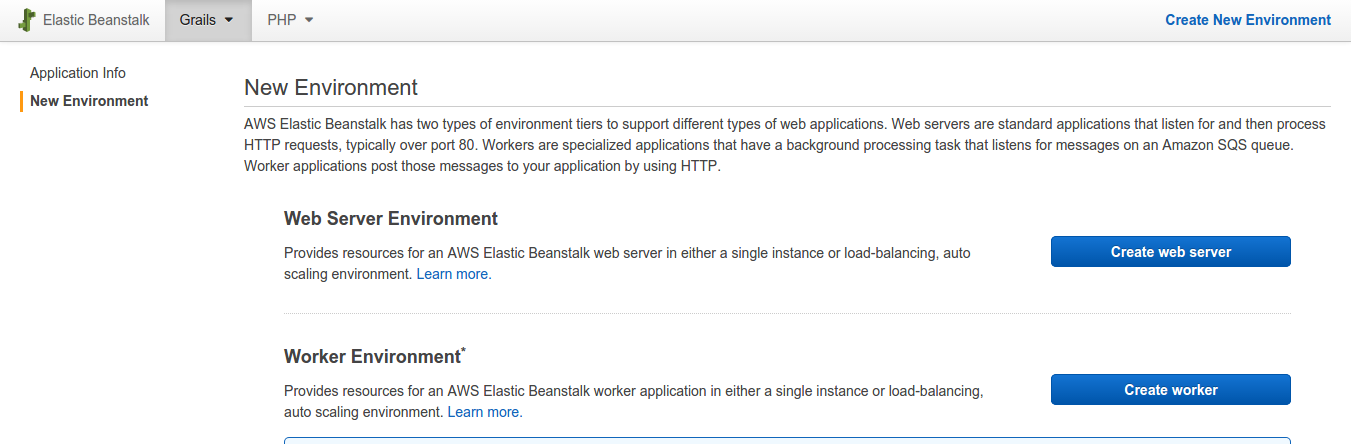
3. Now, create a New Environment. Choose Web Server.
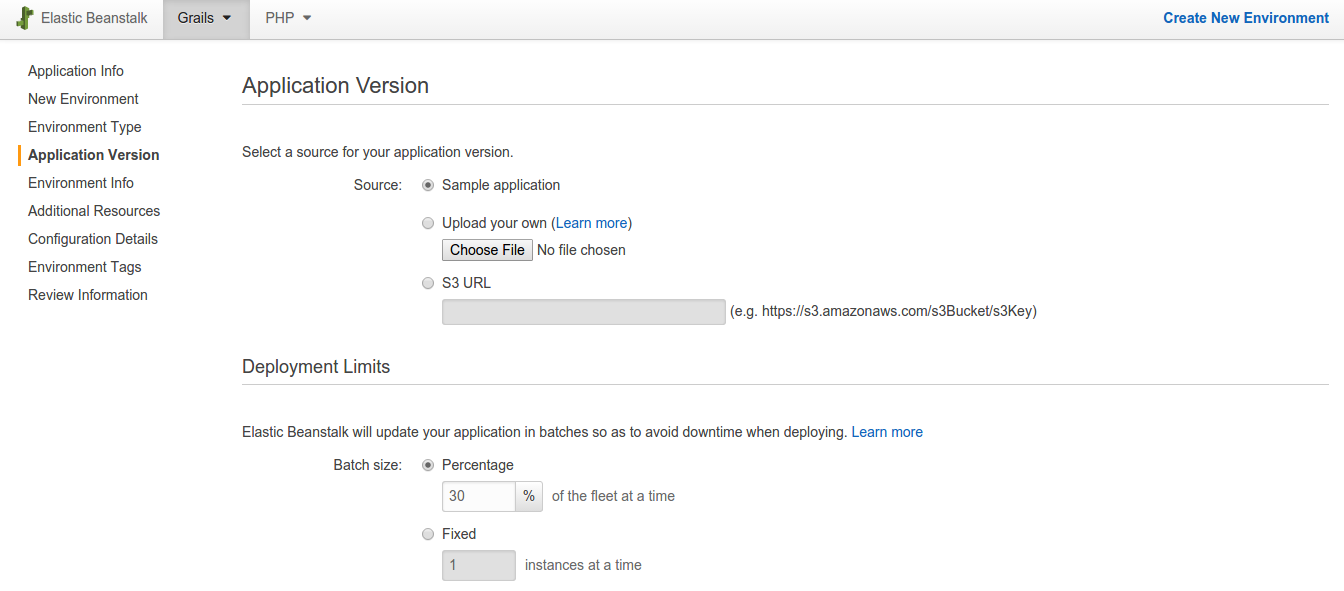
Since at this point of time we don’t know the RDS endpoint & the Elastic Beanstalk Environment URL we will choose sample application.
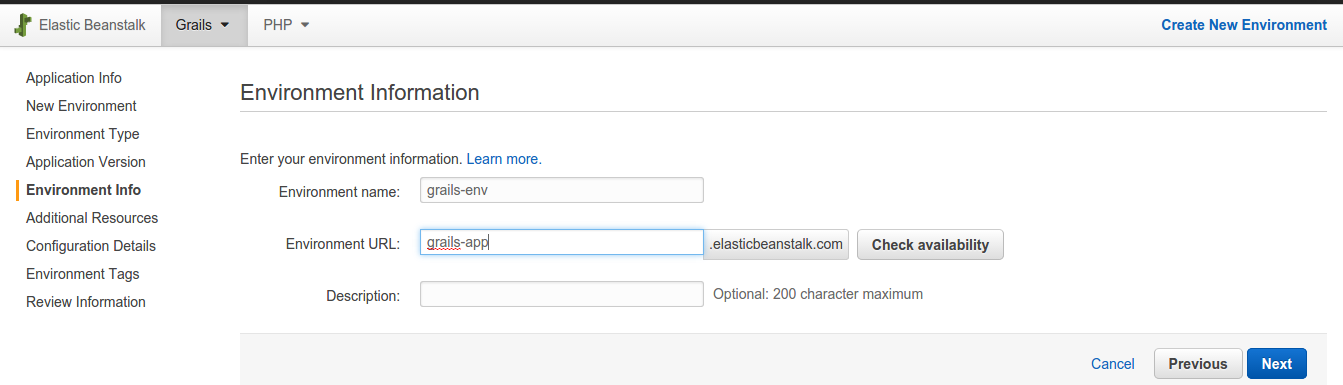
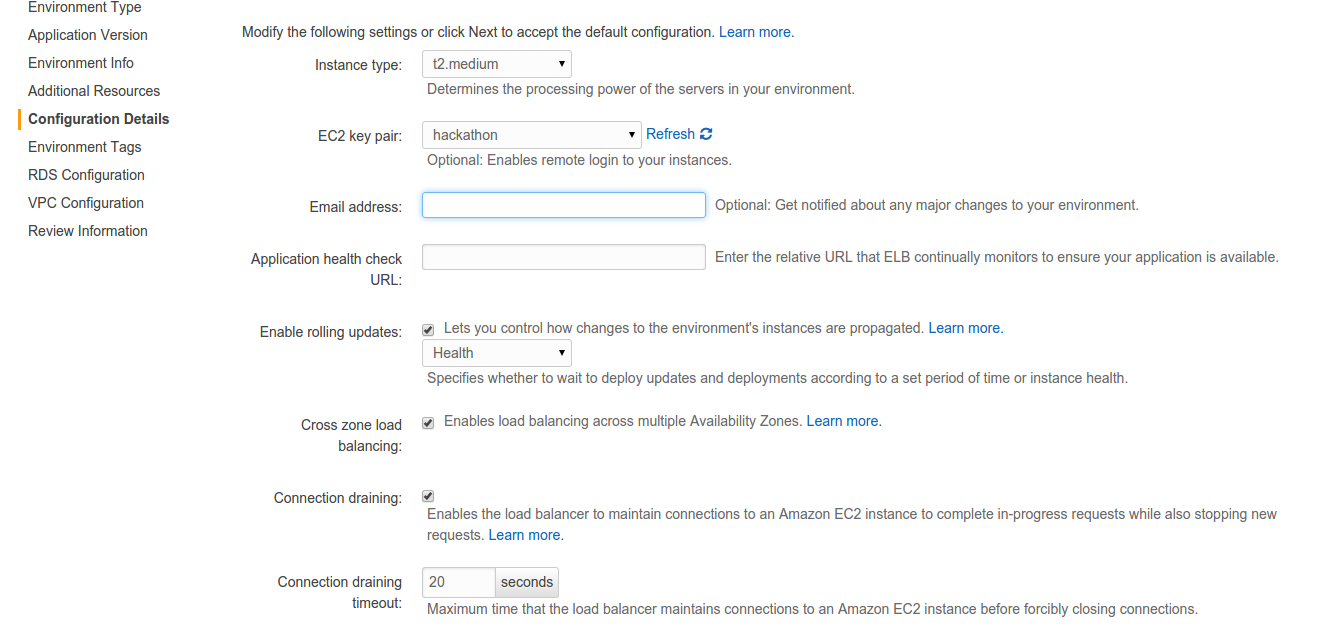
4. Select the required settings like auto-scaled or single Instance environment, VPC/EC2. You can also select an SNS for reporting changes to your environment. You will have to choose an existing database ( RDS ) or you can create a new one by choosing the DB option. Then, if you have chosen to do all this inside a VPC, you need to select the VPC & the subnets.
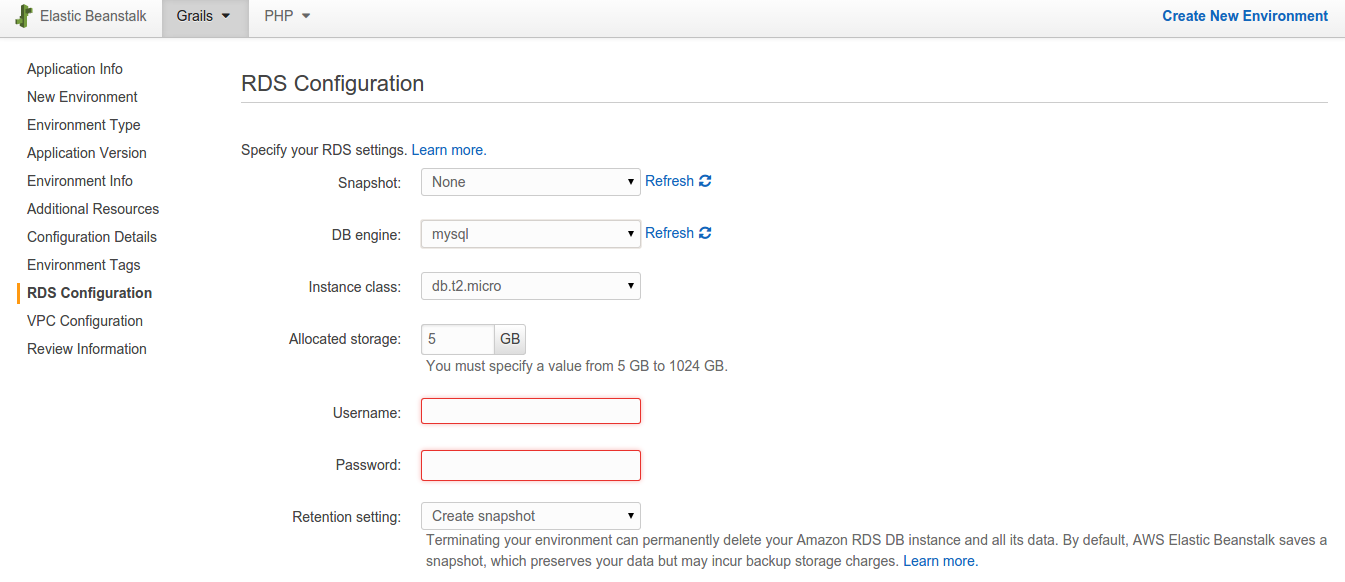
RDS options :-
- Snapshot : none
- DB Engine : mysql
- Instance Class: db.t2.micro (if you want to stay in the free tier)
- Allocated Storage: 5 to 20 Gb (if you want to stay in the free tier)
- Availability: Single Availability
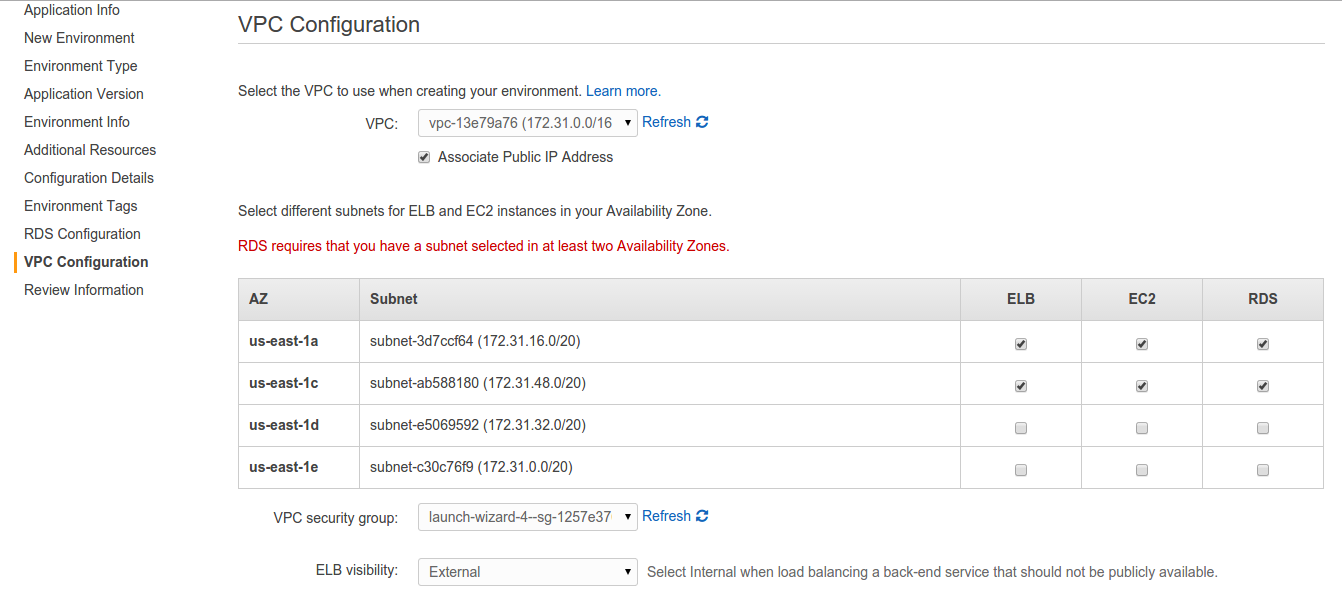
And now, the VPC configurations.
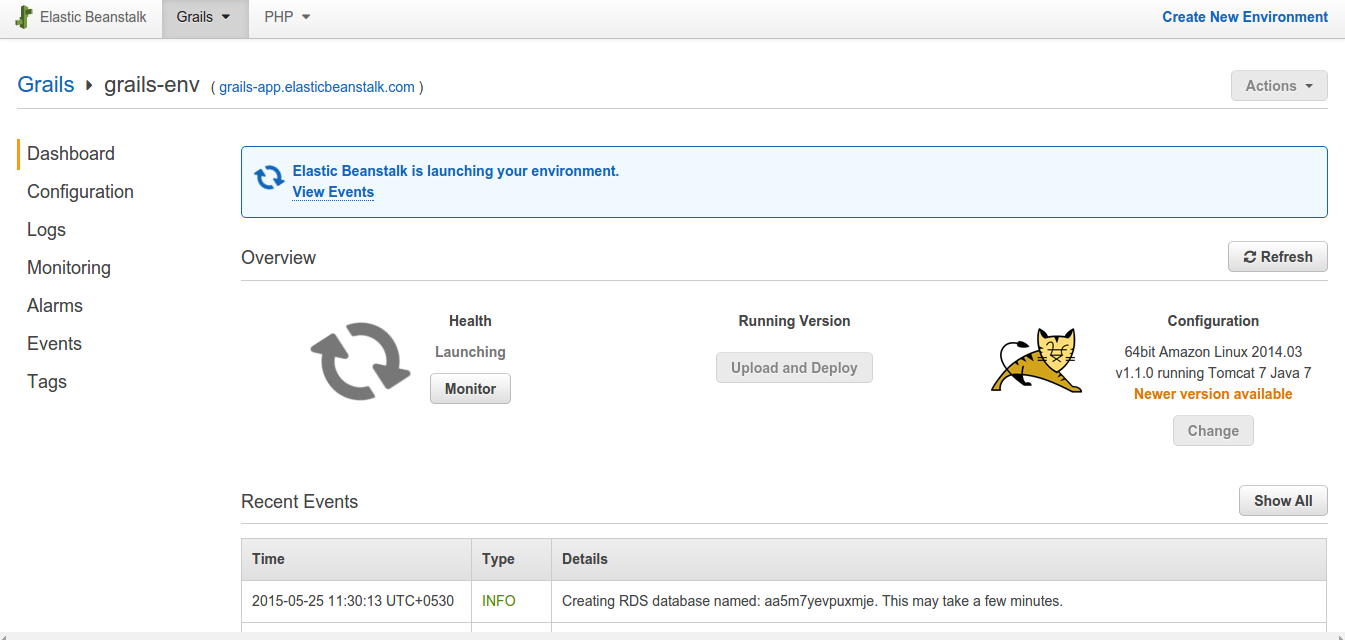
5. Elastic Beanstalk will automatically launch all the instances form an infrastructure with EC2, Security Groups, Alarms etc. You can see the events in Recent Events. You can go to configuration tab and make various configuration changes like environment type, RDS changes, VPC & various variables like Heap Memory etc.
6. Now, go to your Grails application server/local machine where you create war file. You need to make some changes in DataSource.groovy , Config. groovy, Build groovy file.
DataSource.groovy file looks like this :-
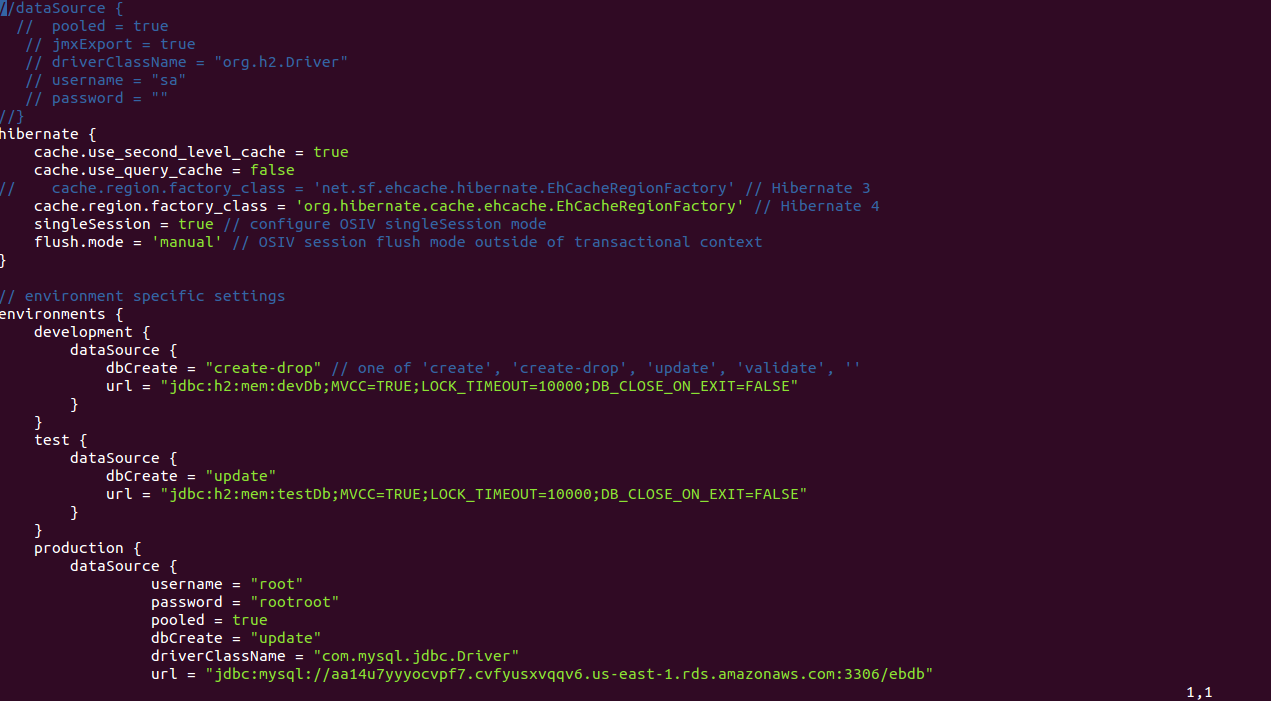
Comment out the lines as in the above image. Elastic Beanstalk reads only the production part. Even if you are using the H2 database use put the lines inside the production.
[js]
production {
dataSource {
username = "{user}"
password = "{password}"
pooled = true
dbCreate = "update"
driverClassName = "com.mysql.jdbc.Driver"
url = "jdbc:mysql://{endpoint}:{port_number}/ebdb"
dialect = org.hibernate.dialect.MySQL5InnoDBDialect
properties {
validationQuery = "SELECT 1"
testOnBorrow = true
testOnReturn = true
testWhileIdle = true
timeBetweenEvictionRunsMillis = 1800000
numTestsPerEvictionRun = 3
minEvictableIdleTimeMillis = 1800000
}
}
}
[/js]
You need to replace:-
[js]
{user} your RDS instance user name defined earlier.
{password} your RDS instance password
{endpoint} your RDS endpoint
{port} your RDS endpoint port number
[/js]
Now, in config.groovy find the production grails.serverURL variable under environments and put in the URL given in the Elastic Beanstalk dashboard we discussed about earlier.
[js]
environments {
production {
grails.logging.jul.usebridge = false
grails.serverURL = "http://{environment_ name}.elasticbeanstalk.com"
}
}
[/js]
Also in Build groovy file uncomment java-mysql dependency.
Now, create war using command:-
grails prod war
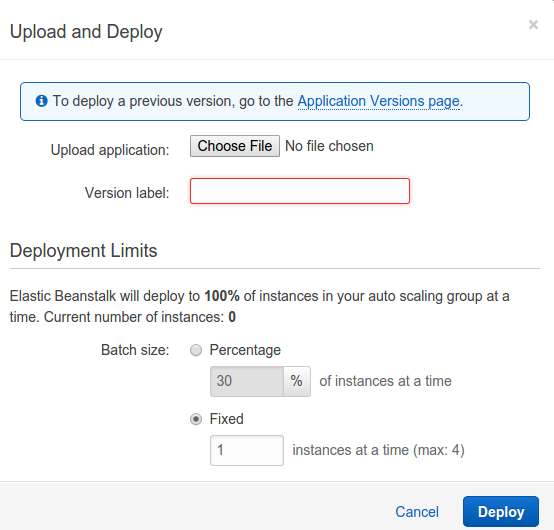
Just upload the war file in the Elastic Beanstalk Dashboard & click Deploy. Previous versions can also be deployed by clicking on Application Versions page.
In-case your war is on a server you can use the following command to get the war file from server to local.
sudo scp -i VPC.pem ubuntu@IP Address:/home/ubuntu/rv/target/xyz.war /home/user/Downloads ( To Copy from server to local )
You are finally done. Elastic beanstalk comes very handy when you need rapid deployments with all the AWS services configured for production use with minimal configuration changes.


Great article! I was wondering if there’s some way to externalize the database configuration, so that database URLs are not hard-coded into the application? Does AWS support JNDI?