
Custom voice recognition in Roku app using Google Speech to text library
Roku provides a library that supports basic voice commands, such as “play”, “pause”, “next”, and “fast forward”, Roku also provides a keyboard integrated with voice search. However, we cannot integrate custom voice commands directly from Roku’s voice library. Through this article, we will cover how to integrate custom voice commands into a Roku channel using the “roMicrophone” component and a third-party voice recognition library, such as the Google Speech-to-Text API.
To use the voice recognition service, the Roku device must be running on OS 7.6 or later.
Prerequisites
- Knowledge of Roku app development using Brightscript/Scenegraph.
- Google Cloud Account with billing enabled.
- Roku device with developer mode enabled and had OS version 7.6 or later.
Integration Steps
Custom Voice command integration will be done in 2 main steps.
- Google Cloud Speech-to-Text API Setup.
- Roku Channel code setup.
Setting up the Google Speech-to-Text API
- Firstly, we need to create a Google Cloud account. Sign in to the Google Cloud console and enable billing.
- Create a new project, give a name as per your preference.
- Open “APIs and Services” and select the Cloud Speech-to-Text” API.
- Click on the “Enable” button to enable the Speech-to-Text API.
- Create an API key.
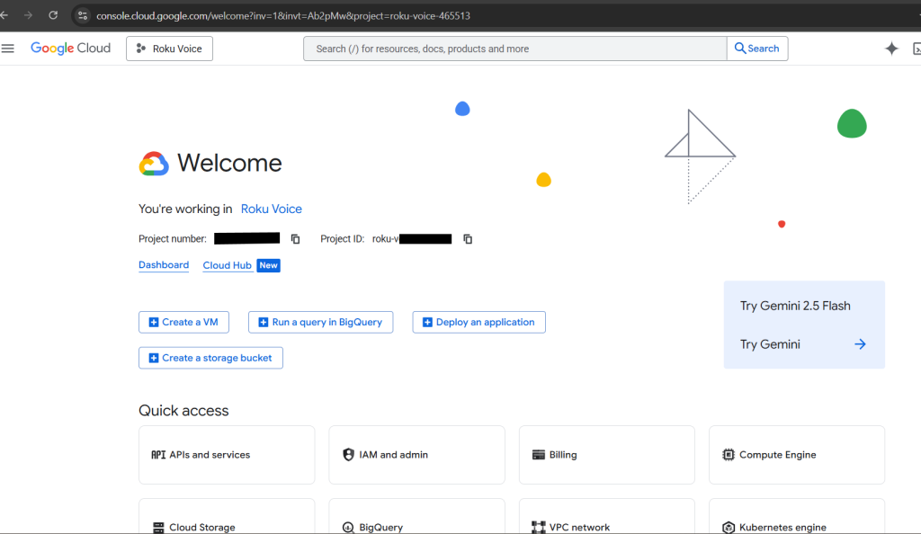
Google Cloud Console
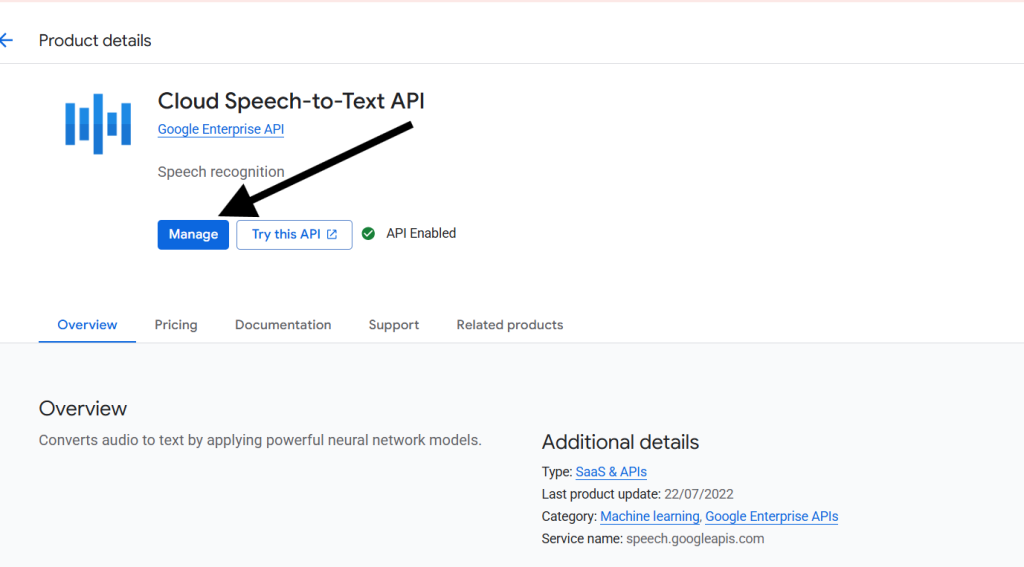
Cloud Speech to Text
Code Setup
- Create a custom component(that is responsible for listening and returning the text) named as VoiceRecognizer.xml
- Create a “roMicrophone” object to access the Roku remote’s mic.
-
microphone = createObject("roMicrophone")
-
- To use the microphone, we need to set the port first with the help of the SetMessagePort(port) function.
-
port = CreateObject("roMessagePort")
microphone.SetMessagePort(port)
-
- After that, we can initiate the recording using Roku’s microphone by using the StartRecording() function.
-
microphone.StartRecording()
-
- Now, we need to create the “roByteArray” object to store the audio data in the bytes.
-
audioBytes = CreateObject("roByteArray")
-
- Capture the microphone events to get the audio data.
-
while true
     micEvent = wait(0, port)
     if micEvent.IsRecordingInfo() 'when startRecording() function calls this event loop triggers

          info = micEvent.GetInfo()

          audioBytes.append(info.sample_data)

     else
          exit while

     end if

end while
-
- Now we have the audio data in the byteArray, we need to convert this byteArray to a base64String.
-
audioData = audioBytes.ToBase64String()
-
- Create the request body and headers for calling the API.
- headers
-
{
"X-Goog-Api-Key": Your_API_Key
"Content-Type": "application/json; charset=utf-8"
}
-
- body
-
{
"audio": {
     "content": audioData
},

"config": {

    "enableAutomaticPunctuation": true,

    "encoding": "LINEAR16",

    "languageCode": "en-US",

    "sampleRateHertz": 16000
}
}
-
- headers
- Now create a roUrlTransfer object and send this data to the Google Speech to Text library via the below API.
- API curl
API Url: https://speech.googleapis.com/v1p1beta1/speech:recognize

Headers: {
"X-Goog-Api-Key": Your_API_Key
"Content-Type": "application/json; charset=utf-8"
}

Body: body 'above mentioned body in point 8
- API curl
- Create an observer function that observes the response of the API call. In our case, the observer function is onGetTextResponse().
-
function onGetTextResponse()
results = m.top.textResponse.response.results

text = ""

for each result in results

for each alternative in result.alternatives

text += alternative.text

end for

end for

m.SpeechText = text
end function
-
- m.speechText is the text of that audio command we give using the Roku’s microphone.
- Now, through this m.speechText we can perform the actions to our app. For example, if user said “Buy this Order” and we handle the check on this text we can perform the action onClick(buttonSelected) event of the “Buy Now” button.
Conclusion
Custom voice recognition feature enables ease of user experience, User can able to perform several actions through his/her voice, these actions helps to do hands-free navigation, accessibility, and many more. While Roku doesn’t support custom voice commands through his voice library beyond basic voice commands, this hybrid approach combining Roku’s microphone input with cloud-based transcription bridges that gap effectively.
