
Using Custom Chef Recipes in AWS OpsWorks
AWS OpsWorks is an application management service that makes it easy to deploy and operate applications of all shapes and sizes. You can define the application’s architecture and the specification of each component including package installation, software configuration and resources such as storage. Start from templates for common technologies like application servers and databases or build your own to perform any task that can be scripted. AWS OpsWorks includes automation to scale your application based on time or load and dynamic configuration to orchestrate changes as your environment scales.
In this article We are going to install a web server (httpd) and deploying a simple static website having index.html page using chef recipes in AWS OpsWorks.
Go to AWS Services console and click on Opsworks.
Click on “Add Your First Stack”
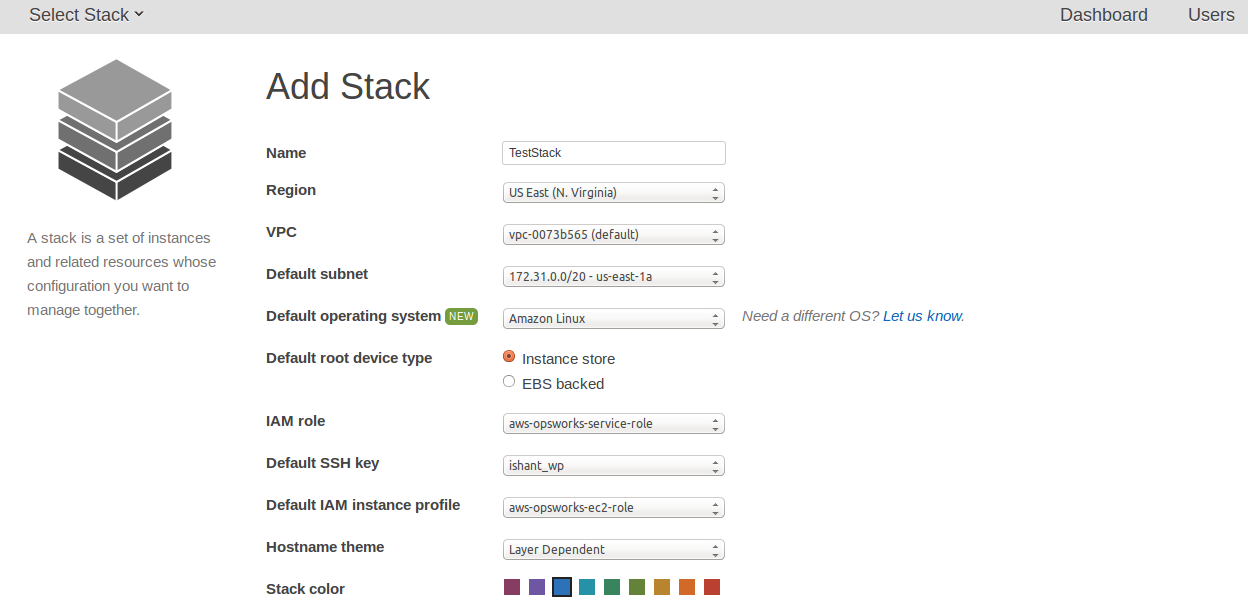
2. Name your Stack say “Test Stack”
3. In the Configuration Management Section make “Use custom Chef cookbooks” to “Yes”
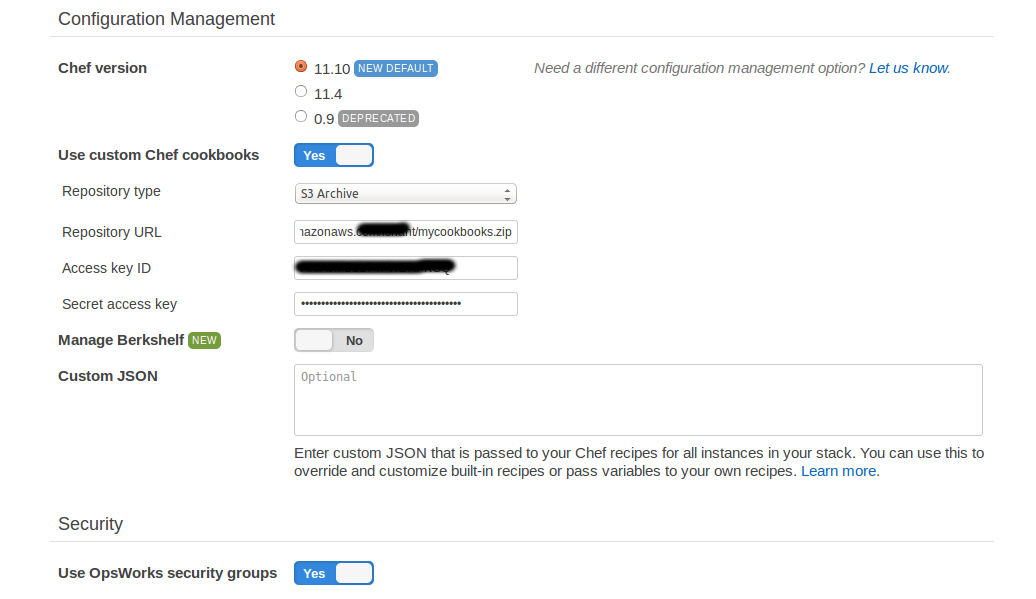
In this scenario we have uploaded our cookbooks to S3, Hence Select Repository type to S3 Archive.
Paste the S3 Repository URL.
Enter your Access Key ID and Secret Access Key.
Note : Before uploading to S3 make sure your cookbooks should be in mycookbooks directory even if it is a single cookbook.
To know how chef works and how we can write chef cookbook’s recipes , you can read this article “Understanding Chef and Writing Cookbooks”
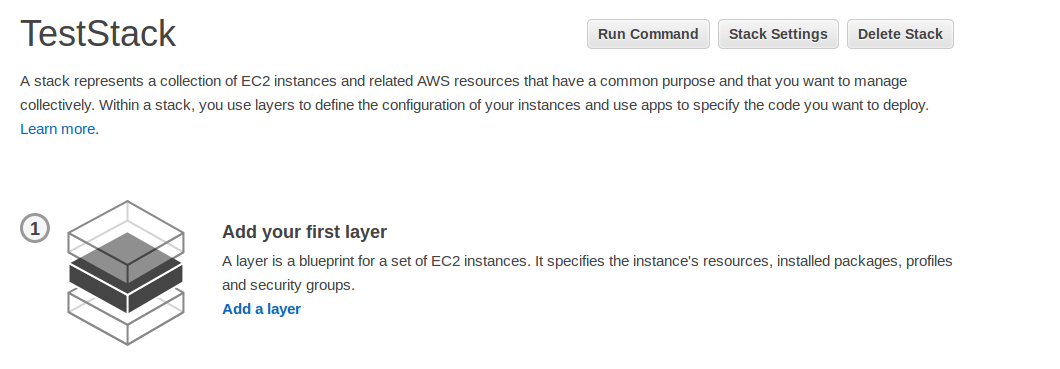
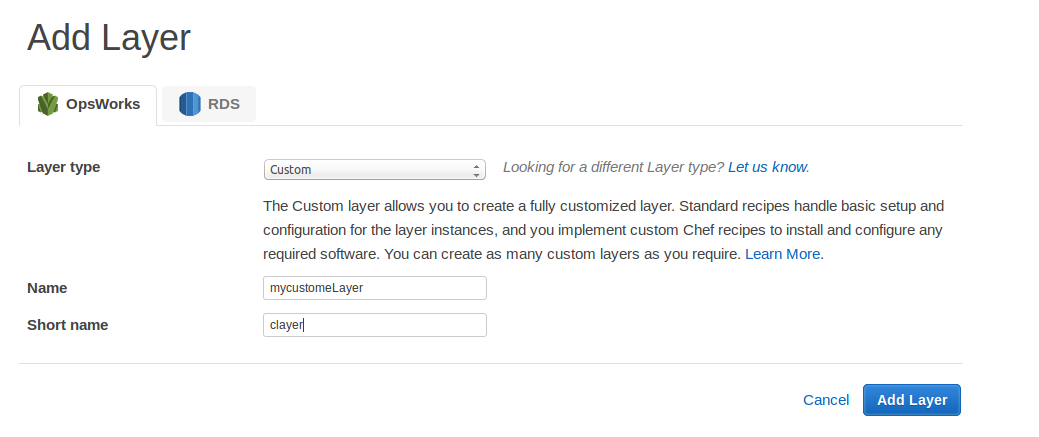
4. Now Add a Layer
5. Named it e.g mycustomLayer and short name – clayer
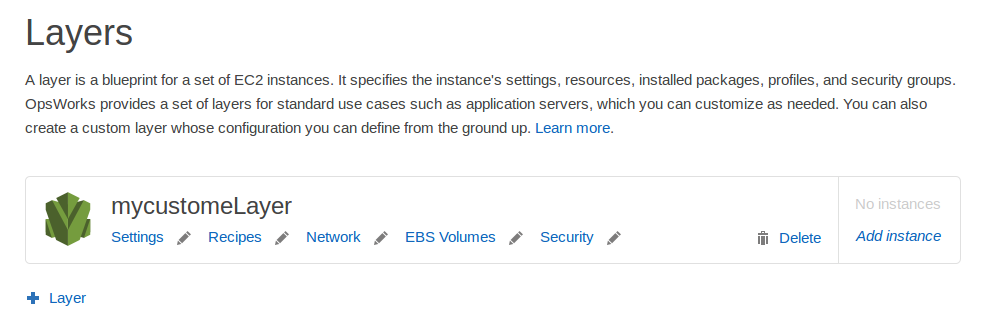
6. As we have specified cookbook repository in Stack creation , In the Layer we will specify the custom Chef Recipe to be executed . So in the Layers Section click on Recipes and specify Recipes as below .
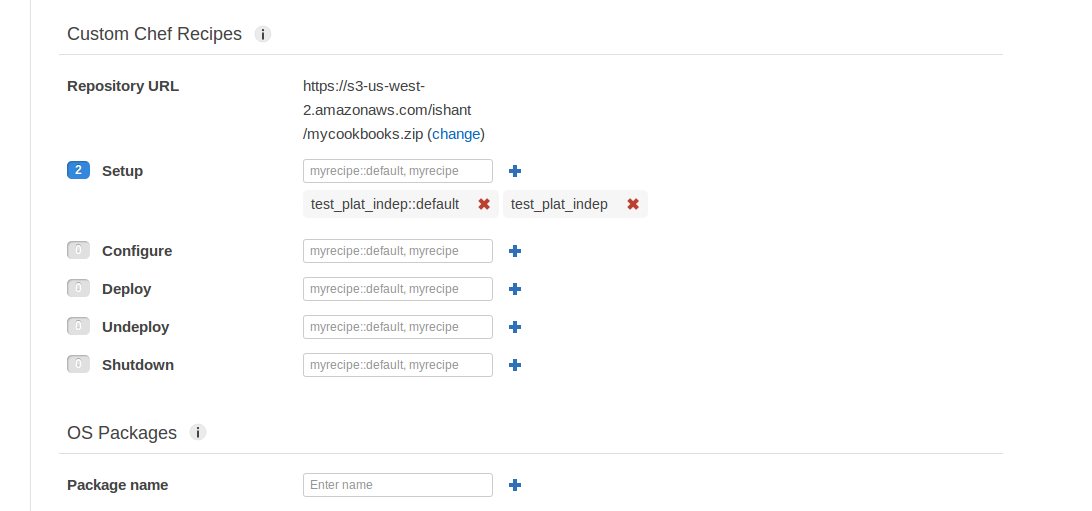
7. We can see the S3 Repository URL . So in this scenario our Chef Recipe will do installation of Web
Server(httpd) and will copy some file(s) to /var/www/html/ (say index.html ). My Cookbook name is test_plat_indep and recipe is default. Hence I’ll follow the format specified and will write as test_plat_indep::default, test_plat_indep
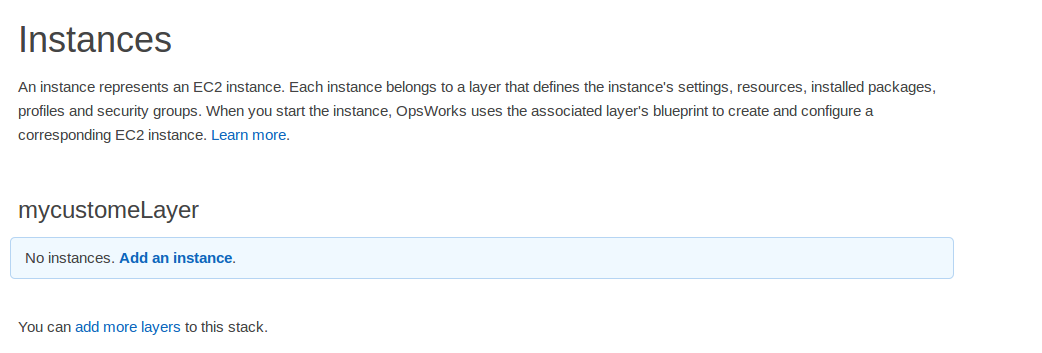
8. Now whatever instance we launch in this Layer will acquire the Layer Properties. e.g. if we launch t1.micro instance in this Layer (myCustomLayer) , httpd server will be installed on this instance and files will be copied to /var/www/html/ directory .
Now Click on Add an instance :
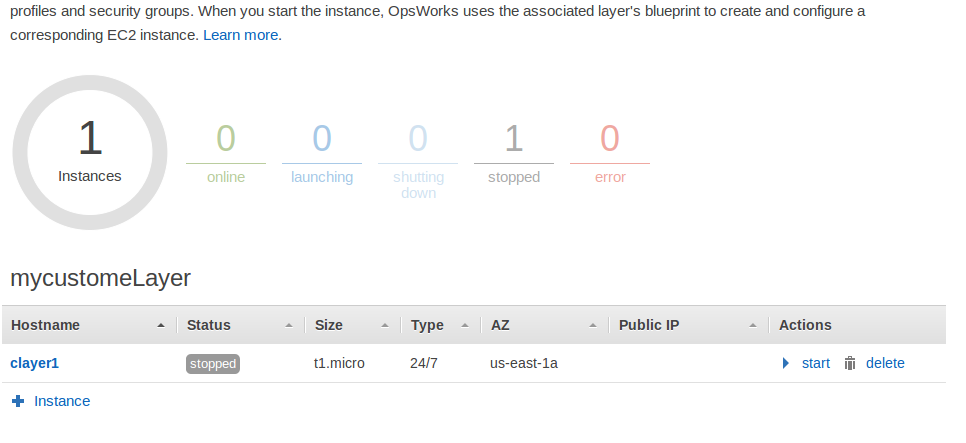
9. Named it as clayer1 (You can give name as per your ease.)
Give size , subnet , scaling, ssh_key, etc.. and add it to Layer .

10. After adding it , start it by clicking on start option.
11. It will take time as first it will be requested, then it will boot, running setup and finally it will become Online.
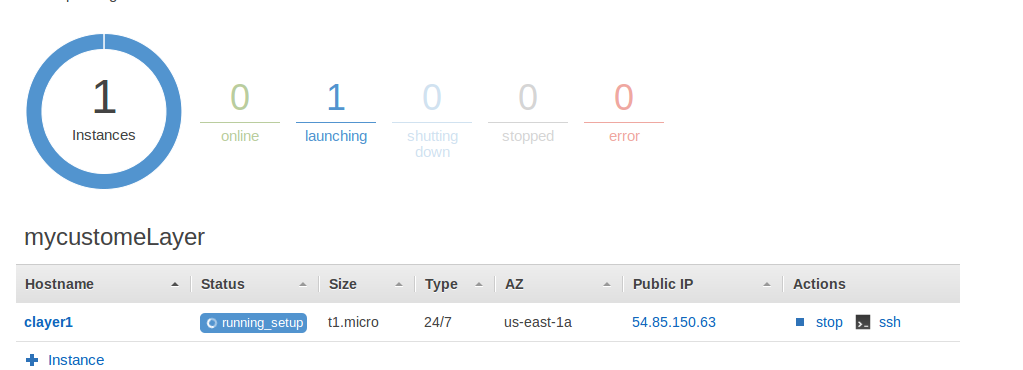
Note : if any of operation fails , it will give Error. You can check Logs for error details.
12. Below you can see that it has become Online.
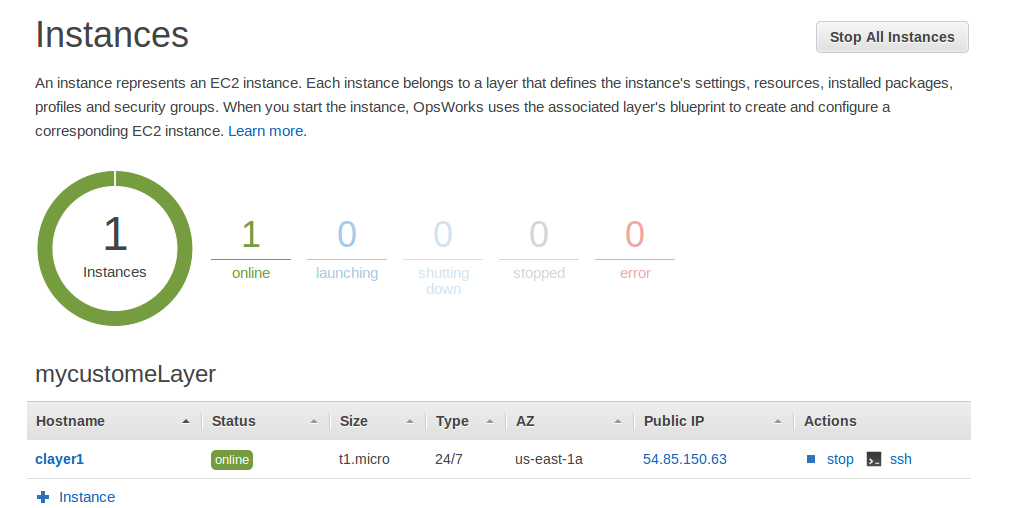
13. Just take the Public Ip address its showing, copy it and paste it to Browser ‘s Address Bar like below.
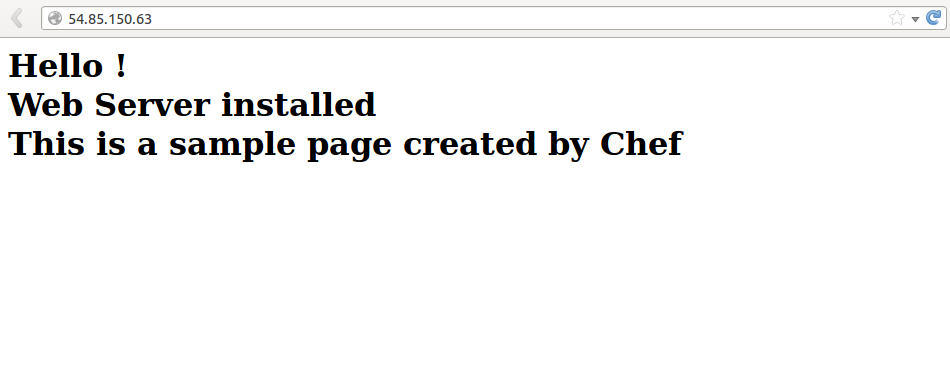
Yes ! Web Server (httpd) has been installed and index.html has been copied to /var/www/html/
You can see the Website.
Ishant Kumar
AWS Certified Solution Architect – Associate
AWS Administrator @ Intelligrape


Thank You for this Beautiful Sharing
Very informative and nicely presented. I will try this out surely.