Setup tailwind with react
1. create your project folder
Open the terminal and navigate your created project, and then run the below command
npx create-react-app react-demo.
Once reactdemo app has been created,

>> go to the react-demo folder
>> run the “npm start” command
2. Install Tailwind CSS and generate the configuration file
>> npm install -D tailwindcss
>> npx tailwindcss init
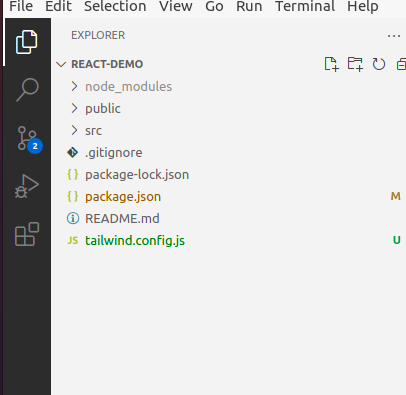
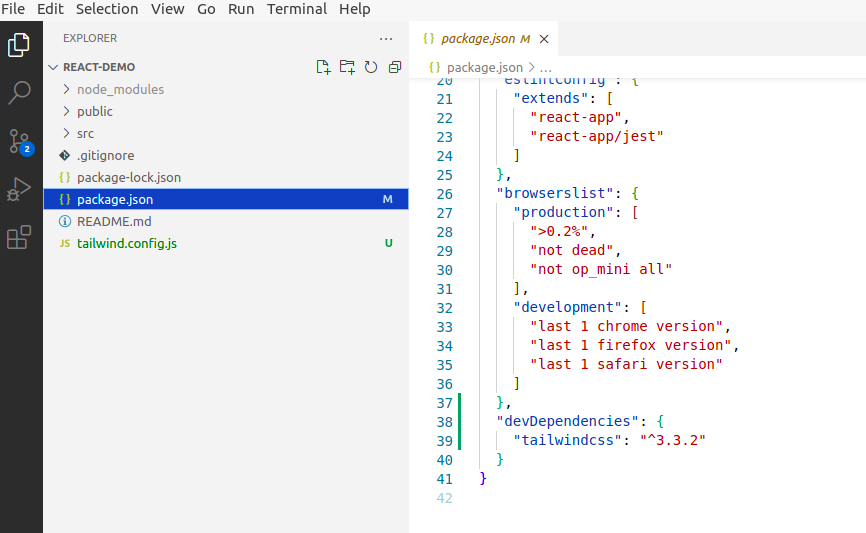
Your folder and package.json file should look like this in your VSCode:
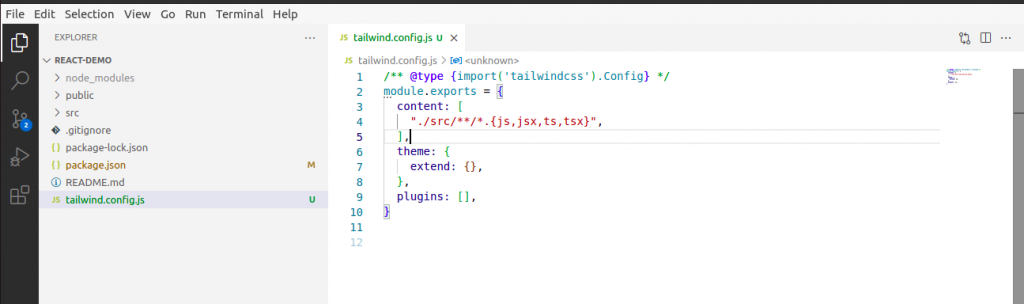
3. Configure your template paths
Add the paths to all of your template files in your tailwind.config.js file.
/** @type {import('tailwindcss').Config} */
module.exports = {
content: [
"./src/**/*.{js,jsx,ts,tsx}",
],
theme: {
extend: {},
},
plugins: [],
}
your file should now look like this:
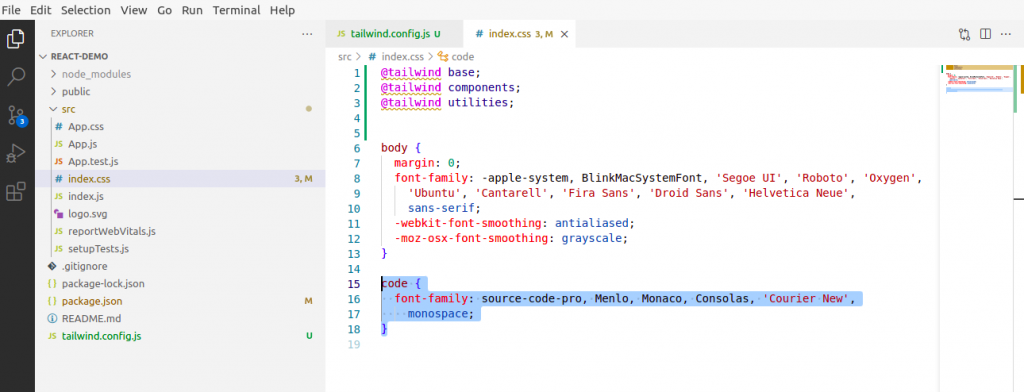
4. Add the Tailwind directives to your CSS
Add the @tailwind directives for each of Tailwind’s layers to your ./src/index.css file.
@tailwind base;
@tailwind components;
@tailwind utilities;
your file should now look like this:
Writing CSS:
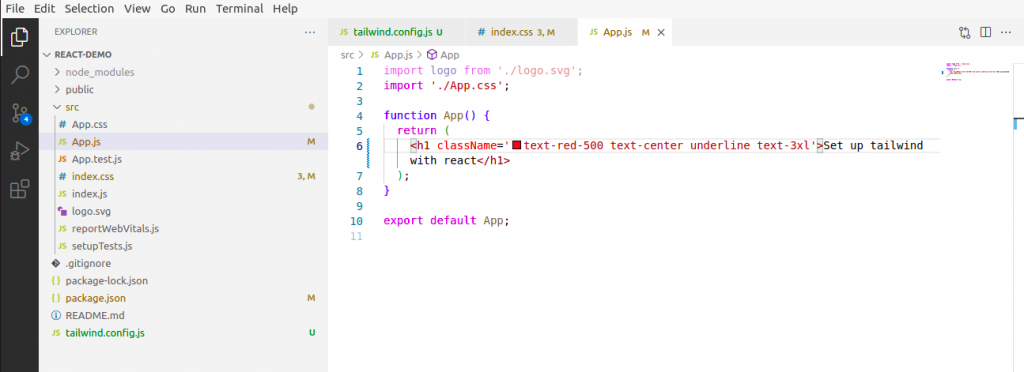
You can start using Tailwind’s utility classes to style your content. Navigate to your App.jsx file, where you should see this below:
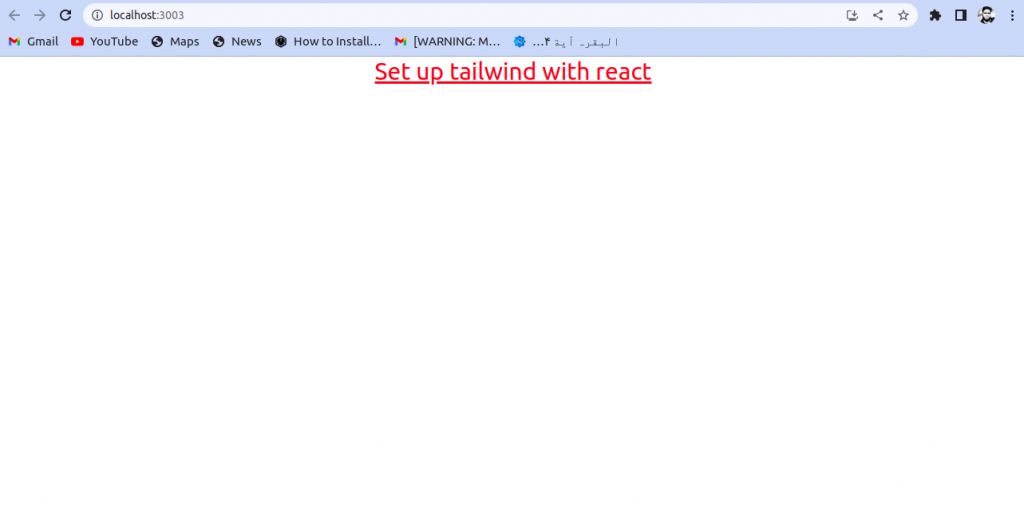
Output
Note: if your tailwind CSS property is not reflected on the application, restart your react app.
Conclusion:
Now you can develop your responsive application with react and tailwind CSS. For more exploration, you can go through here. Thanks for reading this article; I hope you will find this helpful.